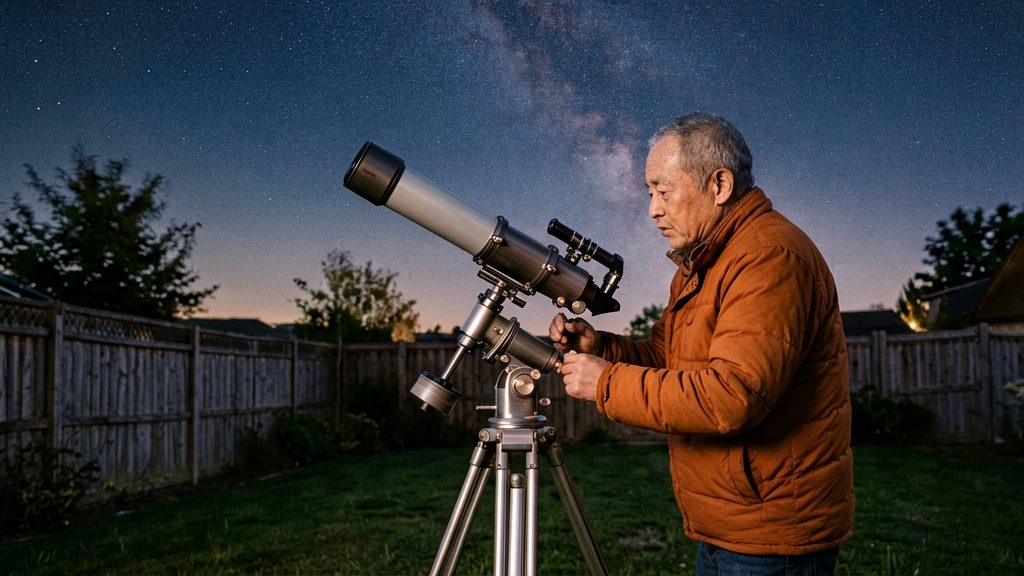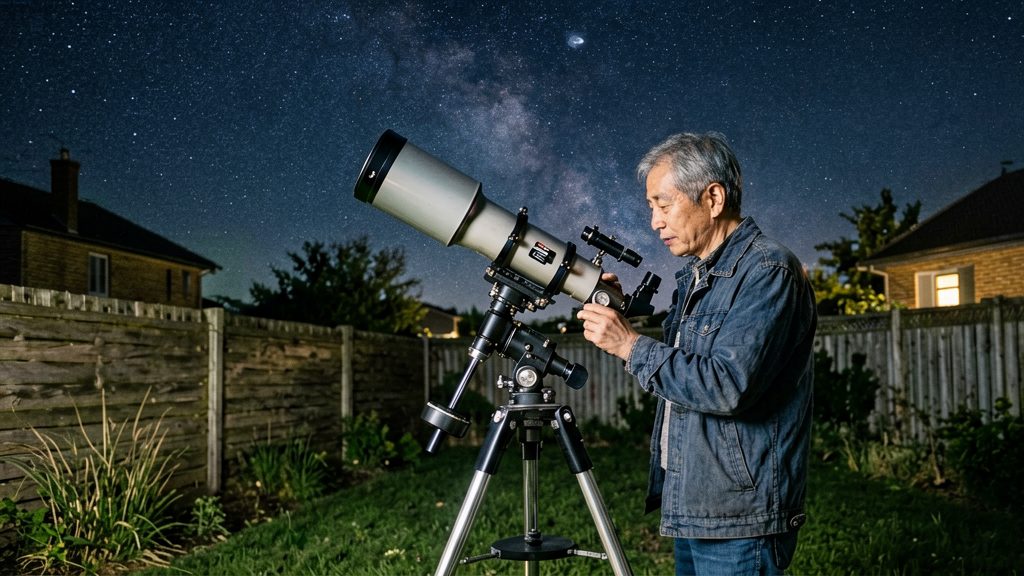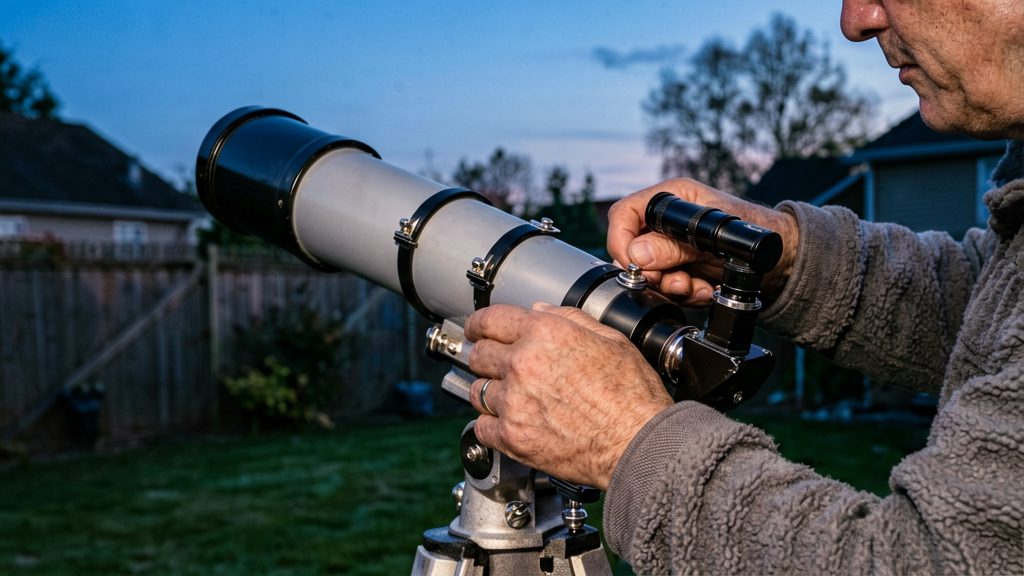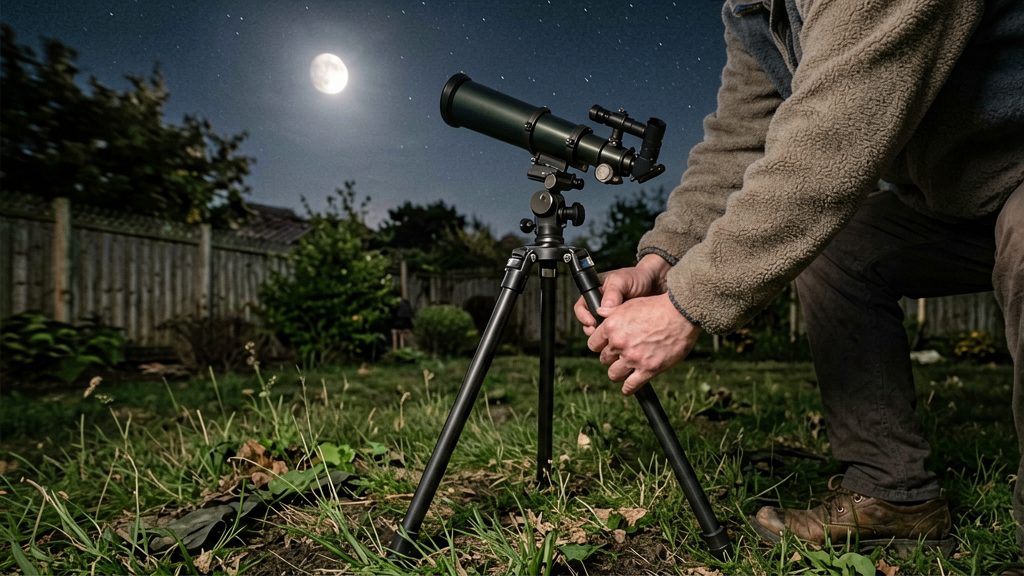
Leveling a telescope tripod matters because the tripod head is the reference surface for everything the mount does afterward. If the head is tilted, the mount’s axes sit at an angle to the horizon, which can complicate the alignment steps that follow. Check your mount’s manual for how much tilt it tolerates. BBC Sky at Night Magazine (2026) advises extending the legs to a comfortable height, placing a small spirit level on the tripod head, making the top as level as possible, and checking that all bolts are tight before attaching the mount head.
How tilt affects polar alignment
Polar alignment sets the polar axis parallel to the Earth’s rotation axis. A level head gives you a repeatable starting reference for that adjustment, and if you move or adjust the tripod afterward, you must repeat the alignment. Your mount’s manual states the setup conditions.
- A tilted head shifts where the mount’s axes sit relative to the horizon.
- Polar alignment done on an off-level head has to be repeated if the tripod is adjusted afterward.
- Your mount’s manual states the setup conditions and any tolerance. Check it before you start.
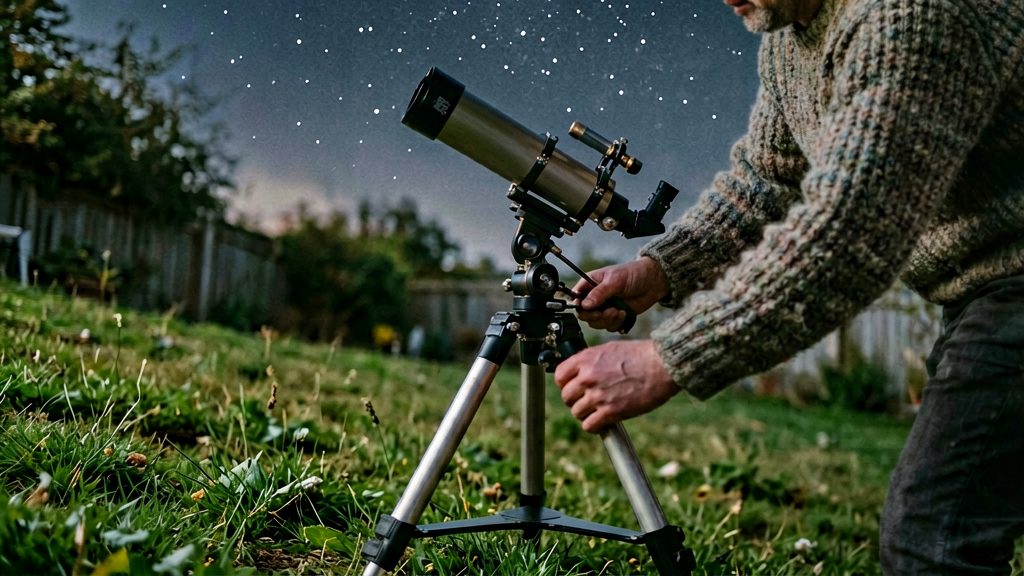
Impact on goto pointing and tracking
Goto mounts build a pointing model from alignment stars, linking the sky coordinates to the mount’s axes. If the head moves or sits at an angle during alignment, the model is built on a shifting reference, and objects you select may land away from the eyepiece field. An unstable base that shifts during a long session can also upset alignment and tracking.
Vibration and stability during long sessions
An off-level tripod loads its three legs unevenly, and loose joints add play that shows up as vibration when you focus, change eyepieces or move the tube. Wind and small knocks are more noticeable on a base that has not been checked for tightness since it was last moved.
What you need before you start
Gather the tools and check the tripod’s fasteners before you touch the legs. The items below cover the level and bolt check.
Tools to have on hand
| Item | Why you need it | What to look for |
|---|---|---|
| Small spirit level | Shows whether the tripod head is level | A clearly marked centre ring and a bubble that is easy to read at the height you will stand |
| Hex (Allen) keys | Tighten the head and leg-related bolts | The sizes that match your tripod’s fasteners, which the manufacturer’s manual lists |
| Adjustable or open-ended wrench | Tighten nuts that a hex key cannot reach | A size that fits the nuts without rounding them |
| Tape measure | Compare leg extensions and check the head’s height | Any standard rule; no specific model is required |
Checks before you start
- Leg locks: Extend each leg to the height you plan to use and tighten its lock. Make sure none slips under light pressure.
- Head bolts: Check that the bolts fixing the head to the tripod top are tight. A loose connection makes the head move, so the level reading will not hold.
- Fastener condition: Look for stripped threads or damaged hex sockets. Replace a worn part before you rely on the tripod.
Check the manufacturer’s manual for the correct torque or tightening method, since the required tightness varies between tripods.
How to level a telescope tripod step by step
Leveling is a short, repeatable sequence: extend the legs, adjust them one at a time until a small spirit level on the tripod head shows the top as level as possible, tighten everything, then attach the mount head.
-
Extend the legs to a comfortable height. Set each leg so the eyepiece sits at a height you can reach without stooping. Lock each leg section after adjusting it.
-
Place the spirit level on the bare tripod head. The mount head is not yet attached, so the flat top of the head is the surface you level.
-
Adjust one leg at a time. Read where the bubble sits. The bubble moves toward the high side, so shorten the leg on that side or lengthen the leg on the opposite side. Check the bubble after each change, because one adjustment shifts the reading on the others.
-
Repeat until the bubble is centered. Stop when the bubble is centered or as close as the leg adjustment allows.
-
Tighten all bolts. Lock every leg section and every tripod head bolt. Then recheck the bubble, since tightening can move the top slightly.
-
Attach the mount head. Only after the tripod top is level and all bolts are tight, fit the mount head to the tripod.
How do you level on uneven ground?
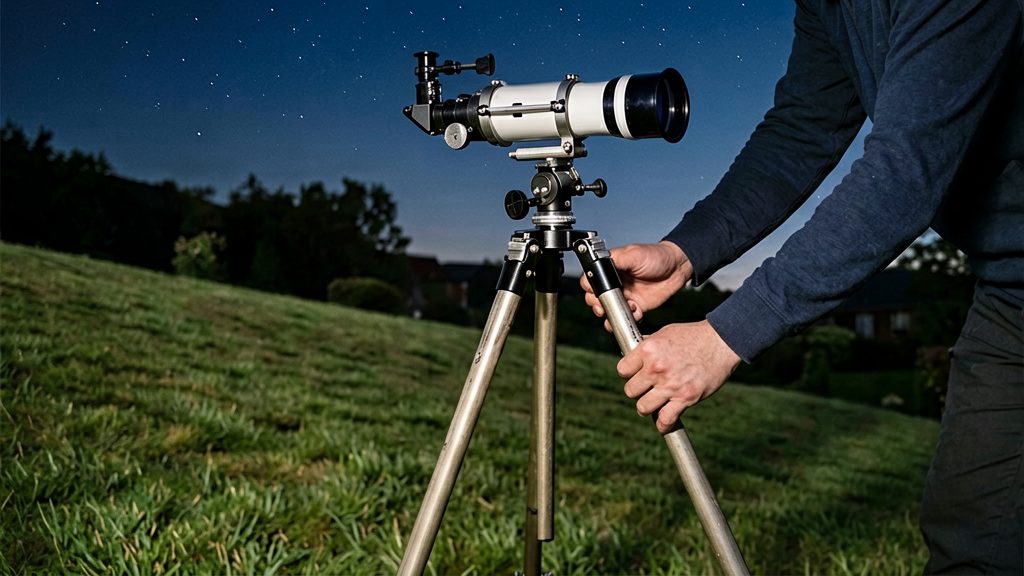
Before you tighten anything, check the site. Place a small spirit level on the tripod head with the legs at a comfortable working height, and note which direction the bubble moves. If the tripod sits on a noticeable slope, extending the legs alone may not bring the head level. Assess the ground first, then adjust the legs one at a time, recheck the bubble, and consult your mount manual.
Test firmness at each foot position. Press each foot down by hand and look for give, sinking or a foot that rocks. These checks show whether the problem is slope, soft ground or both.
| Ground type | What to watch for | Practical approach |
|---|---|---|
| Firm, uneven | Head reads level on one axis only | Adjust leg lengths, then recheck the head |
| Sandy | Feet sink and the tripod drifts over the session | Wider feet or flat plates may spread the load. Recheck the level after settling |
| Grassy or soft soil | Feet sink unevenly, often on one side | Set feet on firm ground beneath the grass where possible |
On soft ground, sinking is the main risk. Feet that press into the surface change the head’s level over time, so recheck the bubble after the tripod has settled, not only at setup. Flat plates or wider pads under each foot spread the weight across more area and reduce sinking, but they add height and can shift, so check that each foot stays seated.
Fine leveling with wedges or a leveling base
Fine leveling comes after the coarse leg adjustment. Once the legs are set, some users try small add-on parts to reduce the remaining tilt. Their effectiveness varies by model, so follow your manual. The two common options are shims and wedges placed under individual tripod feet, and a leveling base (or leveling head) fitted between the tripod head and the mount. Check your mount’s manual to see whether it supports a leveling base and how it attaches.
Shims and wedges under the feet
A wedge raises one foot, so the work is to identify the low side first:
- Place a small spirit level on the tripod head. The bubble moves toward the high side, so the low side is the opposite one.
- Find the leg on the low side and lift that foot by placing a shim or wedge beneath it.
- Press the tripod down so the foot sits flat on the wedge, not on its edge.
- Re-check the bubble. If it is still off, make a small adjustment and check again.
Dedicated leveling bases and heads
A leveling base is a plate with adjustment screws that sits between the tripod head and the mount. Turn the screws to bring the bubble to center, working on one screw at a time. The usable adjustment range and locking method depend on the model, so follow the manufacturer’s instructions.
| Add-on | Placement | Adjustment method | How to verify |
|---|---|---|---|
| Shim or wedge | Under one tripod foot | Insert or change the wedge | Spirit level on tripod head |
| Leveling base | Between tripod head and mount | Adjustment screws | Spirit level on the base’s flat surface, as the manufacturer specifies |
Verifying each change
Check the level after every change, not only at the end:
- Turn the spirit level 180 degrees on the tripod head and read it again. If the bubble reads differently in the two positions, the level or its contact surface is off, so verify the level itself before adjusting the setup.
Marking leg heights for faster setup
After you level the tripod, record how far each leg is extended. Next time you set up in the same spot, extending the legs to those marks gives a nearly level start. The method costs nothing and suits a fixed observing site, such as a patio or garden spot you use often.
Recording the heights
- Level the tripod first, following the step-by-step procedure above, and confirm all bolts are tight.
- Pick one reference point on each leg, such as the top edge of the leg-lock collar, and use it for every leg.
- Mark the leg at the point where it exits the collar or the leg section, so the mark lines up with the reference.
- Repeat for all three legs and note which mark belongs to which leg.
| Marking method | How to apply it | Practical note |
|---|---|---|
| Adhesive tape | Wrap a strip around the leg at the reference point | Easy to replace if it peels or dirties |
| Paint pen | Draw a short line across the leg at the reference point | Visible in low light if you use a light-colored pen on dark metal |
| Engraved reference | Not recommended unless the manufacturer allows it | Permanent, and it can damage the leg surface |
On your next setup, extend each leg to its mark, then check the spirit level on the tripod head again before attaching the mount. The marks give a starting point, not a guarantee of level, so the reading still decides whether further adjustment is needed.
Common mistakes to avoid
Three setup errors undo a level tripod head: reading the bubble from the wrong angle, extending the legs further than needed, and trusting old leg marks after the ground has changed.
| Mistake | What it undoes | Practical fix |
|---|---|---|
| Parallax error from reading the bubble at an angle | The head looks level when it is not, because the bubble appears shifted against the vial’s centre marks | Put your eye directly above the spirit level, at the same height as the vial, and read the bubble straight on |
| Overextended legs | Stability drops, so the head can shift under the weight of the mount and telescope | Extend the legs only to the comfortable height the telescope needs, and lock each leg section firmly |
| Reusing leg marks on ground that has shifted | The starting point is no longer level, even though the marks look correct | Adjust the legs if the bubble has moved |