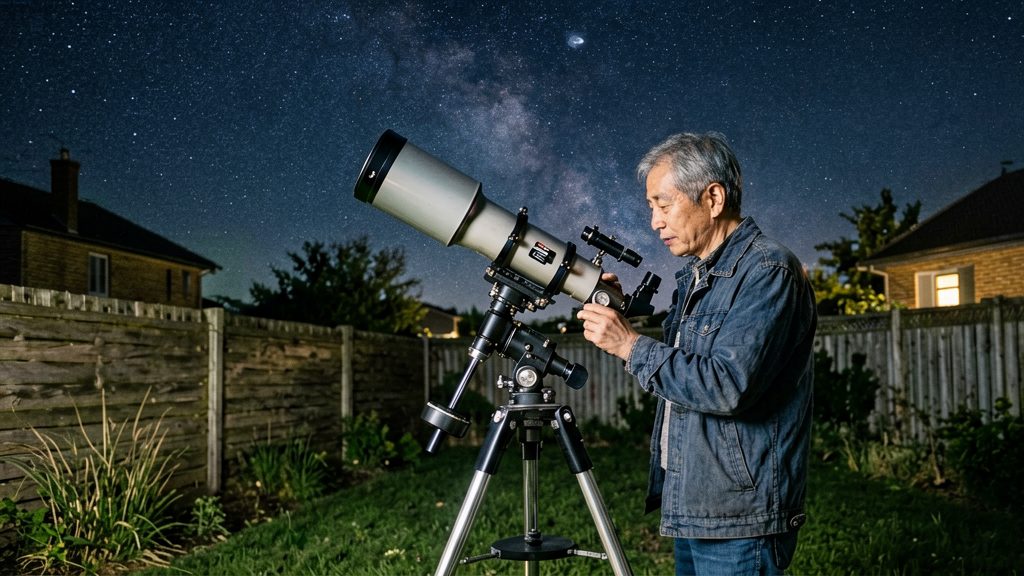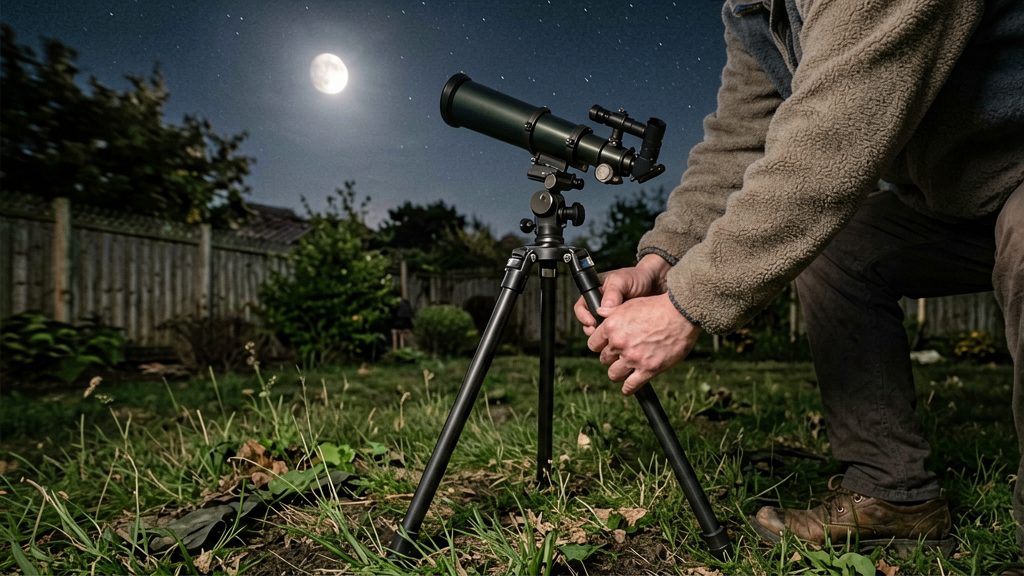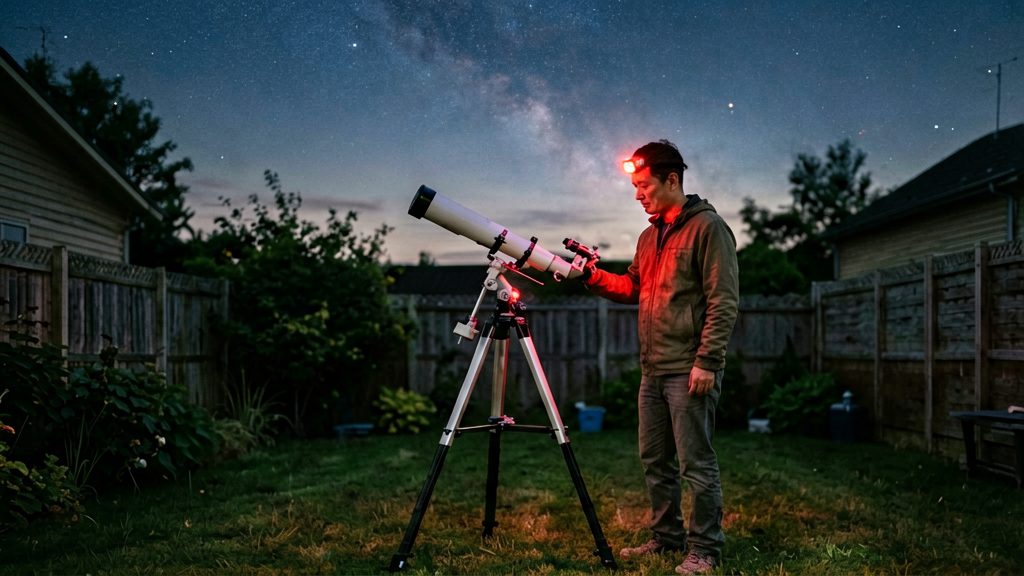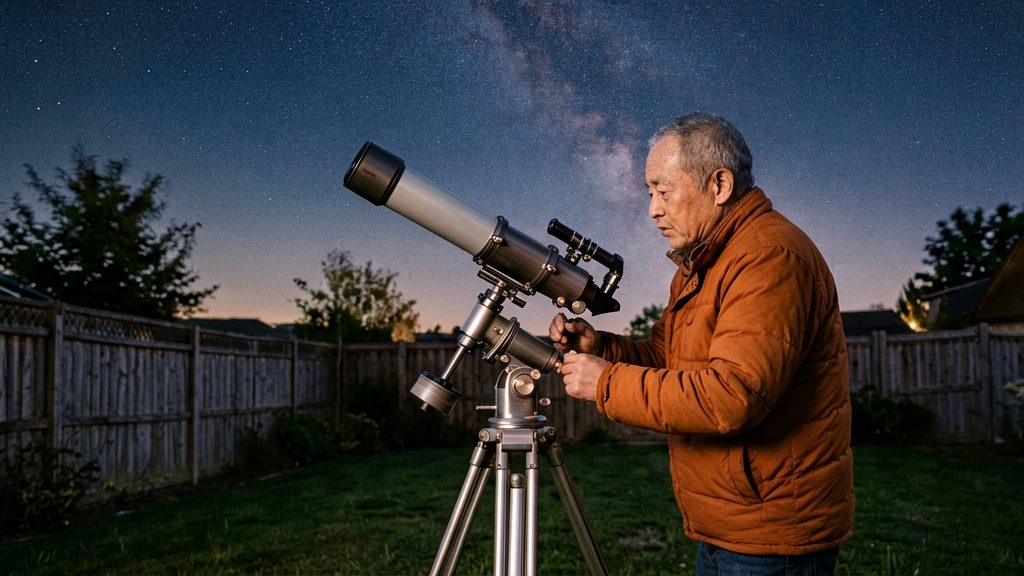
Choose an equatorial mount if you mainly observe planets, the Moon and deep-sky objects through long sessions at higher magnification, and you can set up where your alignment method works (a polar scope needs a view of the pole; some methods do not). Choose an alt-az mount if you want quick setup, easier transport and mostly casual visual observing at low to moderate magnification. Your main targets, the sites you can reach and how often you will carry your gear outdoors should decide the choice more than the mount’s price.
Equatorial mount or alt-az: which do you need?
Alt-az versus equatorial motion for visual observing
An alt-az mount moves the telescope up-down (altitude) and left-right (azimuth). Following a star means driving both axes. An equatorial mount tilts one axis to match the rotation of the sky, so tracking needs only one driven motion. According to the British Astronomical Association (2026), driven tracking on an equatorial mount is simpler and cheaper than on an alt-az mount, because only east-west motion needs driving.
| Factor | Alt-az mount | Equatorial mount |
|---|---|---|
| Axes to drive for tracking | Altitude and azimuth | Only the east-west (RA) axis (BAA, 2026) |
| Pre-observing setup | Level the head and point it | Polar alignment, then fine east-west adjustment with slow-motion controls (BAA, 2026) |
| Need for a view of the pole | None | Usually needed for polar-scope alignment; Celestron’s All-Star method does not require a clear view of the celestial pole (High Point Scientific, 2026) |
Which mount suits planets, the Moon and deep-sky objects
Planets and the Moon at high magnification drift quickly out of a narrow eyepiece field, so tracking helps most here. A polar-aligned equatorial mount keeps them centred with a single slow motion (RA), which makes long planetary sessions less tiring. Deep-sky objects such as galaxies and nebulae are faint and reward long, steady observation, so the same advantage applies.
If you want to find objects rather than hunt for them by hand, a motorised GoTo equatorial mount is an option. It uses a computerised handset.
For casual viewing of the Moon, bright planets and open clusters at low power, an alt-az mount covers most needs without alignment.
Site and observing habits that decide the choice
- Transport: Large equatorial mounts can be tiresome to carry to dark-sky sites (BBC Sky at Night Magazine, 2026). If you travel with your gear, a lighter alt-az or a smaller equatorial mount is easier to manage.
- Pole alignment: A polar scope shows Polaris in the north or Sigma Octantis in the south against a reticle (High Point Scientific, 2026). Southern observers should check which reference star their polar scope uses before buying.
- Beginner aid: A smartphone polarscope app can show how far to rotate the axis and where to place Polaris in the reticle (BBC Sky at Night Magazine, 2026).
How does an equatorial mount work?
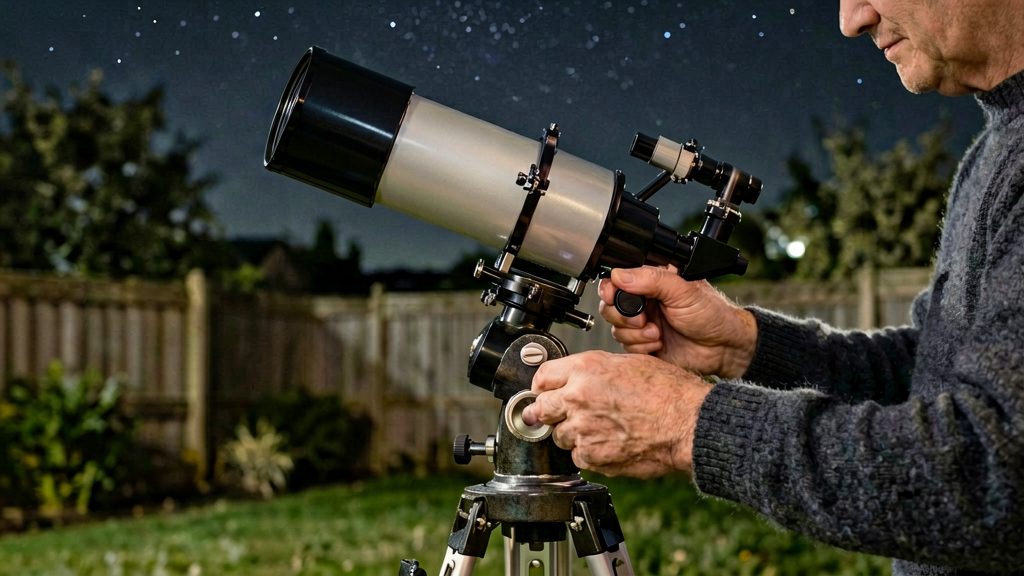
An equatorial mount is built around one axis that points at the celestial pole, so that the sky’s daily rotation becomes a single motion. You align the polar axis (also called the right ascension, or RA, axis) with Earth’s rotational axis. The second axis, declination, moves the telescope north and south across the sky. Because only the polar axis needs to turn to follow the stars, tracking an object requires one controlled motion.
The two axes
| Axis | Orientation | Movement used for |
|---|---|---|
| Right ascension (polar) | Aligned with Earth’s rotational axis | Turns to follow the stars’ daily motion |
| Declination | Moves north and south | Sets the target’s position; not driven for tracking |
Once you point the telescope at an object by adjusting declination, the RA axis keeps it in view as it moves across the sky.
Driving the polar axis
Tracking needs the polar axis to turn at Earth’s rate, which astronomers call the sidereal rate. You can do this in two ways:
- Hand-driven: You turn the slow-motion control on the RA axis by hand and keep it turning to hold the object in the eyepiece.
- Motorised: A small electric motor turns the RA axis. This is the more common option, and it frees you to observe without adjusting the mount.
According to the British Astronomical Association (2026), driven tracking is simpler and cheaper on an equatorial mount than on an alt-azimuth mount, because only east-west motion needs driving.
Fully motorised GoTo mounts
GoTo equatorial mounts are fully motorised and use a computerised handset.
| Tracking method | What turns | Observer’s role during observing |
|---|---|---|
| Hand-driven | RA axis, via slow-motion control | Keeps turning the control continuously |
| Motorised drive | RA axis, via small electric motor | Starts the drive, then observes |
| GoTo motorised | RA axis and declination, via computerised handset | Calibrates once, then selects targets |
What payload capacity should you look for?
Match the mount’s rated payload to the total loaded weight of your setup, including every accessory, and leave headroom below the rating. The rating is the maximum load the manufacturer specifies, and loads close to that limit can reduce tracking accuracy. Check the rating for your specific model, since category figures only give a general range.
Rated payload versus real-world load
High Point Scientific (2026) gives these category ranges for equatorial mounts:
| Category | Head weight | Payload range |
|---|---|---|
| Portable | Under 20 lb | Up to 45 lb (categories overlap) |
| Backyard | 10 to 45 lb | 30 to 75 lb |
| Remote observatory | Over 35 lb | Over 60 lb |
These are general ranges, not a standard. Use the figure printed in the manufacturer’s specifications for the exact model you are buying.
Leave headroom below the rated payload; the High Point Scientific category figures do not specify a safety margin, so check the manufacturer’s guidance for your model.
Counting accessories in total weight
The total loaded weight is everything the mount carries, not just the optical tube. Add up:
- The optical tube, with its dew shield and any tube rings or dovetail bar
- Diagonal, eyepieces and filters left in the focuser
- Finder scope and its bracket
- Camera, guide scope or guide camera, and any adapter
- Dew heater bands and their controller, if mounted on the tube
- Cables and accessory trays attached to the mount
To check, weigh the assembled setup on a bathroom or luggage scale and compare the result with the rated payload. Weigh it in the configuration you will actually observe with, not the bare tube.
Effects of overloading on tracking accuracy
An equatorial mount tracks by turning the polar axis at Earth’s rate, using a small motor, so the drive must hold the optics steady against that load. An overloaded mount may flex or resist the drive, and the image can drift during long observations. Drift matters most for astrophotography, where BAA (2026) notes that driven tracking allows the object to stay still during long exposures.
German equatorial vs. other designs
A German equatorial mount (GEM) is the most common equatorial layout, but it is not the only one. The choice between a GEM, a fork mount and a centre-over-tripod (CEM) design depends mainly on how the telescope’s weight is balanced around the polar axis and how much the head can move under load. For most beginners, the decision comes down to a head that is easy to balance versus a head that resists tipping and flexing.
German equatorial: counterweights and the meridian flip
On a German equatorial mount, the telescope sits on one side of the declination axis and the counterweights sit on the opposite end of the shaft. The rig is balanced by sliding weight along that shaft, not by moving the tube.
This layout creates a meridian flip. When a target crosses the meridian, the equipment must be moved to the other side of the mount to avoid hitting the tripod. The flip interrupts observing, so plan for it and re-centre the target afterwards. According to High Point Scientific (2026), this is the standard procedure on German designs.
Fork mounts and single-arm rigidity
A fork mount holds the tube between two arms, so the tube turns inside the fork. A single-arm design supports the tube from one side only. It gives easier access to the tube but is generally less rigid, so any flex shows up as image movement, especially at high magnification. Fork mounts do not use a counterweight shaft in the same way; check the manual of your model to see whether a meridian flip applies.
Centre-over-tripod (CEM) design
The CEM design places the centre of gravity directly over the centre of the tripod. According to BBC Sky at Night Magazine (2026), this makes the CEM design more stable. With the load centred over the base rather than offset to one side, there is less leverage tending to tip the setup.
| Design | Weight distribution | Stability |
|---|---|---|
| German equatorial mount (GEM) | Tube on one side of the declination axis, counterweights on the other | Depends on balance and tripod |
| Fork mount | Tube held between two arms | Depends on arm design; single-arm designs are less rigid |
| Centre-over-tripod (CEM) | Centre of gravity over the tripod centre | More stable (BBC Sky at Night Magazine, 2026) |
Visual use or astrophotography: what tracking do you need?
Visual observing and long-exposure imaging place different demands on an equatorial mount. At the eyepiece, the question is how long an object stays in the field before you nudge it back. For photography, the question is whether stars stay on the same pixels for the whole exposure. A mount that holds the Moon or a planet well can still fail at photo exposures, because small tracking errors accumulate and the sensor records them.
Eyepiece viewing at high magnification
Drift becomes more noticeable as magnification rises. A high-power eyepiece has a narrower field of view, so a target leaves it sooner. To test your mount, centre a bright star at the magnification you use most, then time how long it stays in the field without correction. Repeat the test at your lowest power too, since low power can hide a problem that high power exposes.
Periodic error and autoguiding
Periodic error is a cyclic tracking error that repeats with each turn of the drive, usually from the gearing that turns the right ascension axis. In a guided image, it appears as stars that drift back and forth in a regular rhythm rather than in one direction. Its size depends on the mount, so check the manufacturer’s specifications rather than relying on a generic figure.
Autoguiding corrects these errors. A guide camera on a small guide scope, or on the main telescope, tracks a guide star and sends correction pulses to the mount. If the guide log shows corrections repeating at a regular interval, this may point to periodic error in the drive, but confirm with other checks. Judge your mount from your own guide log.
Field rotation and exposure length
Field rotation shows up as stars tracing arcs around a point in the frame. On a well polar-aligned equatorial mount, field rotation is minimal, so noticeable rotation in your frames often points to poor polar alignment. Check your alignment first. Use it as a diagnostic signal, not a tolerance to accept.
Exposure length is limited by the first sign of trailing, not by a fixed number. To find your limit:
- Photograph the same star at several exposure lengths, increasing each time.
- Enlarge each frame to 100 percent and note the longest exposure where the star stays round.
- Repeat with the guiding on and off, if you guide, to see how much it extends your limit.
| Requirement | Visual use | Long-exposure imaging |
|---|---|---|
| Object position | Stays in the field at working power | Stars stay on the same pixels for the whole exposure |
| Main error | Slow drift from drive imperfection | Periodic error and drift repeated across frames |
| Correction | Slow-motion controls | Autoguiding with a guide camera and software |
| Payload | Light loads have little effect | Keep the rig within the rated payload |
GoTo or manual: which is better?
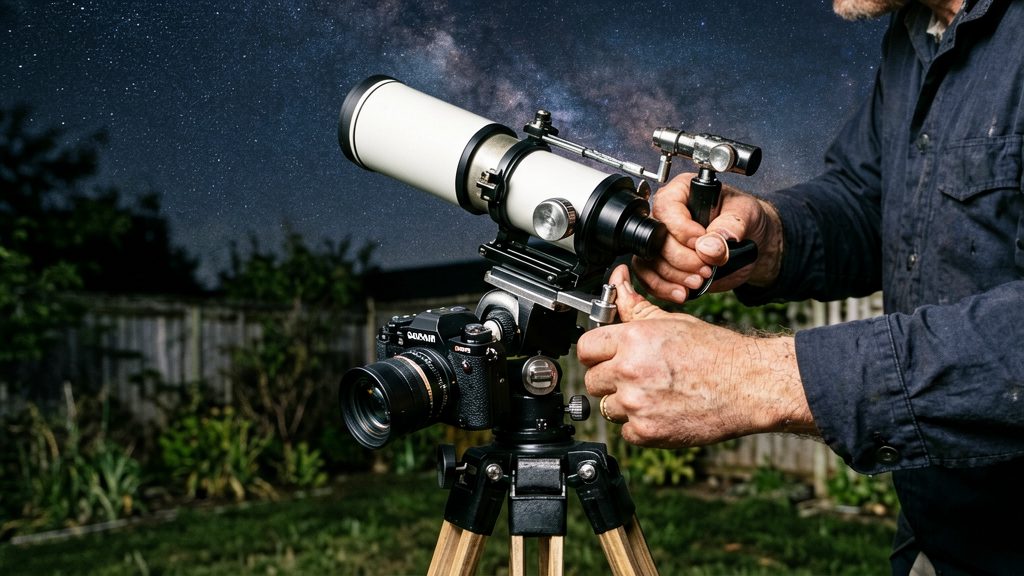
Neither style is better in every case. A GoTo equatorial mount is fully motorised and slews to objects from a computerised handset, which suits observers who want to find many targets quickly. A manual equatorial mount has no handset and no calibration step, so you locate objects yourself with a star chart, app or finder. Choose GoTo if you want to observe many deep-sky objects per session. Choose manual if you want to learn the sky and accept slower searches.
How GoTo calibration works
A GoTo mount must be calibrated before it can point accurately. According to BBC Sky at Night Magazine (2026), you typically set the mount up in a fixed orientation, enter the date and time, and centre several stars so the mount knows where it is pointing. After that, the handset can slew to objects in its catalogue.
Object database and catalogue coverage
According to BBC Sky at Night Magazine (2026), a GoTo handset can slew to objects in a database of thousands of entries. Any target outside that database must be found by hand. Check the handset’s object list against the targets you care about before buying, because coverage varies between models.
Star hopping and the learning curve
Star hopping means moving from a bright, easily identified star toward a fainter target, using a finder and a star chart. It builds familiarity with constellations that a handset does not provide. The learning curve is steeper: early searches take longer, and you find fewer targets per session until you recognise the main star patterns. Measure progress by how many targets you locate unaided.
| Factor | GoTo | Manual star hopping |
|---|---|---|
| Setup | Fixed orientation, date and time entry, centring several stars | No calibration step |
| Finding objects | Handset slews to database entries | Star chart, app or finder |
| Sky knowledge needed | Low for slewing; you still need to confirm what you see | High |
| Learning curve | Shorter | Longer, rewards sky familiarity |
How do you polar align a mount?
Polar alignment means pointing the mount’s polar (RA) axis at the celestial pole, so that tracking only needs one axis to turn at Earth’s rate. On an equatorial mount, the first step is to set the altitude angle to your latitude. The British Astronomical Association (2026) uses 51° latitude as its worked example, which means setting 51° on the mount. Even a rough alignment at this stage makes observing easier, because the remaining correction is small.
Step 1: Set the altitude to your latitude
Loosen the altitude lock and raise or lower the polar axis until the scale reads your latitude. Look up your latitude with a map or GPS app, then tighten the lock. Do this before anything else, since every later adjustment depends on it.
Step 2: Place Polaris in the polar scope reticle
Level the tripod, then point the mount roughly north. Look through the polar scope, which has an illuminated or printed reticle, and bring Polaris into the marked circle. In the northern hemisphere, Polaris sits close to the celestial pole. In the southern hemisphere, the matching reference is Sigma Octantis, as described by High Point Scientific (2026).
A smartphone polarscope app can help beginners by showing how far to rotate the axis and where to place Polaris in the reticle, according to BBC Sky at Night Magazine (2026).
Step 3: Make the fine east-west adjustment
Use the mount’s altitude and azimuth adjusters, not the slow-motion controls, to refine the position of Polaris on the reticle. Make small movements and let the star settle before judging the result. Once the mount is aligned, the east-west (RA) slow-motion control (or the drive) is what follows objects across the sky. You may still need occasional small declination nudges to re-centre a target.
Portability and budget checks
Before buying an equatorial mount for dark-sky trips, weigh the head and the tripod separately, measure the space you will use at home and in the field, and compare prices only between mounts in the same class. A large mount that stays in the garden is a different purchase from one you carry to a dark site in the back of a car.
Carry weight and dark-site transport
Heavier mounts are tiring to carry, and the head, tripod, counterweights and telescope all add to the load. To simplify transport:
- Carry the head, tripod and counterweights in separate loads. Use a padded case or bag for each.
- Check the total before you leave. Add up the head, counterweights, telescope, eyepieces and the power supply or battery for any motor.
- Plan the cable run. Motor cables and handset cables need to reach the mount without snagging in the dark.
Tripod footprint and setup space
Check that your observing spot has room for a full swing before you commit to a model.
Measure the space in two places:
- Home: the spot where the mount will stay between sessions, including room for the tripod legs to open fully.
- Dark site: the flat, firm ground you expect to use. Soft or sloping ground makes polar alignment harder to hold.
Price tiers and used-market checks
Price varies widely across mount classes. Check current US retailer prices and compare mounts with the same head weight, GoTo capability and included accessories. Confirm what the price covers: counterweights, handset, polar scope and mounting plate are not always included.
For a used mount, check the following before paying:
- Ask for the full history: age, service records and any repairs.
- Test tracking: the mount should track smoothly at its drive rate with no grinding or sudden stalls.
- Check for backlash: move the slow-motion controls in both directions and look for dead travel before the mount responds.
- Confirm the handset: if it is a GoTo model, check that it powers on and calibrates.
- Inspect the mounting hardware: look for worn threads, loose bolts and cracked plates.
- Check the seller’s return policy and whether the sale includes any warranty.
Frequently asked questions
Do I need to repeat polar alignment after moving to a new site?
Yes, if the new site is at a different latitude, because the altitude setting depends on your latitude. Set the altitude again, then repeat the polar alignment steps from the start, even if the tripod stands in a similar spot.
Can I polar align during the day?
No, a polar scope needs Polaris (north) or Sigma Octantis (south) to be visible, and neither star can be seen in daylight. Do the fine alignment at night, when the reference star is visible in the reticle.
Does the polar alignment hold between observing sessions?
It can, if the tripod stays undisturbed and the mount is not moved or knocked. Check the alignment at the start of each session by looking at the reference star in the polar scope, since a bumped tripod or changed leg position can shift it.