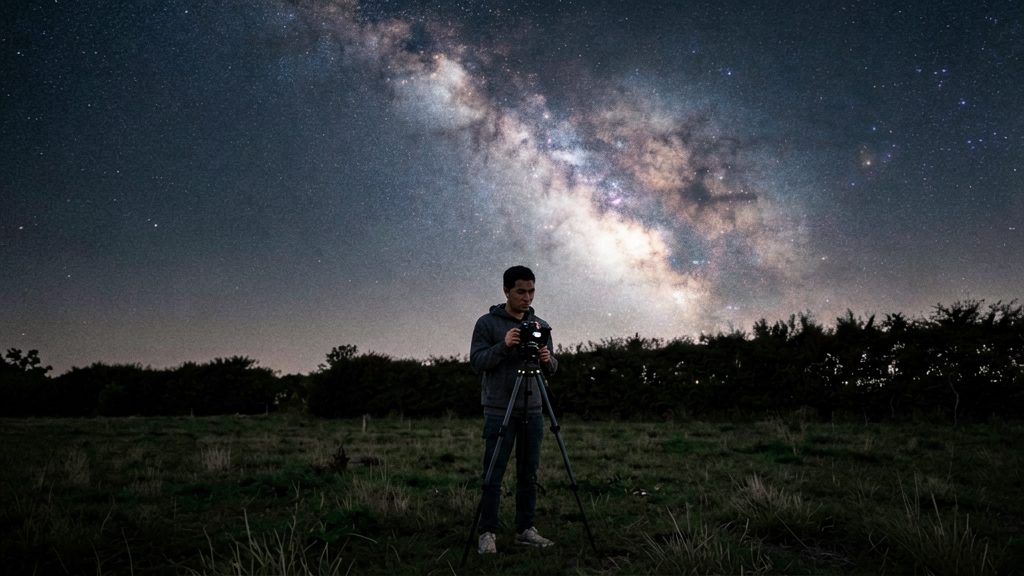
An iPhone can record the Milky Way’s bright core and the structure of its band, but the result depends on three limits: a small sensor, the choice of lens, and the sky itself. Phone photos show the band’s shape and some colour, though they rarely match what a dark-sky observer sees with the naked eye. Expect a recognisable band with visible noise and softness in the faintest areas, not a detailed image of dust lanes and star clouds.
Can an iPhone really capture the Milky Way?
How the sensor limits faint detail
The iPhone’s sensor is small compared with a dedicated camera, so each pixel collects less light. In a dark sky, the faintest parts of the band, including the dust lanes, are the first to be lost in noise. Two habits help:
- Stack several frames. National Geographic (2026) recommends taking 5 to 10 shots and merging them in editing software to reduce noise.
- Shoot RAW on Pro models. SlashGear (2025) notes that 48 MP RAW gives more editing flexibility on Pro iPhones. Extra pixels add detail when you crop or edit, but they do not increase the light each pixel receives.
Main lens or 0.5x ultrawide
| Lens | What it gives | Source |
|---|---|---|
| 1x main lens | Higher resolution; National Geographic (2026) recommends it over digital zoom | National Geographic (2026) |
| 0.5x ultrawide | Captures more sky in the frame on Pro models of the 16 and 17 series and on the iPhone 17 | SlashGear (2025) |
The ultrawide shows more of the band in one frame, while the main lens keeps more detail. Which lens produces the better final image is not settled, so choose based on whether you want more sky or more detail.
Sky limits on the result
- Moonlight: a bright Moon washes out the faint structure of the band, so shoot on moonless nights for the best contrast.
Realistic expectations versus the eye
Your eye, after adapting to the dark, sees the Milky Way as a faint, greyish band with little colour. The phone combines light over several seconds, so it can reveal more colour and faint glow than the eye does, but noise and processing can smooth out or lose fine detail such as dust lanes. Judge results at full size rather than on a small preview, and treat the photo as a record of the band’s position, brightness and shape rather than a view that matches the eyepiece.
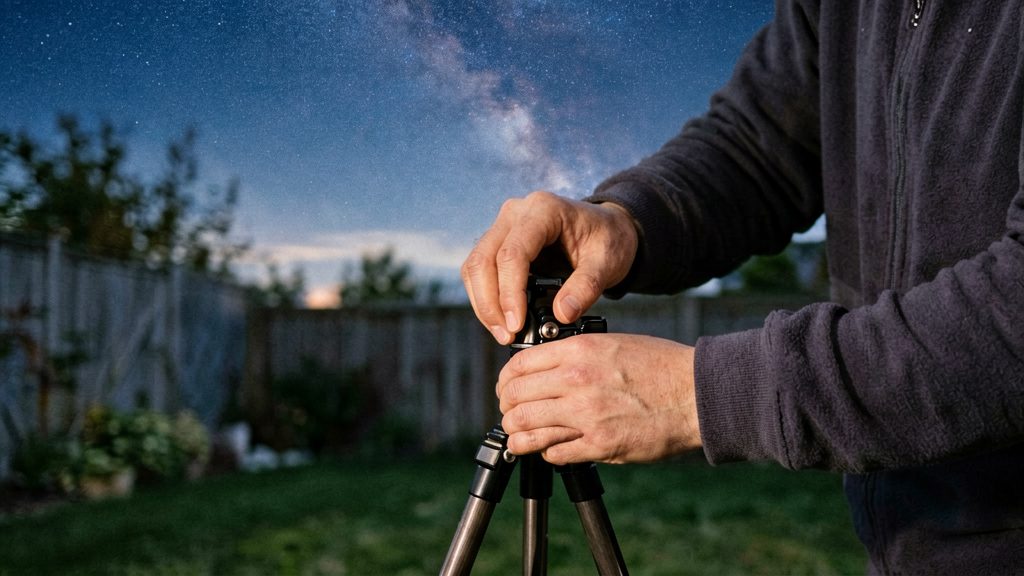
What gear do you need?
A Milky Way shot with an iPhone needs three things: a tripod that holds the phone still, a way to trigger the shutter without touching the phone, and a red light for handling equipment in the dark. National Geographic (July 2026) recommends mounting the phone on a tripod and using a remote or the timer to avoid shake, since exposures of 15 to 30 seconds magnify any movement.
Tripod and phone clamp
- Stability is the main requirement. Any movement during a long exposure blurs the stars, so the tripod and clamp must hold the phone firmly and not flex when touched.
- Check that the clamp grips the phone body securely before each session, and that the tripod legs are fully locked.
- If the Night mode options do not appear, make sure the phone is resting completely still, since the options appear only once the phone detects it is steady.
Remote shutter: Apple Watch or self-timer
- Apple Watch can serve as a remote shutter, according to SlashGear (September 2025). This lets you start the exposure without touching the phone.
- Self-timer: National Geographic (July 2026) lists the timer as an alternative to a remote. Use it if you do not own a watch that can trigger the shutter.
Red light headlamp and dark-adaptation accessories
- Use a red light to see controls and cables. Red light is less disruptive to dark adaptation than white light, so your eyes keep their sensitivity to faint stars.
- Choose a headlamp with a red mode and check the manufacturer’s instructions for how to switch to it.
- Dim the phone screen when reviewing settings, and keep it face-down or in a red-filtered state between shots.
- Sources in this section do not give a specific dark-adaptation time, so allow your eyes to adjust gradually during the session rather than relying on a fixed duration.
Where and when to shoot
Plan the shoot around two factors: distance from artificial light and the season. National Geographic (2026-07-21) advises going more than 30 to 60 miles (50 to 100 km) away from city lights.
Choosing a dark-sky site
- National Geographic (2026-07-21) gives 50 to 100 km from city lights as one photographer’s guidance. It is not a fixed standard, so use it as a starting distance.
- A Bortle map is the more reliable guide. It shows light pollution by area, so you can compare candidate sites before you drive.
- Visit a candidate site in daylight first to check road access, parking and whether the ground is stable enough for a tripod.
Timing the galactic core
- Summer is the core season (National Geographic, 2026-07-21).
- The band is fainter in winter (National Geographic, 2026-07-21).
- Confirm the exact date and hour with a planning app, since the core’s position in the sky changes through the night and across the season.
Planning apps
SlashGear (2025-09-19) lists these apps for planning and exposure calculation:
- SkySafari
- Star Walk
- Stellarium Mobile
- Night Sky
- PhotoPills (planning and exposure calculation)
Use one of them to set your date, time and location, then check where the galactic core sits relative to the horizon at your planned shooting time.
How to set up Night mode for 30 seconds
On an iPhone, the Night Mode Max setting allows the longest automatic exposure, up to 30 seconds according to SlashGear (2025-09-19). These steps rest on SlashGear and the Saguaro Astronomy Club, not on Apple’s own documentation. According to SlashGear (2025-09-19), tapping the Night Mode icon repeatedly cycles it until it shows Night Mode Max, which allows up to 30 seconds. The phone must also be resting still for the option to appear. The steps below cover that sequence, with the flash off and the yellow indicator confirmed.
Cycle the icon to Night Mode Max
- Open the Camera app and make sure the phone is mounted on a tripod.
- Tap the Night Mode icon (the moon symbol) repeatedly until it shows Night Mode Max.
- Confirm the exposure readout. Once the phone detects the tripod, it sets the maximum exposure, which the Saguaro Astronomy Club (Phoenix, AZ, 2026) reports as 30 seconds.
Turn off the flash and confirm the yellow indicator on iOS 26
According to the Saguaro Astronomy Club (Phoenix, AZ, 2026), the sequence on iOS 26 is:
- Turn the flash off.
- Tap Night Mode until the icon turns yellow.
- Tap again to set the maximum exposure.
A yellow icon confirms Night mode is active. If the flash is on, the phone fires it at the foreground instead of relying on the long sky exposure, so keep it off for each frame.
Hold the phone still for the trigger
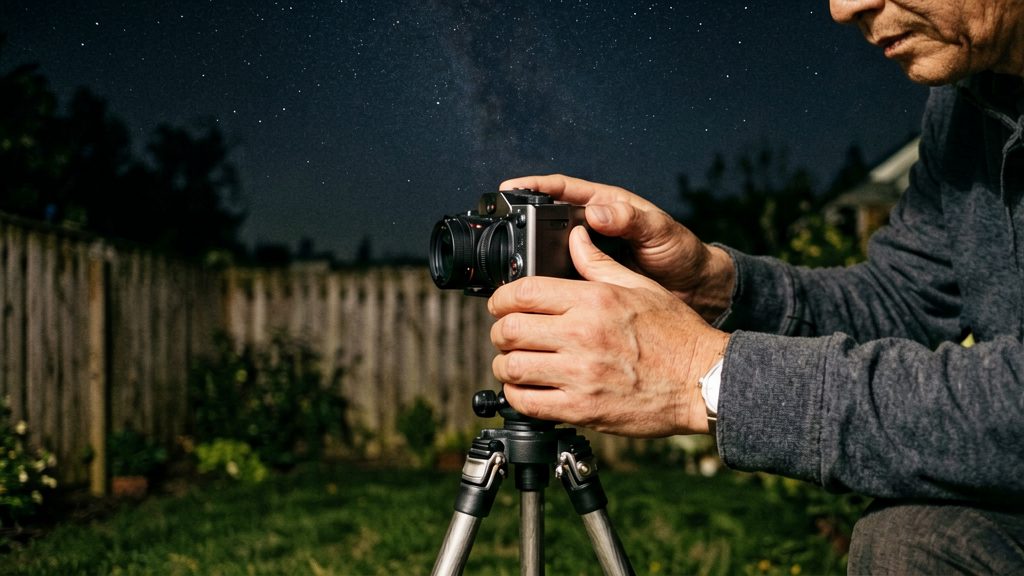
The Night mode options appear only after the phone detects it is steady. Because Night Mode only triggers when the phone rests still, a handheld attempt will not offer the 30-second setting.
Manual apps and RAW for better control
Automatic Night mode chooses the exposure for you, which limits how far you can adjust the image. Manual capture apps let you set the shutter speed and ISO yourself. National Geographic (2026-07-21) recommends 15 to 30 seconds at about ISO 800 to 3200 for Milky Way shots. That range applies to manual-control capture, not to the iPhone’s automatic Night mode.
Manual capture apps
Three apps are named for manual capture on iPhone:
- ProCamera
- Halide Mark II
- Indigo
SlashGear (2025-09-19) lists these three for manual capture, separate from its planning apps. Check each app’s settings menu to confirm where its shutter speed and ISO controls sit, since layouts differ between apps.
Shutter and ISO starting points
| Setting | Recommended range | Source |
|---|---|---|
| Shutter speed | 15 to 30 seconds | National Geographic (2026-07-21) |
| ISO | About 800 to 3200 | National Geographic (2026-07-21) |
National Geographic’s Milky Way examples used 30 seconds at f/1.7. Longer exposures collect more light but also make stars trail, so test within the 15 to 30 second range and adjust from there.
Shooting RAW on Pro models
On Pro iPhones, shooting in 48 MP RAW gives more editing flexibility, according to SlashGear (2025-09-19). The extra room in the file helps when you adjust exposure and contrast during editing.
How do you stack and edit Milky Way shots?
Stacking means combining several exposures of the same sky into one image. Each frame carries random sensor noise, and averaging them reduces that noise while the stars and the Milky Way stay in place. National Geographic recommends taking 5 to 10 shots of the same scene and merging them in editing software.
Taking the frames
Keep the phone on the tripod for the whole sequence and do not change the composition between shots. Use the same settings for every frame so the exposures line up when merged.
Merging frames in editing software
Import the full set into a stacking or editing application and align the frames before averaging. Alignment matches the stars across images, so the result does not blur. Averaging then reduces random noise, and the sky becomes smoother than any single exposure. Apps that accept RAW files and multiple layers can perform this step. The specific stacking tools available on your phone and computer vary by platform, so check the manufacturer’s instructions for the software you use.
Editing the RAW exposure, contrast and noise
Start with the exposure, then adjust contrast so the Milky Way’s structure stands out from the background without making the dark sky look grey. Reduce noise gently after stacking, since stacking already removes much of it and heavy noise reduction can smear fine detail in the core. Compare the edited image with the original RAW to confirm that faint dust lanes and star colours remain intact.
Common mistakes to avoid
Most failed Milky Way photos on an iPhone come from three errors: zooming digitally, moving the phone during the exposure, and overexposing the sky. Each one has a simple check that prevents it. The fixes below are short, and each one targets a specific symptom in the final image.
Digital zoom causing soft, noisy results
Digital zoom crops the sensor and enlarges the pixels, which makes the stars look soft and the grain more visible.
- Check: the zoom indicator reads 1x before you press the shutter.
- Check: in the preview, the stars stay sharp at 100% magnification.
Moving phone during long exposure
Night mode exposures last up to 30 seconds, so any movement shows up as star trails or blur.
- Check: the phone is on a tripod with locked legs, and the shutter is triggered with a remote, Apple Watch or timer rather than a finger tap.
Overexposing the sky and clipping faint stars
Pushing exposure too far makes the sky grey and washes out the faint stars, which are the detail that makes the Milky Way readable.
- Check: the sky background is dark, and the brightest star cores are not flat white blobs in the histogram or preview.
- Check: if the sky looks grey in a manual app, shorten the exposure or lower the ISO within the recommended range.