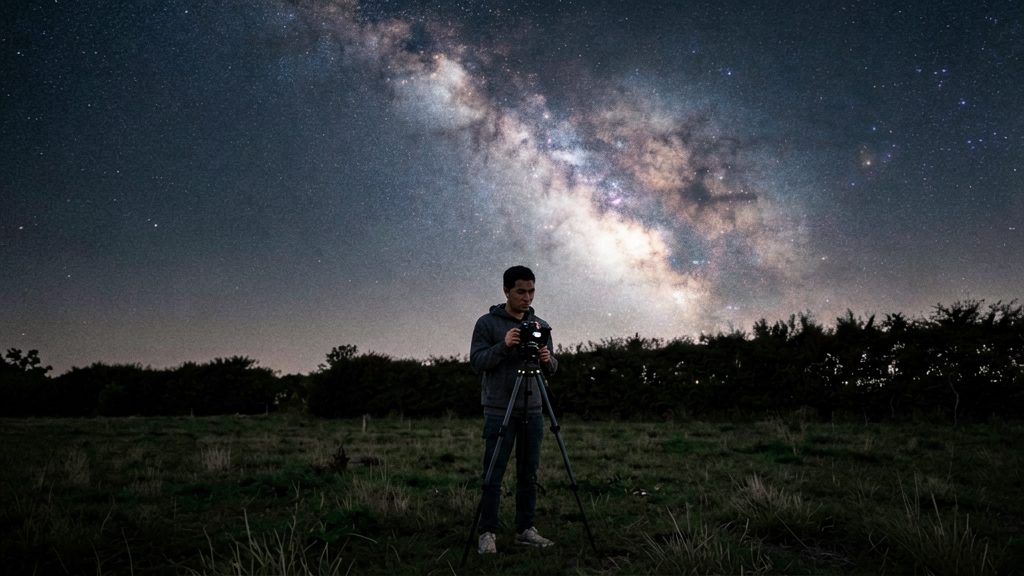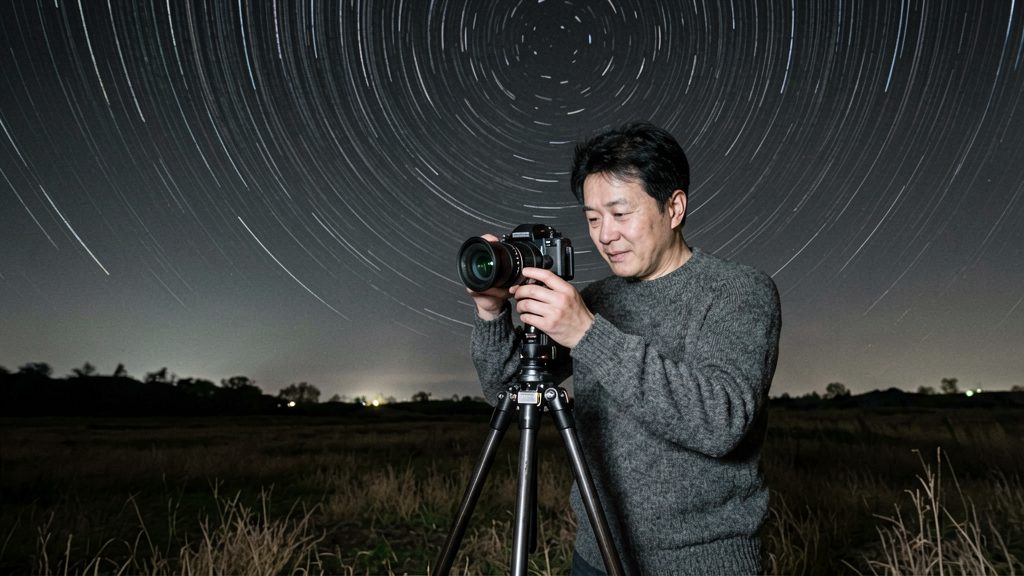
What gear do you need for DSLR star trails?
You need these items for DSLR star trails: a DSLR body with manual exposure, a wide-angle lens, a sturdy tripod, and a way to fire frames without touching the camera. That means either a locked cable release with continuous drive, or an intervalometer set to a fixed interval. The lens matters a great deal, because a wide field of view captures more sky and keeps more stars in every frame.
Camera body
Any DSLR that offers manual exposure and a continuous drive mode can be used. Check the drive options in your camera’s manual to confirm that it can fire repeated frames without you pressing the shutter each time.
Wide-angle lens
- Use the widest focal length you own. It frames more sky for the trails to cross.
- Fast lenses with wide maximum apertures are preferred, because they gather more light from faint stars in each frame. (OPT Telescopes, 2026)
Tripod
- Choose a tripod that stays rigid through a long sequence of consecutive frames. Any movement between frames shows up as a shift in the trails.
- Set it on firm, level ground and tighten every leg lock and the head before you start.
Locked cable release and continuous drive
- A locked cable release lets you start the sequence without touching the camera. Lock it in the on position so the camera keeps firing without you holding the button.
- Pair it with continuous drive mode so the camera captures frames one after another. One author’s preferred method for star trails is stacking many frames taken this way, using a locked cable release in continuous mode. (Digital Photography School)
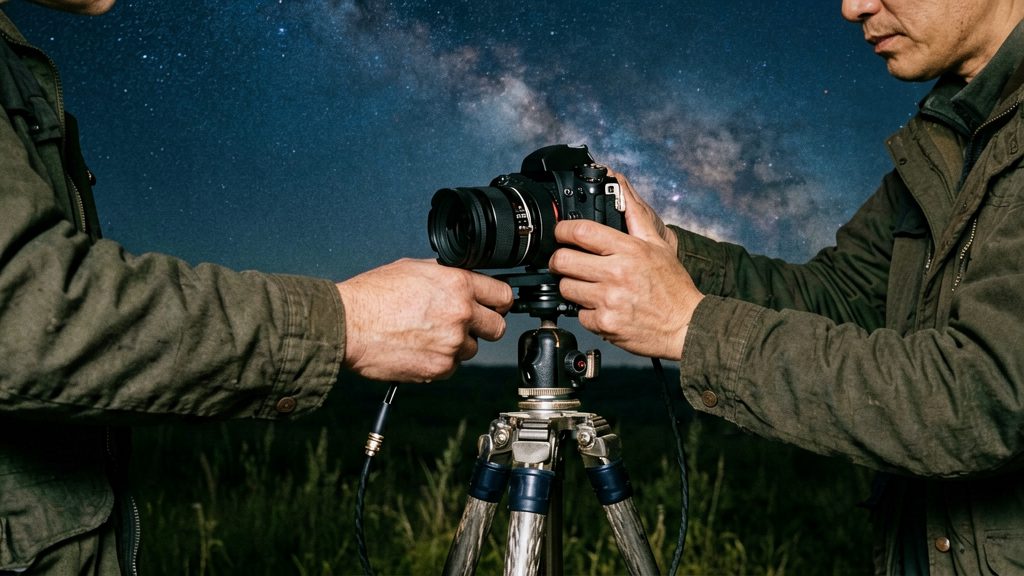
Choose a dark location and a composition
The direction your camera points decides the shape of the trails. Pointing east or west produces straight trails (OPT Telescopes, 2026). Pointing toward the celestial pole (Polaris in the northern sky) produces circular trails centred on the pole. Pointing directly at the pole is a third option, and it keeps the stars looking motionless, so it is useful only if you want the pole itself as the focal point.
Before choosing a direction, pick a site with as little light pollution as you can reach. A dark sky shows the faint trails clearly, while street lights and sky glow wash them out. Check the site with a light pollution map or a dark-sky resource before you travel.
| Aim | Trail shape | Result in the frame |
|---|---|---|
| East or west | Straight | Stars streak horizontally across the frame |
| Celestial pole (Polaris, north) | Circular | Stars arc around a fixed centre |
| Directly at the pole | None visible | Stars appear almost motionless |
Which camera settings work best?
For star trails, set the aperture to f/2.8 or wider, the ISO to a starting point between 800 and 1600, and the shutter to 30 seconds per frame, never more than 1 minute. These values come from Capture the Atlas (2026), and they set the exposure for each frame in a sequence you will stack later.
| Setting | Starting value | Source |
|---|---|---|
| Aperture | f/2.8 or wider | Capture the Atlas (2026) |
| ISO | 800 to 1600 | Capture the Atlas (2026) |
| Shutter per frame | 30 seconds, never over 1 minute | Capture the Atlas (2026) |
Choosing a value within the ISO range
Digital Photography School (DPS) describes a method that uses ISO 800 with the lens at its widest aperture, which makes 800 a reasonable first setting. Capture the Atlas’s FAQ suggests going to 1600 to 3200 for brighter, more colourful trails, which conflicts with its own 800 to 1600 starting range. Test a few ISO values on your own camera and compare the sky background and noise on the back screen at 100% zoom.
Why short frames instead of one long exposure
An older DPS method used a single bulb exposure of about 30 minutes at ISO 200. That article dates from around 2010, and most current sources favour many shorter frames combined in software, so treat the single-exposure settings as outdated.
How do you focus on the stars?
Focus a star-trail lens in two stages: autofocus on a bright target, then manual focus so the setting stays fixed for the whole sequence. According to OPT Telescopes (2026), the reliable targets are a bright star, the Moon or a distant light, and the same locked focus should carry through every frame of the sequence.
Autofocus on a bright target
- Aim the lens at a bright star, the Moon or a distant light.
- Let autofocus lock. If the lens hunts without locking, switch to a brighter target, since faint stars give the autofocus little contrast to work with.
Switching to manual focus
- Once autofocus has locked, set the lens to manual focus.
- Leave the focus ring alone for the rest of the session. Any movement changes the sharpness of every frame you take afterwards.
Checking sharp stars on the preview
- Take a test frame, then use the camera’s playback zoom on stars near the centre and near the edge of the image.
- Zoom in far enough to see individual points of light. Stars should appear as small pinpoints, not soft discs or blurred streaks.
- If the stars look soft, make a small adjustment to the focus ring, take another test frame and check again.
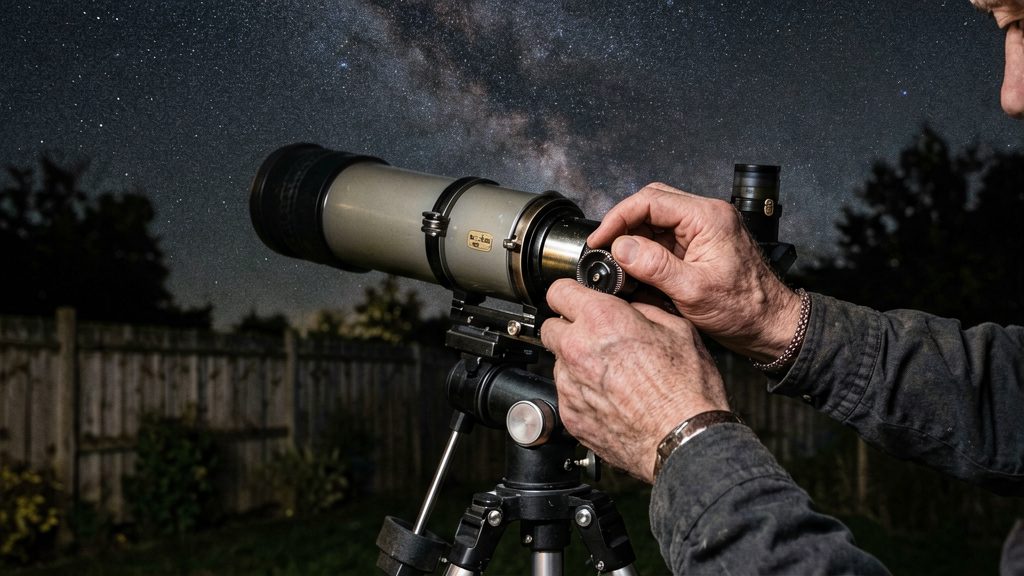
Set the intervalometer and frame count
An intervalometer fires the shutter at a set rhythm, so the interval is the time from the start of one exposure to the start of the next. Set the interval one second longer than the shutter speed. With a 30-second exposure, that means a 31-second interval. The extra second is meant to give the camera time to finish writing each frame before the next one starts. Capture the Atlas (2026) recommends this setting, but notes that a 1-second gap can cause missed frames on some cameras, so you may need a longer gap.
Next, decide how many frames to shoot. Capture the Atlas (2026) suggests a total of 100 to 500 frames per session, and says its author usually shoots about 200 to 300. Total session length follows from the formula: frames × (shutter time + 1 second). At 30 seconds per frame, the cycle is 31 seconds:
| Total frames | Approximate session length (30 s shutter, 1 s gap) |
|---|---|
| 100 | about 52 minutes |
| 200 | about 1 hour 43 minutes |
| 300 | about 2 hours 35 minutes |
| 500 | about 4 hours 18 minutes |
Plan the frame count around your available dark time and battery life. More frames give a brighter, smoother stacked result, but they also use more power and storage.
How do you stack star trail photos?
Stacking combines every frame of a sequence into one image, so each star’s path accumulates into a continuous trail. Free dedicated programs, StarStaX and Sequator, automate the stacking. Photoshop can do the same job manually with a Lighten blend mode on stacked layers.
Stacking in Photoshop with Lighten layers
- Open all the frames as layers in one document (File > Scripts > Load Files into Stack).
- Set the blend mode of every layer to Lighten. Lighten keeps the brighter pixel at each position, so a star’s point of light is carried forward into every frame it occupies.
- Flatten the image and save it.
Free stacking software: StarStaX and Sequator
Capture the Atlas (2026) names these two free options. Their platform support differs:
| Software | Cost | Platforms |
|---|---|---|
| Photoshop (Lighten layers) | Paid | Windows, Mac |
| StarStaX | Free | Windows, Mac |
| Sequator | Free | Windows only |
Mac users without Photoshop should use StarStaX. Windows users have both free options.
Dark frames for noise reduction
Dark frames are exposures taken with the lens cap on, using the same camera settings as the light frames. They record the sensor’s fixed noise pattern and heat-related noise, which the stacking step can then remove from the trail image. Digital Photography School describes shooting dark frames this way.
To capture them:
- Cover the lens fully with the cap and keep the camera in the same position as the light frames.
- Match the ISO and shutter speed used for the sky frames.
- Take a set after the sky sequence, while the sensor is at a similar temperature.
- Process the dark frames with the light frames in your stacking software, following that program’s dark-frame instructions.
Manage battery and dew on long nights
A star trail sequence runs for a long time, so the camera battery is often the first limit reached. Carry spares, and plan an external power option before the first frame. Dew on the front element is the second risk, and it can soften or fog a run of frames without any warning on the camera screen.
Charging before the session
According to OPT Telescopes (2026), you should fully charge the battery before starting, because many frames drain it. A partly charged battery can end the sequence early, and a gap in the run leaves a broken trail.
Spare batteries and external power
Capture the Atlas (2026) advises carrying spare batteries and notes that an external power bank can extend runtime by several hours.
| Power source | Role in the session | Practical check |
|---|---|---|
| Main battery, fully charged | Starts the sequence | — |
| Spare battery | Replaces the main battery when it runs low | Keep it in an inside pocket so it stays ready between uses |
| External power bank | Extends runtime by several hours (Capture the Atlas, 2026) | Confirm in the camera manual whether it can be powered over USB and whether it keeps shooting while charging |
When swapping batteries, check the last frame on the screen before resuming, so you can confirm the swap did not interrupt the run.
Dew on the front element
Dew forms when the front glass cools to the dew point of the surrounding air, and it usually appears on the lens before the camera body shows any sign of it. Check the first few frames on the screen: stars that look hazy, blurred or surrounded by a glow point to moisture on the front element.
- Lens hood: Fit one to shade the front element from sky radiation.
- Dew heater: A heater band or strap wrapped around the lens front can keep the glass above the dew point. Accessory strap models are sold by camera and astronomy retailers, and their power draw adds to the battery budget.
- Microfibre cloth: Keep a dry cloth on hand and wipe the front element between sequences rather than during one.