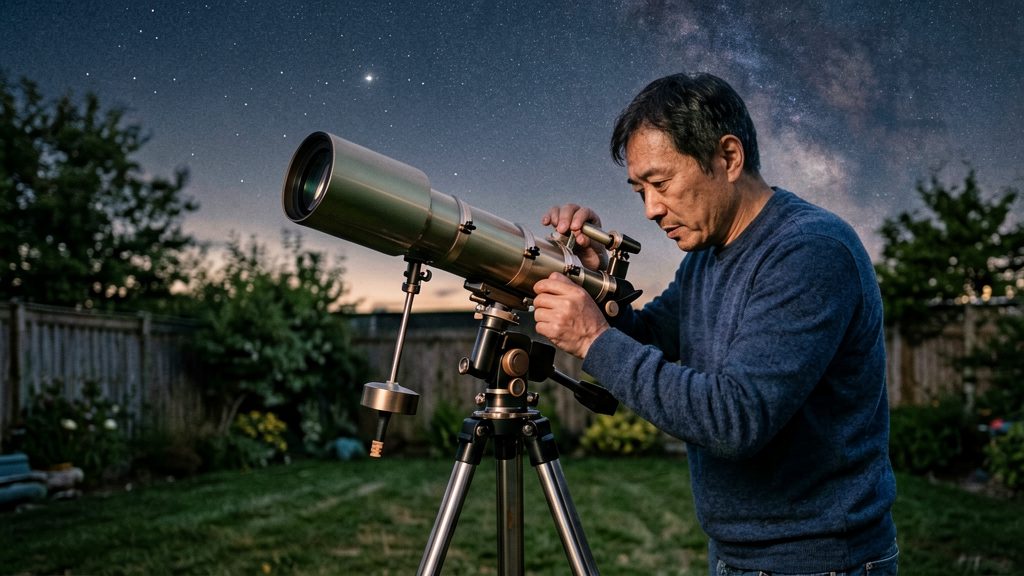
A Barlow lens is an optical accessory that sits between the telescope and an eyepiece and increases the telescope’s effective focal length. Because it is a negative lens, it spreads the light cone before the eyepiece focuses it, so the eyepiece behaves as if it had a shorter focal length. Its strength is given as a Barlow factor, most commonly 2x, and the same eyepiece can deliver several different magnifications depending on which factor is used.
What is a Barlow lens and what does it do?
Negative lens design
A Barlow lens is a negative lens, meaning it diverges light rather than converging it to a focus as a positive lens does. The telescope delivers a converging beam, and the Barlow spreads that beam before it reaches the eyepiece. The eyepiece then focuses the spread-out light, which lengthens the optical path. This is why a Barlow is sold as an add-on for eyepieces rather than as a stand-alone magnifier.
Barlow factor and effective focal length
The Barlow factor is the multiplier printed on the lens, written as a number followed by “x”. It scales the telescope’s effective focal length. According to Celestron, a 2x Barlow makes a 40mm eyepiece behave like a 20mm eyepiece. Celestron also states that the most common factor is 2x and that factors range from about 1.8x to 5x.
Applied to a 40mm eyepiece, the range works out as follows (values rounded to one decimal place):
| Barlow factor | Eyepiece behaves like |
|---|---|
| 1.8x | about 22.2mm |
| 2x | 20mm |
| 5x | 8mm |
Effect on magnification
Magnification depends on the focal length the eyepiece works at. A shorter effective focal length therefore produces higher magnification from the same telescope. Raising the factor multiplies the telescope’s effective focal length further, which makes the eyepiece behave as if it were even shorter, so a 5x Barlow gives a stronger magnification than a 2x Barlow with the same eyepiece.
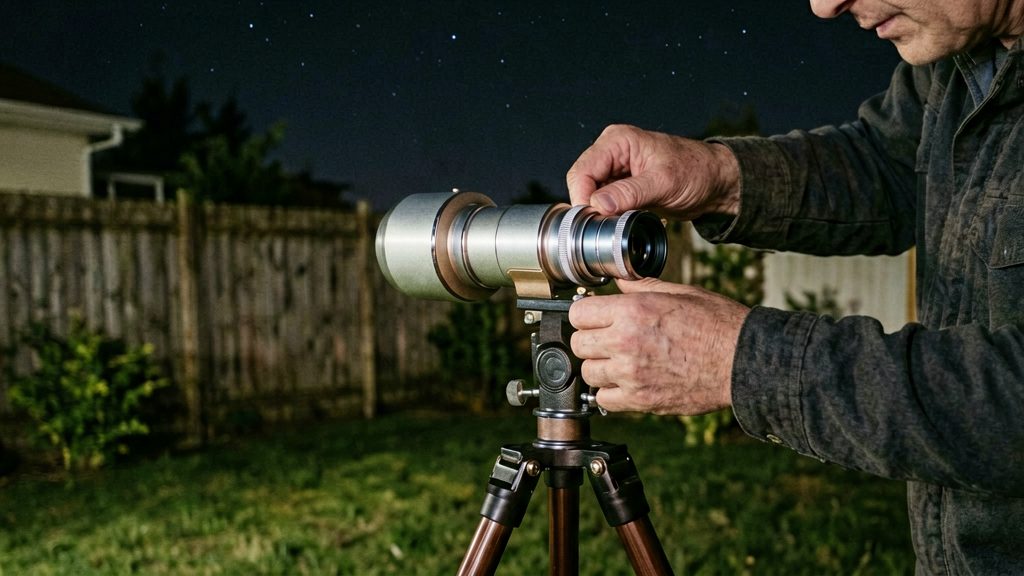
How do you use a Barlow lens step by step?
Assemble the Barlow and eyepiece in a fixed order: choose the eyepiece first, then build the chain outward from the telescope.
- Choose the eyepiece first. Pick the eyepiece you want to use before you fit anything, so you know which barrel size and focal length you are working with.
- Secure the Barlow. Insert the Barlow and tighten its locking screws so it cannot slip.
- Secure the eyepiece in the Barlow. Insert the eyepiece into the Barlow’s receiving end and lock it. A loose eyepiece can drop or shift during observing.
- Refocus. Adding a Barlow changes where the image forms, so the focus you had with the eyepiece alone will no longer be sharp. Slowly rack the focuser until stars or the Moon are crisp, following AstroBackyard’s sequence of choosing, securing and then refocusing.
Where does the Barlow go on your telescope?
The position of a Barlow depends on the optical design of your telescope. The Barlow always sits directly in front of the eyepiece, and it always carries an eyepiece. Check which design you own before you place it.
| Telescope design | Barlow position in the light path | Eyepiece position |
|---|---|---|
| Newtonian | Directly in the focuser, between the focuser and the eyepiece | Inserted into the Barlow |
| Refractor | Between the star diagonal and the eyepiece | Inserted into the Barlow |
| Schmidt-Cassegrain | Between the star diagonal and the eyepiece | Inserted into the Barlow |
- Newtonian: The light leaves the focuser without a diagonal in the path, so the Barlow goes straight into the focuser and the eyepiece goes into the Barlow.
- Refractor and Schmidt-Cassegrain: Both designs usually use a star diagonal to bend the light to a comfortable eyepiece angle. The standard setup puts the Barlow after the diagonal, directly in front of the eyepiece.
- Always with an eyepiece: A Barlow is a lens that works only in combination with an eyepiece. Do not place it in the focuser on its own, and do not look through it without an eyepiece inserted.
How to calculate your new magnification
Magnification is the telescope’s focal length divided by the eyepiece’s focal length. A Barlow lens multiplies the effective focal length, so you apply its factor to the result. Using the formula as plain text: magnification = telescope focal length / eyepiece focal length × Barlow factor.
A Barlow therefore changes the result by exactly its factor.
Step-by-step arithmetic
- Find the telescope focal length. It is printed in the telescope’s specifications, usually in millimetres. Keep this value fixed for every eyepiece you use with it.
- Divide by the eyepiece focal length. Use the number printed on the eyepiece barrel, also in millimetres.
- Multiply by the Barlow factor if a Barlow is in the light path.
Worked example: 40mm eyepiece with a 2x Barlow
The telescope in this example has a hypothetical focal length of 1000mm, chosen only to keep the arithmetic simple. Replace it with your own telescope’s value.
| Step | Calculation | Result |
|---|---|---|
| Eyepiece alone | 1000 / 40 | 25x |
| Same eyepiece with 2x Barlow | 1000 / 40 × 2 | 50x |
| Equivalent eyepiece focal length | 40 / 2 | 20mm |
| Check with the equivalent eyepiece | 1000 / 20 | 50x |
The last two rows confirm the result: halving the eyepiece focal length and doubling the magnification give the same number.
How much magnification is too much?
A Barlow lens raises magnification, but every telescope has a practical ceiling. Celestron states that good performance is usually reached at about 30–40x per inch of aperture in steady air. Beyond that range, the image becomes dim and blurry, so extra power adds little detail. Apply this figure to the aperture of your own scope, then treat it as the upper limit for your observing session.
What happens beyond the ceiling
Past about 30–40x per inch, two symptoms appear:
-
- Dim image: the light is spread over a larger magnified image, so the view is dimmer and faint objects fade.
- Blurry image: the view looks soft and lacks contrast, even when focus is sharp.
If your view turns dim and blurry after adding a Barlow, remove it or switch to a longer eyepiece before concluding that the optics are faulty.
Steady air sets the limit
The 30–40x guideline applies to steady air. On nights when stars twinkle strongly, the usable ceiling drops. Pick a lower power on unsteady nights and save higher magnification for nights with calm seeing.
Barlow trade-offs: brightness, eye relief and seeing
A Barlow lens gives more magnification from the same eyepiece, but each extra power costs something. The three main trade-offs are a dimmer image, magnified air turbulence, and, as a benefit, more eye relief. How much each one matters depends on the telescope’s focal ratio and on how steady the air is that night.
Light dimming on slower scopes
A Barlow can dim the view, especially on slower scopes with a higher f-ratio. Brightness matters most for faint targets such as deep-sky objects, so a slow scope with a strong Barlow is the combination most likely to make the view too dim to use.
Magnified turbulence and image shimmer
A Barlow magnifies the atmospheric turbulence along with the target. AstroBackyard notes that this is part of the trade-off, so the image can look shimmery or soft at higher powers even when the optics are working correctly.
Extra eye relief for eyeglass wearers
Celestron states that a Barlow adds eye relief, which can let eyeglass wearers observe comfortably. This is the main benefit: the added eye relief can let eyeglass wearers observe comfortably.
| Factor | Effect of a Barlow | Source |
|---|---|---|
| Turbulence | Magnified along with the target | AstroBackyard |
| Eye relief | Increased, helpful with eyeglasses | Celestron |
Choosing a Barlow: 1.25-inch vs 2-inch and 2x vs 3x
Choosing a Barlow involves two decisions: the barrel size, which must physically match your focuser and eyepieces, and the magnification factor, which should suit your telescope’s focal ratio. Barlows come in 1.25-inch or 2-inch barrels, and according to Celestron, the barrel size should match your focuser and eyepieces.
Barrel size: 1.25-inch vs 2-inch
Barrel size is a fit requirement, not a performance rating. Check the barrel diameter of your focuser and eyepieces before buying:
- A 1.25-inch Barlow suits a 1.25-inch focuser and 1.25-inch eyepieces.
- A 2-inch Barlow suits a 2-inch focuser and 2-inch eyepieces.
Factor: 2x as the default, 3x as an option
A 2x model is the usual starting point. A 3x model is worth considering only on a faster scope. Slower scopes such as an f/10 need less Barlow power, while an f/5 can take up to a 4x, according to AstroBackyard.
Matching the factor to focal ratio
AstroBackyard notes that slower scopes need less Barlow power than faster ones:
| Telescope focal ratio | Barlow guidance |
|---|---|
| f/10 (slower) | Needs less Barlow power |
| f/5 (faster) | Can take a 4x Barlow |
For a slower scope such as an f/10, a 2x is the more appropriate choice than a 3x. Faster scopes have more room to accept higher factors.