Where is the Andromeda Galaxy in November?
In November, M31 lies in the constellation Andromeda and is well placed in the evening sky from the Northern Hemisphere, because autumn is the best season to observe it. BBC Sky at Night Magazine (2026), a UK source, places it highest in the south around 8pm. That is not specific to November or to US latitudes, so confirm the altitude and time for your own location with a planetarium app.
Why autumn suits M31
- Best season: Autumn is the best season to observe M31, though it can be seen from the Northern Hemisphere for much of the year, so November is not the only window.
- Latitude matters: The source’s ‘highest in the south around 8pm’ comes from a UK-based guide. Check the position for your own US latitude and date before observing.
Constellation: Andromeda
M31 sits within the constellation Andromeda, a northern constellation. Knowing the constellation’s name helps you match the region of sky you are viewing with a star chart or astronomy app, and it is the first identification step before you look for the galaxy itself.
What you can see without a telescope
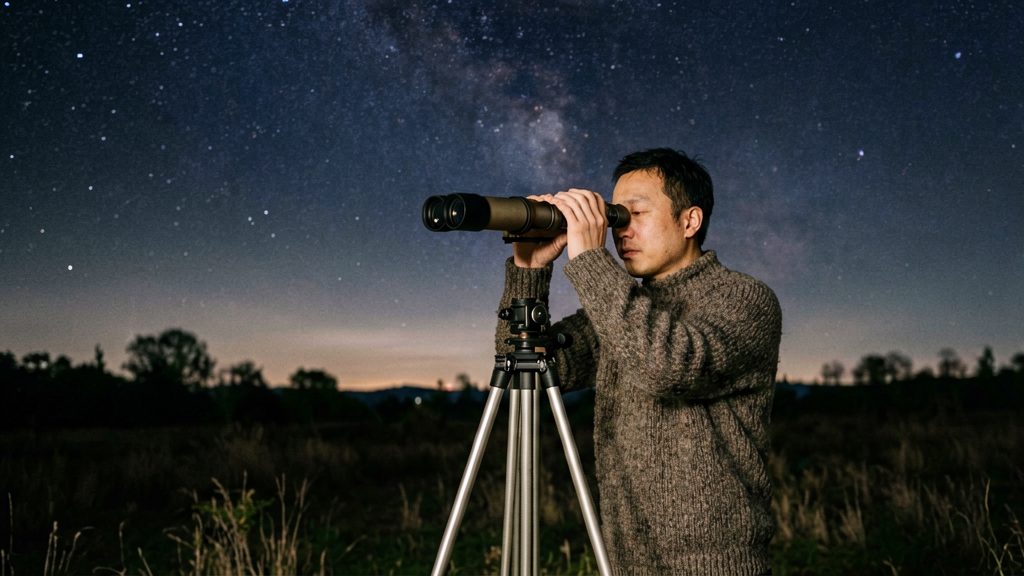
Binoculars show M31 easily as an oval, even from light-polluted areas, although they do not resolve individual stars.
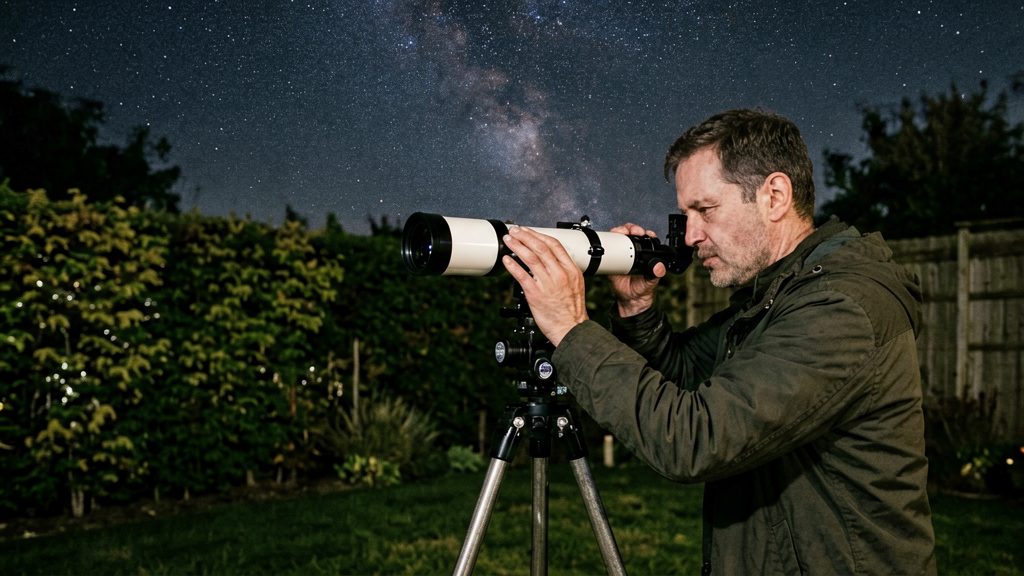
When is Andromeda highest in the evening sky?
The Andromeda Galaxy (M31) is highest in the sky at its transit, the moment it crosses the meridian, the imaginary line running from north to south overhead. BBC Sky at Night Magazine (2026) places it highest in the south around 8pm. That guidance is not specific to November or to any single latitude, so treat 8pm as a starting estimate. Your exact transit time depends on your longitude, your time zone and the date.
How the transit time shifts through November
Stars and deep-sky objects cross the meridian a little earlier each night, because the sidereal day is shorter than the solar day. Across the month, M31’s transit drifts steadily earlier, so a time that works in early November will be noticeably earlier by late November. Do not reuse a transit time from a previous week. Look up the value for your specific date.
Peak altitude across the evening
Altitude is greatest at transit and decreases as the galaxy moves west. Around transit, M31 changes altitude slowly, so it stays fairly high for a couple of hours either side. Observers much earlier or later in the evening see it lower in the sky.
- Before observing, note the transit time for your date and location.
- Plan your session around that time, since the galaxy is highest then and the air you look through is thinnest.
- If you arrive earlier, M31 will be lower in the east. If you stay later, it will be lower in the west.
Confirming local transit with a planetarium app
Use a planetarium app, such as Stellarium, to check the timing on your own site:
- Enter your observing location, either by GPS or by typing in latitude and longitude.
- Set the date and time to the night you plan to observe.
- Search for M31 or “Andromeda Galaxy” and centre it on screen.
- Advance the time until the galaxy sits on the meridian, then read the transit time and altitude shown.
- Repeat the check on a second night to see how far the transit has shifted.
How do you find Andromeda from the Great Square of Pegasus?
The Great Square of Pegasus is the most practical starting point for finding M31, the Andromeda Galaxy, because its four corner stars are easy to identify and the route from them is short. Star-hopping means moving from a bright, recognisable star to a fainter target along a fixed line, so you never need a detailed star chart to reach the galaxy. Use the diagonal from the square’s southwest corner to its northeast corner as your first guide line, then follow a second, bent line to the galaxy’s position.
Drawing the first diagonal
- Locate the four stars of the Great Square of Pegasus. They form a large, nearly regular quadrilateral.
- Identify the southwest corner and the northeast corner. Imagine a straight line joining them.
- Extend that line beyond the northeast corner by about the same distance as the square’s diagonal. This extension points you toward Mirach (magnitude +2.1), which marks the start of the Andromeda chain.
Turning the route toward M31
From Mirach, turn 90 degrees toward the northwest. Two fainter stars lie along this bend:
| Star | Apparent magnitude | Role in the route |
|---|---|---|
| Mu Andromedae | +3.9 | First waypoint after the turn |
| Nu Andromedae | +4.5 | Confirms you are on the correct line |
Confirming the route
Check that you have reached the right area by matching the pattern of Mu and Nu Andromedae against the surrounding field. If both stars appear in roughly the same sequence and brightness relationship described above, the galaxy lies in the faint haze close to this line. Because M31 is a diffuse object rather than a point of light, use averted vision, looking slightly to one side of the spot, to make it stand out.
Using Cassiopeia as a pointer
Cassiopeia gives a second star-hop route to the Andromeda Galaxy (M31) that does not depend on the Great Square of Pegasus. Its main stars form a W-shaped asterism, and the deeper V within that W serves as the pointer. Once you find the W, the V aims almost directly at the galaxy.
- Find the W-shaped asterism. Locate Cassiopeia’s W, a zigzag of bright stars that is easy to recognise once you know the pattern.
- Identify Schedar. It sits at the bottom of the deeper V of the W. Use it as your starting point for the next step.
- Follow the V as an arrow. Trace the direction the V points, extending it from Schedar onward. The V acts as an arrow pointing almost directly at M31.
Can you see Andromeda with the naked eye?
Yes. Under dark, moonless skies, the Andromeda Galaxy (M31) appears as a faint, misty patch. According to BBC Sky at Night Magazine (2026), it is the only major galaxy visible without optical aid. Under a bright Moon or near city lights, the patch blends into the background and is easy to miss, so the view depends far more on sky darkness than on equipment.
| Observation | What the naked eye shows |
|---|---|
| Appearance | Faint, misty patch |
| Conditions | Dark, moonless skies |
| Apparent size | Roughly the width of six full Moons |
| Distance | About 2.5 million light-years |
What you actually see
At this level of detail, M31 shows no spiral arms and no individual stars. You see a soft, diffuse smudge, brighter toward the middle. Its apparent size is the most useful clue for identifying it: a patch several Moon-widths across is far larger than a star or a fuzzy comet head, so a faint glow of that scale is a strong sign you have found it.
Getting the eye ready
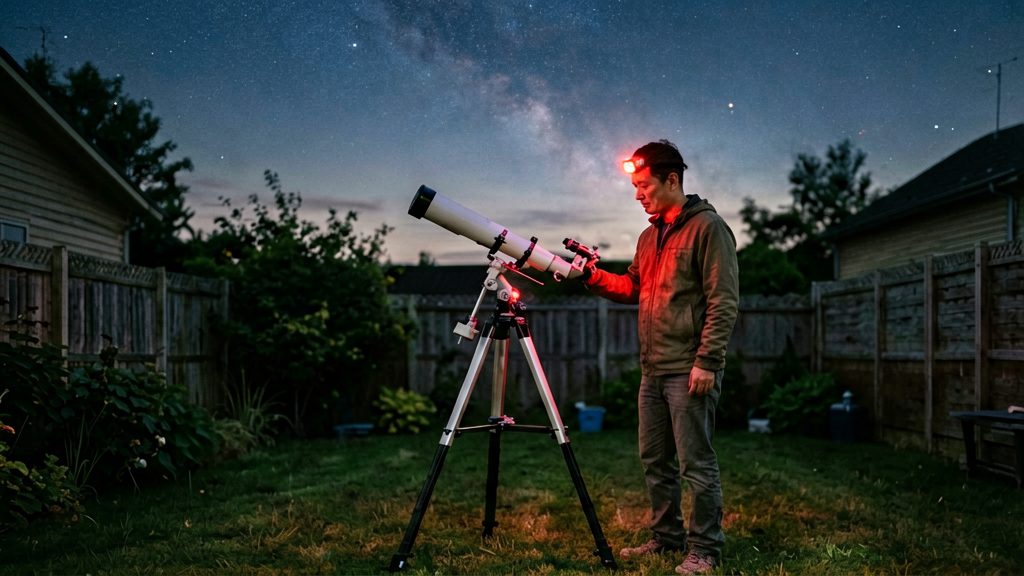
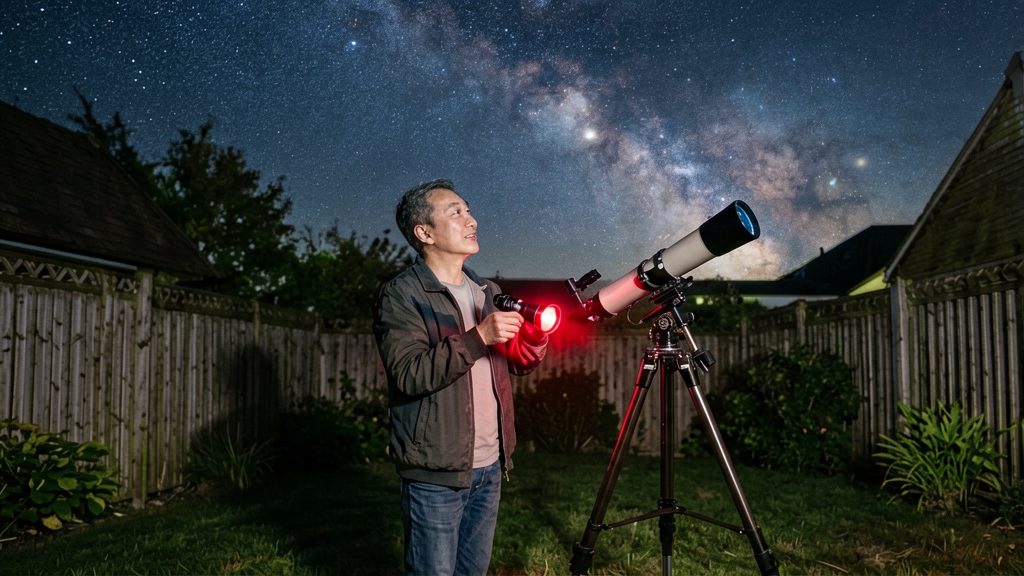
- Allow your eyes time to dark-adapt before looking. Avoid phone screens and white flashlights during that time, or use a red light.
- Look slightly to one side of the patch rather than straight at it. This technique, called averted vision, uses the more light-sensitive parts of the retina and often makes the glow easier to see.

Binoculars or telescope for Andromeda?
Binoculars and small telescopes show M31 in different ways. Binoculars reveal its overall oval form, while a telescope brings out the bright core and, with larger apertures, the spiral arms and dust lanes. The choice depends on whether you want the galaxy’s full extent in a wide view or its internal detail.
Binoculars: the full oval
Binoculars show the galaxy as an oval, even from light-polluted areas. At this level, you see the overall shape and size of the glow, but individual stars are not resolved. The galaxy looks like a soft, elongated patch rather than a point of light.
Small telescopes: the bright core
In a small telescope, the visible glow is mostly the core, about 30 by 10 arcminutes. Low magnification works best because it keeps the faint light concentrated and the view bright. Higher powers spread the light thinner and make the core harder to see against the sky.
Larger telescopes: spiral structure and dust lanes
Larger telescopes reveal the spiral structure and dark dust lanes that binoculars and small instruments cannot show. These features need more light-gathering power and a dark sky. Use a low-power eyepiece first to frame the galaxy, then increase magnification gradually to check for detail.
M32 and M110: the companions to look for
M31 has two bright satellite galaxies, M32 and M110, which are the companions most often sought once the main galaxy is found. According to the BBC Sky at Night Magazine (2026), M32 has a magnitude of +8.1 and M110 has a magnitude of +8.5, so M110 is the fainter of the two. Both can be seen in small telescopes. Their faintness means they are not visible in the same way as the main galaxy’s core, so you need to locate them deliberately rather than expect them to stand out.
| Object | Magnitude | Appearance | Instrument |
|---|---|---|---|
| M32 | +8.1 | Compact satellite | Small telescope |
| M110 | +8.5 | Fainter and more diffuse | Small telescope |
How to find the companions
- Centre M31 first. Confirm you have the oval glow of the core before looking further.
- Scan the field around the core. M32 and M110 lie close to M31, so both should fall within the same low-power view. Scan slowly and compare faint patches against the field.
- Use a chart for exact positions. Their precise placement relative to the core is best confirmed with a star chart or a planetarium app before you observe.
Tips for dark skies and moonless nights
Session planning matters as much as equipment. Three checks decide whether a faint target in the Andromeda region is worth observing: the Moon phase and rise time, the light pollution level of your site, and the state of your dark adaptation.
Check the Moon before you go
- Confirm the Moon’s phase and rise time for your date and location with a printed almanac, a planetarium app such as Stellarium, or your phone’s sky tools.
- If a bright Moon will be up during your session, plan to observe before moonrise or after moonset. Moonlight raises the sky background and washes out faint, diffuse objects.
- Compare the Moon’s position with your target in the app before the session, so you know whether the two will be in the same part of the sky.
Pick a dark-sky site with a light pollution map
- Open a light pollution map such as lightpollutionmap.info and look for the darkest zones within a practical driving distance.
- Check the map for glow from nearby towns, since a site a few miles from a city can still be affected.
- Map colours show general sky brightness only. Confirm on arrival that the horizon in your target direction is clear of trees, buildings or hills.
- Choose a site with legal, safe parking and access, and check the rules for the location before you go.
Protect your dark adaptation
- Allow your eyes a long, unhurried period in the dark before judging faint detail. Adaptation builds over a good while in darkness, so be patient and avoid any white light, which resets it.
- Use a red-filtered flashlight rather than white light for reading charts and adjusting equipment.
- Keep phone screens dimmed or off during the adjustment period.