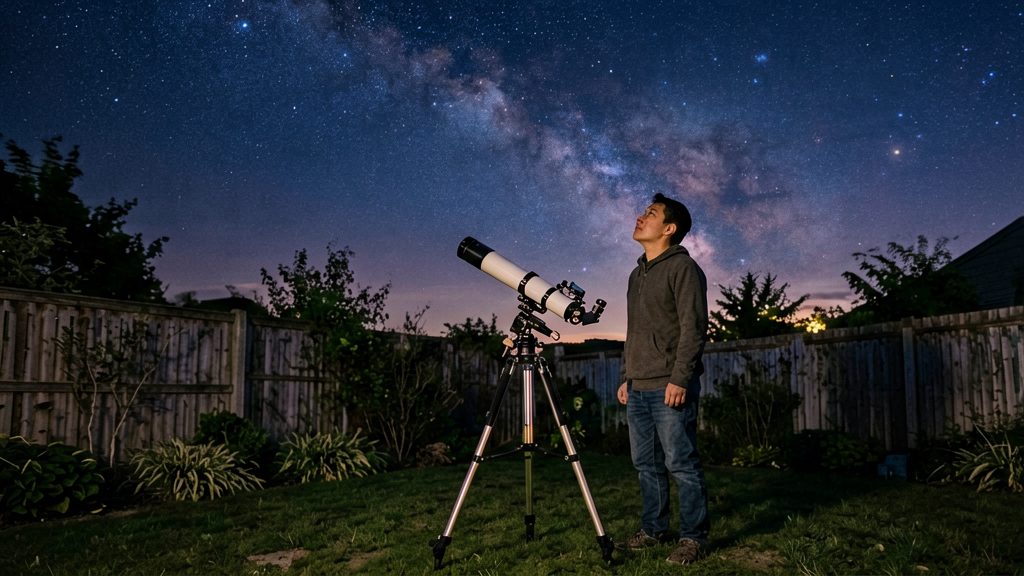
A star chart by month is a printed or on-screen map of the stars and constellations visible in the night sky during a given month. For a beginner, it does the orientation work before any optics are involved: you match the sky above you to named patterns, using only your eyes. Because the sky shifts gradually through the year, a chart labelled for the current month shows the stars you are likely to see at a comparable hour.
Why use a star chart by month?
Learn constellation patterns before anything else
Recognising a few bright, easily found shapes gives you fixed reference points. Once you can locate one pattern, such as the Big Dipper, an asterism within Ursa Major, you can trace the chart’s lines outward to neighbouring groups. Learning patterns this way makes every later step faster, whether you use binoculars, a telescope or a phone app.
Orient yourself before touching optics
A chart is only useful if you hold it the right way relative to the sky. If a pattern looks displaced, compare it against several labelled stars before concluding you have the wrong one.
Match the sky to the current calendar month
Some chart sets are not monthly. Sky & Telescope (2026) describes its free Getting Started in Astronomy pamphlet as having six charts, one every two months. Select the chart closest to today’s date and check which version it is (month label, hemisphere, latitude and faintest stars shown):
| Check | Why it matters |
|---|---|
| Month label | Shows the stars expected in that season |
| Hemisphere version | Sky & Telescope (2026) publishes Northern and Southern Hemisphere versions |
| Latitude stated | NASA’s charts are built for 34° N |
| Faintest stars shown | Determines whether you need binoculars to confirm a faint pattern |
Where can you print a free monthly star chart?
Several free sources publish printable star charts for beginners, and they differ mainly in how often the sky is updated, how many pages they use and what they leave out. The most practical starting point for a monthly routine is the NASA Star Finder series, which provides a new chart for each month. Sky & Telescope’s Getting Started in Astronomy pamphlet offers six charts, one every two months, while Eyes on the Sky offers black-and-white PDFs and points to Skymaps.com for a monthly all-sky chart. Each option suits a different observing style, so comparing their formats before printing saves time.
NASA Star Finder monthly PDFs
NASA Space Place publishes one printable Star Finder PDF per month.
To prepare it:
- Download the monthly PDF from NASA Space Place.
- Print it at full size.
- Cut out the chart along the solid lines.
- Fold it as shown on the printout, so the sky map sits on top of its time-and-date guide.
Sky & Telescope Getting Started in Astronomy
This free pamphlet is a 10-page, black-and-white PDF from Sky & Telescope. It comes in separate Northern and Southern Hemisphere versions, so choose the one that matches your location. It can be printed or photocopied and includes naked-eye star maps plus a lunar map.
Eyes on the Sky and Skymaps.com
Eyes on the Sky offers printable black-and-white PDF charts. For a monthly all-sky view, it refers readers to Skymaps.com.
How do you read a monthly star chart?
A monthly star chart is a flat map of the sky for one specific time of night. To read it correctly, you need to match it to your latitude, face the right direction, and hold it so the constellations line up with what you see overhead. Once you understand the orientation method, a printed chart becomes a reliable guide to what is visible on any given night.
Compensate for your latitude
According to NASA Space Place (2026), the printable Star Finder charts are made for 34° N. If you live farther north, the constellations appear shifted south relative to the chart. Before you start, note your approximate latitude and decide whether you are close to 34° N or well away from it. Observers far from that latitude should expect the offset and confirm the match by checking identifiable bright stars first.
Align the chart with the horizon and compass
A flat chart works best when you orient it to the actual horizon rather than holding it at random.
- Find north: Locate Polaris, the North Star, which sits close to the northern celestial pole. It stays nearly fixed while other stars circle around it.
- Face the direction you want to observe: Stand so the part of the sky you intend to explore is in front of you.
- Place the chart’s bottom edge on the horizon: Hold the chart so the compass label for the direction you are facing is at the bottom, nearest the ground.
- Check the labels: The compass label at the bottom of the chart should be the direction you are facing. The other labels then fall in order around the chart, so the side labels match what lies to your left and right.
Hold the chart overhead and rotate it
Once the horizon edge is set, raise the chart above your head and rotate it until its constellations match the sky. Keep the chart’s horizon edge at the bottom, toward the horizon you are facing. Each time you turn to face a new direction, rotate the chart so that compass label is at the bottom. Turn the chart slowly and compare the stars one group at a time rather than trying to match the whole sky at once.
What is the best time to use each month’s chart?
The NASA Star Finder charts are built around a reference clock time that shifts with the day of the month. They show the sky at about 10 PM on the 1st, 9 PM mid-month and 8 PM at month’s end, all in local standard time (NASA Space Place, 2026). To use a chart well, find the part of the month you are observing in, take the matching reference time, and go out at that hour if you can. The sky turns through the night, so the constellations you see at 10 PM will sit in different positions at 7 PM or midnight.
Clock changes move these reference times. According to NASA Space Place (2026), in months with Daylight Saving Time the times are an hour later, so you add one hour to each reference time.
| Point in the month | Reference time, standard time | Reference time, Daylight Saving months |
|---|---|---|
| Start of month (1st) | About 10 PM | About 11 PM |
| Mid-month | 9 PM | 10 PM |
| Month end | 8 PM | 9 PM |
Sky & Telescope’s free Getting Started in Astronomy pamphlet uses a different schedule. Because each chart spans a longer period, the gap between the current date and the chart you hold is wider. In that case, use the chart closest to the current date and compare it against the sky at the hour you are observing, rather than relying on a single reference time.
What do printable charts not show?
A printable star chart is a fixed picture of the stars and constellations. It does not show objects that move against that background, so the Moon and planets are missing from most monthly sheets. Sky & Telescope’s free pamphlet, for example, shows the stars and constellations in the evening sky but not the Moon and planets, because those move (Sky & Telescope, 2026).
| Object | Shown on a printed chart? | Where beginners can check its position |
|---|---|---|
| Stars and constellations | Yes, as fixed patterns | Printed chart or planisphere |
| Moon | No, its position changes from night to night | Current lunar phase and position in a sky app or almanac |
| Planets | No, they drift against the background stars | Current magazine issue or the Interactive Sky Chart |
The Moon changes its position against the stars every night, so any printed chart becomes inaccurate for it within a day or two. Check the Moon’s phase and rough position in a sky app on the night you plan to observe.
The planets also shift against the background stars over weeks and months. A planet that sits in one constellation on a printed chart may have moved into a neighbouring one by the time you go outside. Before you observe, check the current positions in the latest magazine issue or on the Interactive Sky Chart, then use your printed chart to identify the surrounding constellations.
Do you need a red light or binoculars?
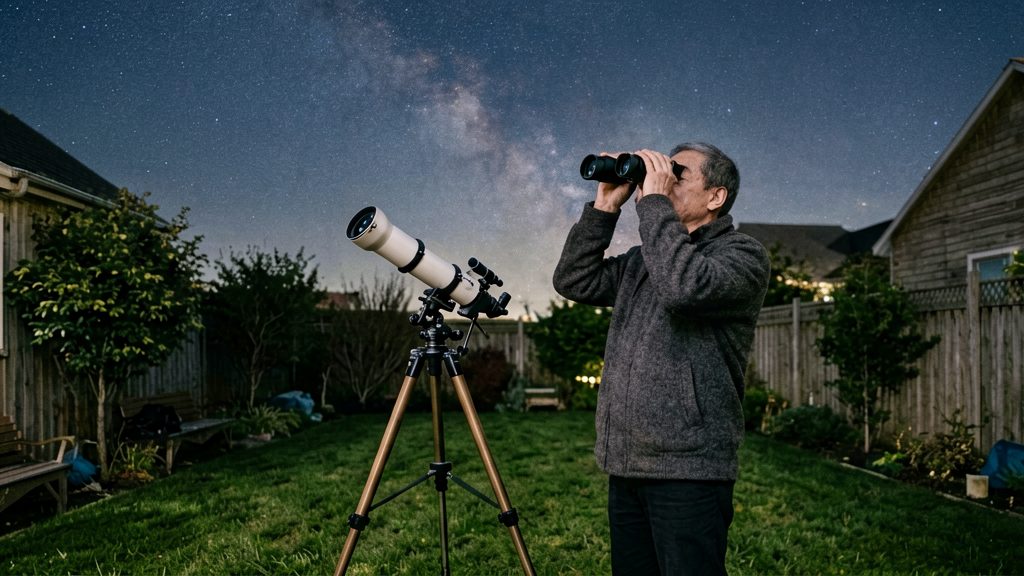
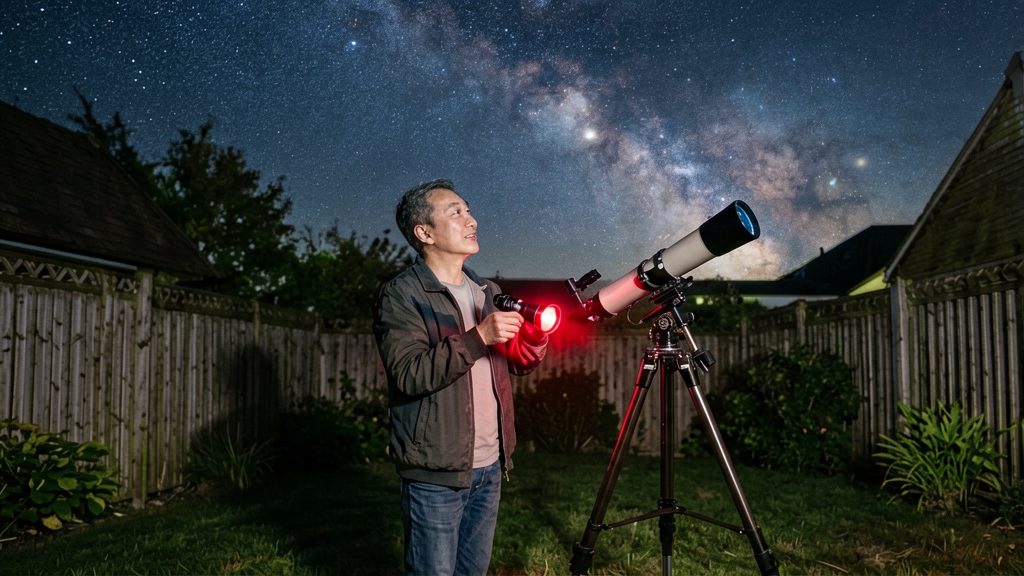
For reading a monthly chart, a red light is a very useful item. Binoculars or a small finderscope become useful when you want to find the faintest stars the chart lists. Andrew L. Johnson’s beginner charts, as described by Eyes on the Sky (2026), show stars to about magnitude 7.25, and these suit binoculars or a 6x30 or larger finderscope under light-polluted skies.
Why a red light matters
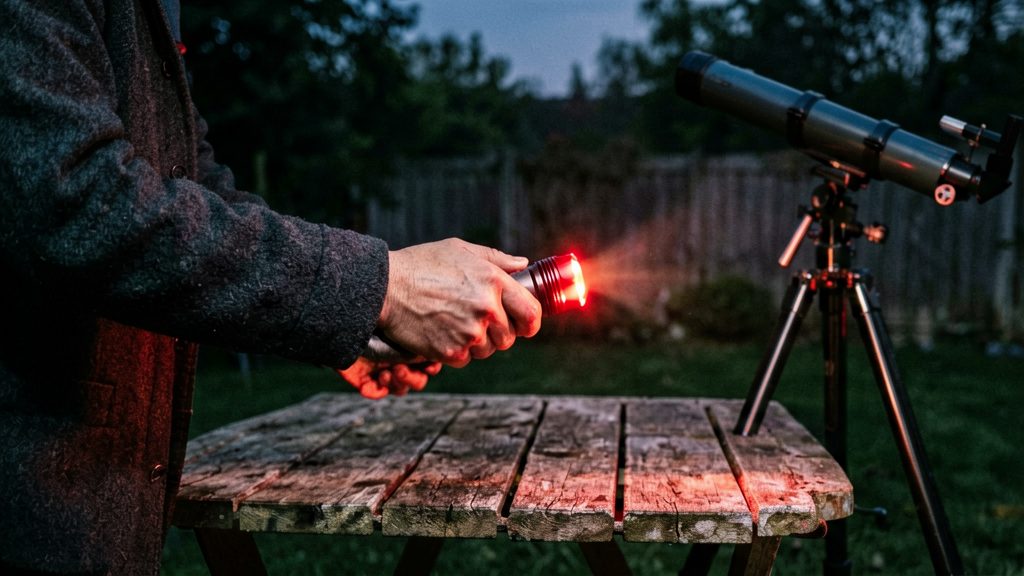
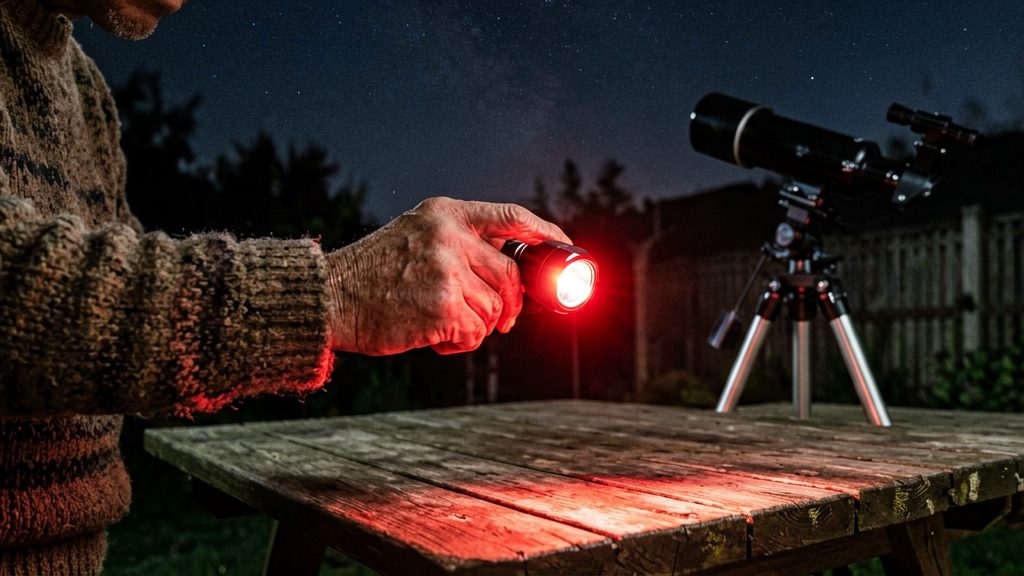
Your eyes need roughly 20 to 30 minutes in darkness to reach their full night sensitivity, and white light resets that process. A red light lets you read the chart and check the time without undoing this adaptation.
- Use a dim red LED or a flashlight with a red filter.
- Hold the light low and point it at the chart, not at your face.
- Keep the light on the lowest setting that lets you read.
What each tool shows
| Tool | Faintest stars on the chart | Where it helps |
|---|---|---|
| Red light | Not a viewing aid; keeps night-adapted eyesight while reading | Every session |
| Naked eye | Brighter stars and constellation outlines | Dark skies |
| Binoculars | Suit charts showing stars to about magnitude 7.25 | Light-polluted skies |
| 6x30 or larger finderscope | Suit charts showing stars to about magnitude 7.25 | Light-polluted skies |
The table above shows the key distinction. The red light helps you read the chart, and the optics help you see what the chart lists.
A practical sequence
- Read the chart under red light and note the constellation you want.
- Locate its brightest stars with your bare eyes.
- Add binoculars or a finderscope to reach the fainter stars on the chart.
Source: Eyes on the Sky (2026).
Printable chart or astronomy app?
A printed star chart works without a battery, a screen or a mobile signal, so it stays reliable once you are standing in a dark field. An astronomy app gives you live data: it calculates where the Moon and planets are for your exact location and time. Most beginners get the best results by carrying both, with the printed chart for constellations and the app for anything that moves.
What paper charts do well
A printed chart needs no power and keeps working at a rural site with no signal. Its limitation is that it is fixed.
What apps add
Apps show live Moon and planet positions. Paper charts cannot do this reliably, because those objects change position from night to night. An app works by setting your location and the time, and the sky on screen updates to match.
Battery, signal and cost
| Factor | Printed PDF chart | Astronomy app |
|---|---|---|
| Power | None once printed | Phone battery |
| Signal outdoors | Not needed | Check beforehand whether the app works offline |
| Moon and planet positions | Not shown in Sky & Telescope’s pamphlet | Shown for your location and time |
| Latitude | Fixed to the chart’s latitude | Adjusts to your location |
| Cost | Free PDFs, such as Sky & Telescope’s pamphlet | Some apps charge a subscription; check the price in the app store |
Free printable PDFs cover the stars and constellations well. Paid subscriptions make sense if you need planet and Moon positions on the same screen every clear night.
Frequently asked questions
Which chart should I use if I live far north of 34° N?
The NASA Space Place Star Finder charts are made for a latitude of 34° N, about the latitude of Los Angeles. Farther north, the constellations appear shifted south relative to the printed chart, so confirm the match by locating a few bright stars first (NASA Space Place, 2026).
What time should I use when reading a monthly chart?
The NASA Star Finder charts show the sky at about 10 PM on the 1st of the month, 9 PM mid-month and 8 PM at month’s end, in local standard time. During months when Daylight Saving Time applies, shift the reference time one hour later (NASA Space Place, 2026).
Can a printable star chart show the Moon and planets?
No. The Sky & Telescope (2026) pamphlet shows only stars and constellations, because the Moon and planets change position from night to night. For planet positions, check the current magazine issue or the Interactive Sky Chart from the same publisher.