An ISS lunar transit occurs when the International Space Station passes directly across the face of the Moon as seen from Earth, appearing as a small dark silhouette on the lunar disk. The station orbits at about 400 km (Canadian Space Agency) and travels at about 28,000 km/h (High Point Scientific). Because of that speed, a transit of the Sun or Moon lasts under one second, so timing and framing matter more than reaction speed.
What is an ISS lunar transit?
A lunar transit is a geometric alignment: the station, the Moon and the observer must line up closely enough that the station’s shadow-like outline overlaps the Moon’s disk. The event is not a visible light show. The station is a dark object against a bright, sunlit Moon, so the silhouette is the only visible feature.
The key figures for the event are:
| Parameter | Value | Source |
|---|---|---|
| Orbital altitude | About 400 km | Canadian Space Agency |
| Orbital speed | About 28,000 km/h (17,500 mph) | High Point Scientific |
| Time to cross the whole sky | Under 6 minutes | High Point Scientific |
| Duration of a Moon or Sun transit | Under one second | High Point Scientific |
The sky-crossing time and the transit time are different measurements. The station takes minutes to move from horizon to horizon, but a transit covers only the narrow path across the lunar disk. The transit duration is therefore a small fraction of the pass, and it is set by how fast the station moves across the line of sight relative to the Moon’s apparent width.
The brevity is why a transit is hard to catch by chance. The station is close to Earth in relative terms but moves very quickly across the sky, so the window in which it overlaps the Moon is a fraction of a second. Observers therefore need to know the exact location and time of the event beforehand, which is covered in the prediction section.
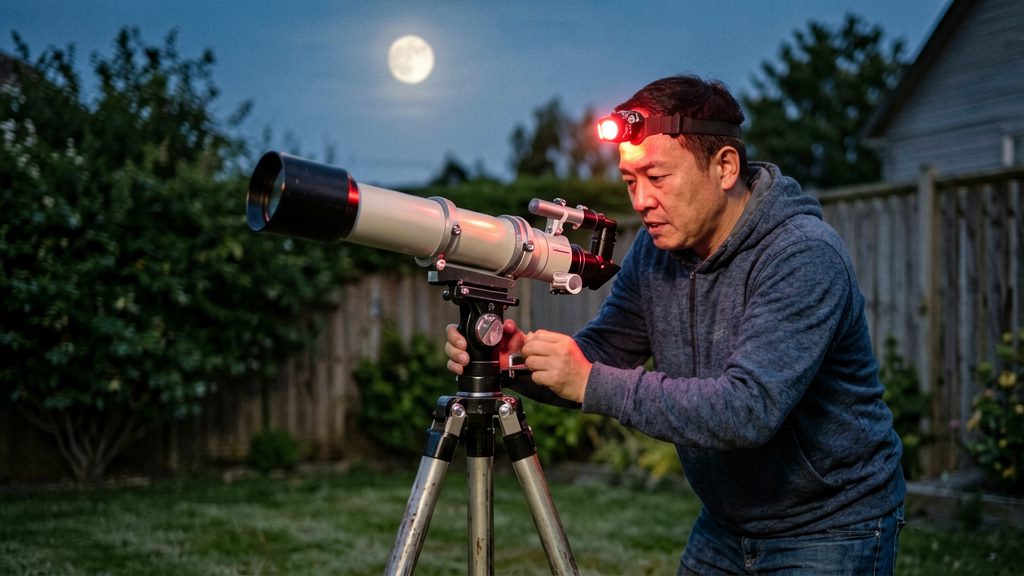
How do you find a transit near you?
Predicting an ISS transit of the Moon requires three inputs: the station’s orbit, your exact observing site and a time window. The Transit Finder at transit-finder.com calculates these events from Two Line Element (TLE) orbital data, which describe the station’s path around Earth. According to High Point Scientific, a transit crosses the whole sky in under 6 minutes and lasts under one second on the Moon’s disk, so a useful prediction depends on accuracy about where you stand, not only when the event occurs.
Setting location, time window and travel radius
Enter the three settings before you read any results:
- Location: use the exact site where you will set up, not your home address if you plan to observe elsewhere. A transit is visible only from a narrow strip of ground, so the spot you choose determines whether you see it at all.
- Time window: limit the search to the hours you can realistically observe, including setup time for your equipment.
- Travel radius: set the maximum distance you are willing to drive. The tool then lists only transits within that range.
Cross-checking with official tools
The Canadian Space Agency lists two tools for following the station (NASA’s Spot the Station and ESA’s Where is the ISS?), but neither predicts lunar transits and the CSA does not list Transit Finder. Transit Finder, recommended by High Point Scientific, is the tool that adds transit predictions:
| Tool | What it shows |
|---|---|
| Transit Finder (transit-finder.com) | Predicted Moon and Sun transits for a location, time window and travel radius, based on TLE data |
| NASA Spot the Station | Passes over your area for the next two weeks |
| ESA Where is the ISS? | The station’s live position |
Use Spot the Station to confirm that the pass you plan to observe falls within your time window, and use the live ESA position on the night to check that the station is on its predicted approach.
Choosing transits with the Moon well above the horizon
Once you have a list of candidate transits, sort them by the Moon’s altitude. A Moon low on the horizon is seen through more atmosphere, which softens detail, and it is more likely to be partly hidden by buildings, trees or hills. Choose transits where the Moon sits well above the horizon at the predicted time, and confirm its altitude in the tool output or in a planetarium app before you travel.
What gear do you need?
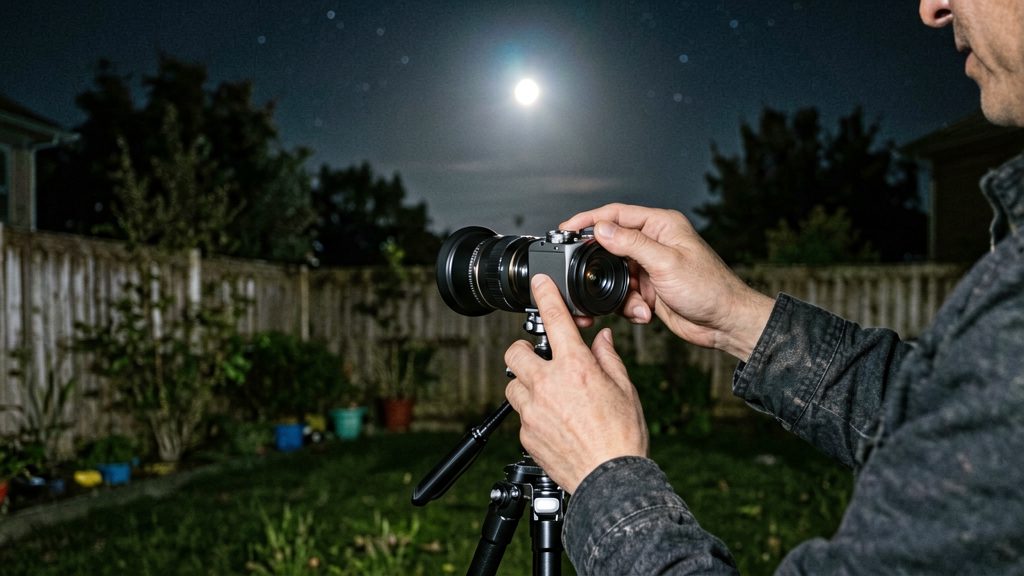
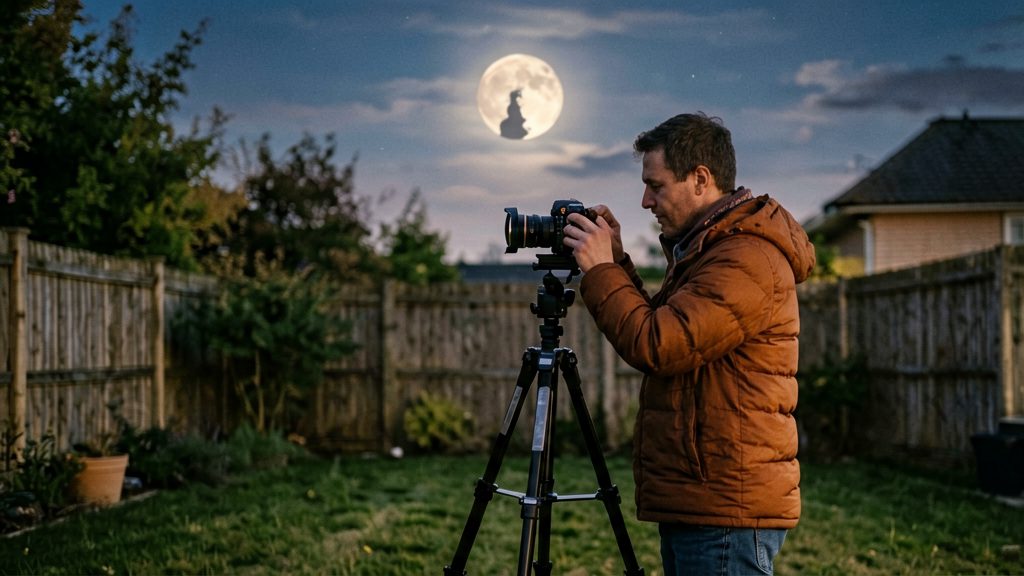
A camera with a telephoto lens and a tracking mount are the core kit for photographing the ISS crossing the Moon. The focal length sets how large the Moon and the station appear in the frame, and the mount keeps the Moon centred during the short transit.
According to High Point Scientific, a focal length of about 600mm on an APS-C camera is a practical starting point. At that setting, the field of view is 2.24° x 1.49°, and the lunar disk fills about 22% of the frame width. The ISS is very small at 300mm and harder to frame and track at 900mm.
| Focal length (APS-C) | Effect on the frame | Practical trade-off |
|---|---|---|
| 300mm | ISS appears very small | Wider field, but the station is very small in the frame |
| 600mm | Field 2.24° x 1.49°; Moon fills about 22% of frame width | Recommended balance of detail and framing |
| 900mm | Larger Moon and station | Framing and tracking become harder |
Why the mount matters
The Moon drifts across the sky as Earth rotates, so at telephoto focal lengths it leaves the frame unless the mount compensates. Use a sturdy mount. A tracking mount (motorised equatorial or alt-azimuth with a tracking mode) helps keep the Moon centred, but the sources do not make it mandatory.
Which camera settings freeze the ISS?
For a lunar transit, the High Point Scientific guidance points to three settings: a fast shutter speed of about 1/2000 s, ISO around 800 on a DSLR, and a high-frame-rate burst or video. The ISS crosses the Moon in under one second, so the exposure must be short enough to stop its motion and the sequence must capture enough frames to catch the transit.
| Setting | Value from the source | Notes |
|---|---|---|
| Shutter speed | 1/2000 s | Rule of thumb from High Point Scientific, used as the target. |
| ISO | Around 800 | Stated for a DSLR. Other camera types are not covered by this guidance. |
| Capture mode | Burst or video at high frame rate | Increases the chance of catching the brief transit in a frame. |
Shutter speed sets how much the ISS blurs during exposure. High Point Scientific gives 1/2000 s as the rule of thumb. The same page also mentions avoiding anything slower than 1/500 s, but the two figures are inconsistent as written and the 1/500 s limit is unverified. Treat 1/2000 s as the target and confirm the result with test shots on the Moon before the transit.
Burst mode matters because a transit lasts under one second. Shooting a continuous burst or a video clip at the highest frame rate your camera supports gives you several chances to record the silhouette across the lunar disk. Frame selection after the session is covered in a separate section.
How should you frame the shot?
Frame the image around the predicted crossing path, not around the Moon’s centre. An ISS transit of the Moon lasts under one second, so you cannot recompose once the station appears. Set the frame before the transit, using the path from the ISS Transit Finder (transit-finder.com), which uses Two Line Element data to predict transits for a chosen location.
Align the frame with the crossing path
Across the Moon, the station is a fast, straight streak. Check the predicted path for your location and note the direction it crosses the disk. Then set the Moon so the path crosses the disk within the frame, not near an edge. Use the path predicted for your exact site to decide where the station will cross the disk, and recheck the prediction close to the event, since it depends on current orbital data and can shift.
Leave margin for the entry point
Predicted entry points are not exact for every observer, so a small error can move the transit off the Moon’s edge. Keep clear space around the disk on the side where the station enters. Frame the Moon with enough surrounding sky that a slight shift in the path still leaves the transit inside the picture.
Compose off-centre for a moving subject
The Canadian Space Agency describes the ISS as moving steadily without changing direction, so its travel direction is known from the prediction. Keep the whole lunar disk in the frame with margin on every side. The station is visible only while it overlaps the disk, so the path you predicted must fall inside the frame.
Do you need a filter for the Moon?
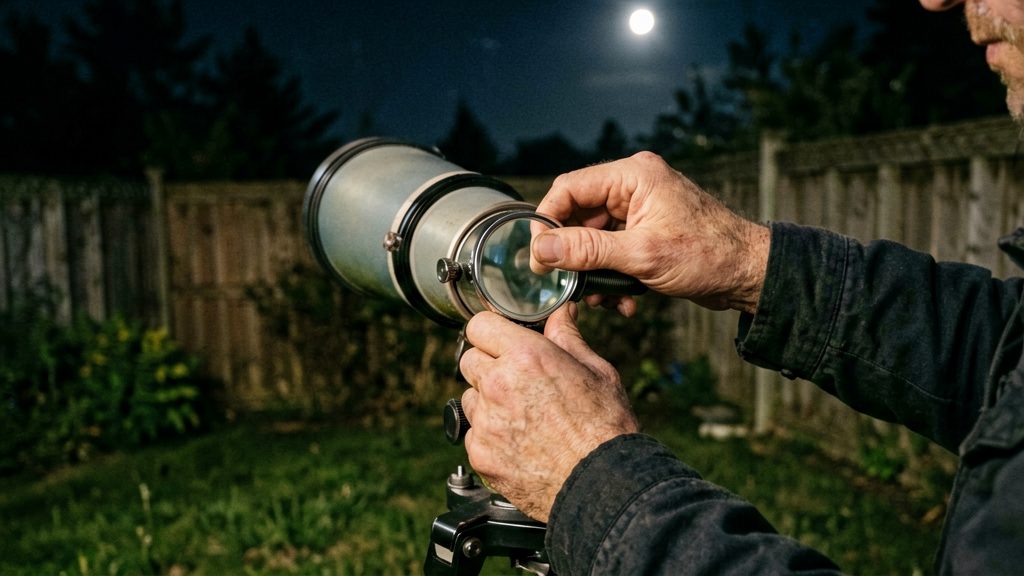
No. Lunar transits need no solar filter, so you can photograph an ISS transit of the Moon with a standard camera setup. The filter question depends on which disk the station crosses. High Point Scientific states that lunar transits need no solar filter, while solar transits do. The two events look alike in a frame, since both show a small, fast dark silhouette crossing a bright disk, so check the target before you set up.
| Transit target | Solar filter required | Transit duration |
|---|---|---|
| Moon | No | Under one second |
| Sun | Yes, mandatory | Under one second |
The duration is the same for both, so the target is the only thing that changes the protection requirement. Fit the solar filter over the front of the lens or telescope before the Sun enters your field of view, and check the filter’s label and manufacturer instructions to confirm it is rated for solar viewing.
How do you process the frames?
A burst or video of a transit produces hundreds of near-identical frames, and only a few show the ISS silhouette sharply placed against the Moon. Processing means finding those frames, cropping tightly, and exporting a file that keeps the original pixel detail. Work on copies so the untouched originals remain available.
Sorting the burst to find the silhouette frame
- Review at 100% zoom. Preview frames at full pixel size. At reduced size, a slightly soft frame can look sharp.
- Look for the silhouette fully inside the lunar disk. Frames where the ISS overlaps the Moon’s limb or sits partly outside it are less useful than frames with the full silhouette on the disk.
- Check edge definition. Choose frames where the outline of the station is crisp and the surrounding disk shows no motion blur.
- Flag, don’t delete. Most photo viewers let you mark or rate candidates. Keep the top few, then compare them side by side before choosing one.
For video, extract frames first with your viewer or a free tool, then sort the extracted stills the same way.
Free and paid editors
| Editor | Cost | Typical use for this task |
|---|---|---|
| GIMP | Free, open source | Cropping to a selection and exporting PNG or TIFF |
| Lightroom | Paid (Adobe subscription) | Culling with ratings, cropping, export with resize options |
| Photoshop | Paid (Adobe subscription) | Cropping, export, and precise pixel-level inspection |
GIMP covers the full crop-and-export workflow without cost. Lightroom is efficient for sorting large bursts because of its rating and flagging tools. Photoshop offers the same crop and export functions with more control over file formats.
Cropping and exporting without losing resolution
- Crop around the transit only. Frame the Moon disk with a small margin, keeping the silhouette in the centre area. Avoid cropping so tightly that the disk edge is cut.
- Do not resize before cropping. Cropping removes pixels without resampling, which preserves the original detail.
- Avoid upscaling. Enlarging a crop adds no information. If you resize for sharing, reduce only.
- Export to a lossless format for archiving. PNG or TIFF keep every pixel exactly as captured.
- Use high-quality JPEG for sharing. When a JPEG is needed, choose the maximum quality setting available in your editor.
Mistakes to avoid
Most missed transits, soft frames and lost images come from a few repeatable field errors.
Autofocus hunting on the Moon’s limb
Autofocus systems often struggle on the Moon’s bright, high-contrast edge. The lens can rack back and forth, and when it stops, the focus may sit on the limb rather than the surface.
- Fix: Switch to manual focus before the pass. Focus on a crater or the terminator (the boundary between lit and dark areas) away from the limb, then secure the focus ring with tape so it does not drift.
Forgetting the lens cap or dew on the front element
A cap left on produces a dark or empty frame, which is easy to notice only after the pass. Dew forms gradually on the front element on cold, humid nights, and it softens the image without an obvious warning.
- Fix: Remove the cap during setup, not during the pass. Check the front glass before the transit window and again while you wait. If dew appears, use a dew heater strap or wipe the lens between sets.
Deleting bursts before checking every frame
The ISS appears as a small, dark shape in only a few frames of a burst. Culling quickly in thumbnail view often discards the only usable frames.
- Fix: Review every frame at full size before deleting anything. Keep the whole burst until the transit is confirmed in the images.
Missing the transit window
A transit prediction is only useful if you arrive early and know the time window. The ISS Transit Finder (transit-finder.com) uses Two Line Element data to predict transits for a location, so use it to set your target time and allow time to prepare.
Frequently asked questions
Can I photograph an ISS transit with a phone?
The setup in this article assumes a camera with a telephoto lens, and the reference guidance gives no phone-specific figures. Check whether your phone offers manual exposure with a shutter speed near 1/2000 s and a high-frame-rate burst or video mode, and confirm its lens focal length in the manufacturer’s specifications before you rely on the 600mm guidance.
Can I use a telescope instead of a camera lens?
The 600mm focal length and the 22% disk-width figure apply only to the APS-C camera setup described above, so they do not transfer to a telescope. Calculate the field of view from your own focal length and sensor size before the night, and keep the whole lunar disk inside the frame with margin.
What if clouds cover the Moon on the night?
A transit cannot be recorded through cloud, so check a cloud forecast for your exact site before you travel. If the forecast is poor, choose another transit from your prediction list in the Transit Finder rather than moving the setup at the last minute.