Yes, an iPhone can photograph the Moon, but the result is a bright, sharp disc with limited surface detail, not a telescope-level close-up. The main camera has a small sensor and a fixed lens, so the Moon occupies only a small part of the frame. Most phone images show the outline and the broad light and dark areas. Fine craters and ridges appear mainly in well-exposed frames where the light falls at a low angle across the surface.
Can an iPhone really photograph the Moon?
Realistic surface detail at phone resolution
Expect a clear outline and the large dark maria (lunar seas) on a full Moon. Smaller craters and surface texture show only when the image is sharp and the lighting is favourable. Detail you see on the screen at full size is often softer than it looks in a thumbnail, so check focus at 100% before judging a shot.
Why small sensors struggle with bright lunar light
The Moon is far brighter than the sky around it, and a small sensor has limited dynamic range, meaning it can hold only a narrow band between its darkest and brightest tones. Exposure set for the dark night sky leaves the Moon’s bright face clipped, which produces blown-out highlights and erases the surface texture. Exposure set for the surface makes the sky too dark. The phone must compromise, so the bright face loses detail first.
Which Moon features are visible to a phone
| Feature | Visibility on a phone | Reason |
|---|---|---|
| Terminator (day-night line) | Best detail; craters and ridges show as light and shadow | Low-angle light makes relief stand out |
| Dark maria | Visible as darker patches | Strong tonal difference against the brighter highlands |
| Full Moon face | Outline and brightness, little relief | Flat, even lighting hides most texture |
Best phase and time to shoot
Timing matters more than the phone model. A gibbous or crescent Moon shows its terminator, where low-angle light brings out relief, and shooting while the sky still carries light reduces the contrast between the Moon and the sky. Gibbous phases work best in daylight, and crescents work best in twilight, when the sky and foreground still carry light.
Gibbous phases in daylight
According to BBC Sky at Night Magazine, both gibbous phases can be shot in daylight:
- Waxing gibbous: shoot in the afternoon.
- Waning gibbous: shoot after sunrise.
Daylight shooting avoids the dark-sky exposure problem that makes the Moon look like a blown-out white blob on a phone.
Crescent Moon at twilight
A crescent suits twilight, when the sky and foreground are still lit. According to FOX Weather (2024), twilight reduces the contrast between the Moon and the sky, so shoot while some daylight remains.
Including scenery without overexposing the disc
Dawn and dusk are the windows for frames that include a foreground. The sky and scenery still hold light at these times, so the Moon does not need to be exposed as if the night were fully dark. Compose the shot with the Moon low enough to share the frame with the scene.
| Phase | Shooting window | Best use |
|---|---|---|
| Waxing gibbous | Afternoon, in daylight | Full disc against a daytime sky |
| Waning gibbous | After sunrise, in daylight | Full disc against a morning sky |
| Crescent | Twilight, while the sky is still lit | Disc with scenery at dusk or dawn |
Exact sunrise, sunset and moonrise times depend on your location and the date. Check them in a local almanac or a star chart app before you go out.
Camera settings that stop a white blob
A Moon that shows up as a featureless white disc usually means the exposure is set for the dark surrounding sky rather than the bright lunar surface. Switch to pro or manual mode if your phone offers it, lock the automatic settings, then lower the ISO or exposure until surface detail appears. The steps below follow that sequence.
Switch to pro mode and lock the automatic settings
- Open the pro or manual mode in your camera app.
- Lock the automatic exposure before you adjust anything, so the phone does not re-meter every time you move the frame.
- Take a test frame, check the detail on the screen, and adjust again.
If your phone cannot set exposure manually, FOX Weather (2024) names NightCap Camera as an example of an app with manual controls; the outlet quoted US$2.99, and the Canadian price was not verified, so check the App Store in Canada.
Lower the ISO or exposure until craters appear
Lowering the ISO or exposure reduces the brightness of the lunar disc, which lets the shadows along the craters show. Use these adjustments:
| Setting | Adjustment | Context |
|---|---|---|
| ISO | Lower it | FOX Weather (2024) |
| Shutter speed | Faster than about 1/20 s (one photographer’s suggestion) | Sigma Sreedharan (FOX Weather, 2024) |
| Night Mode (iPhone) | Shorten the exposure | FOX Weather (2024) |
| Lens | Telephoto | FOX Weather (2024) |
On iPhone, shorten the Night Mode exposure so the Moon does not overexpose (FOX Weather, 2024).
Focus on the terminator
The terminator is the line between the lit and dark parts of the Moon. Tap the screen on this line to focus, because the strong light-dark contrast there makes sharp focus easier to judge than on the fully lit disc. According to BBC Sky at Night Magazine, the contrast along the terminator makes sharp focus easier to judge. On a full Moon, which has no terminator, focus on the limb or on a crater edge.
How do you get the Moon bigger in frame?
The Moon fills only a small part of a phone frame at its default focal length, and the way to enlarge it is to use the telephoto lens at its maximum optical zoom, then crop. Optical zoom uses the lens itself to magnify the image, so it captures real surface detail. The sequence is simple: select the telephoto lens, zoom to the highest optical setting, frame the Moon, and then crop and resize the full-resolution original afterwards.
Use the telephoto lens at maximum optical zoom
Switch to the telephoto lens before you press the shutter. On iPhone, the optical zoom levels appear as buttons above the shutter in the Camera app. Choose the highest optical setting the model offers, and avoid pinching the screen past that point, because the phone then switches to digital zoom. Exact zoom ranges vary by iPhone model and were not verified for this article, so check the lens options shown on your own device.
Why digital zoom adds no genuine lunar detail
Digital zoom takes a crop of the sensor image and scales it up, so the phone must invent the extra pixels. The result looks larger but shows no more craters or maria than the original frame held. Cropping later gives about the same detail, but it keeps the untouched original so you can re-frame.
Crop and resize a full-resolution original
Shoot the Moon at maximum optical zoom in full resolution, then crop in editing software. Cropping discards the pixels outside the frame, so keep the untouched original file; resizing then reduces the copy to share it. Work from the untouched original so that you can crop again if the framing needs adjusting. Edit afterwards with Levels and a gentle Unsharp Mask.
Steady the phone: tripod and remote
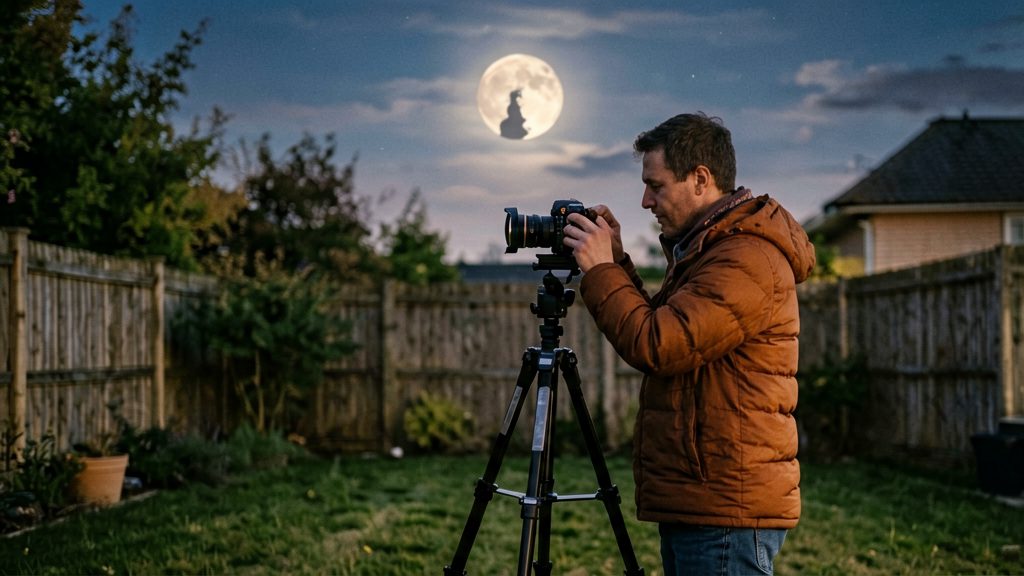
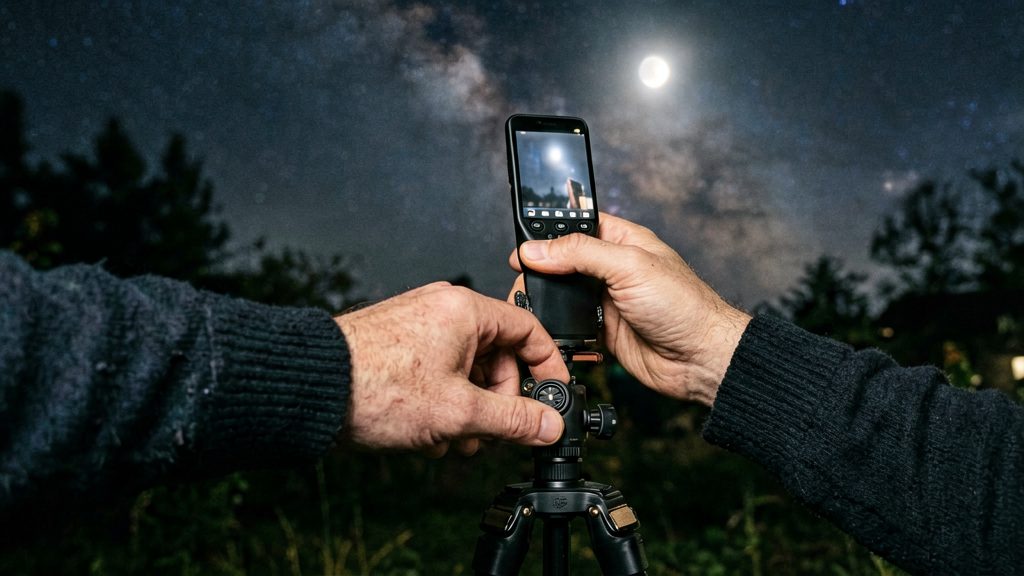
At high magnification, even a small hand movement blurs the Moon, so the phone needs a fixed support and a shutter trigger that doesn’t involve touching the glass. According to BBC Sky at Night Magazine, a tripod, a solid surface or a telescope adapter can hold the phone steady. Pressing the volume button on wired headphones or a Bluetooth remote fires the shutter without shaking the phone.
Support options
| Support | Use it when | Notes |
|---|---|---|
| Tripod with a phone mount | Shooting the Moon from open ground or a balcony | Fix the phone firmly in the mount before you start shooting. |
| Solid surface | You have no tripod | Rest the phone on something rigid, such as a wall or railing. |
| Telescope adapter | Shooting through an eyepiece (afocal imaging) | Holds the phone steady over the eyepiece. |
Triggering without touching the screen
- Wired headphones: press a volume button on the cable to take the photo.
- Bluetooth remote: pair the remote with the phone, then press its button.
- Tapping the on-screen shutter button moves the phone, so avoid it once the phone is mounted.
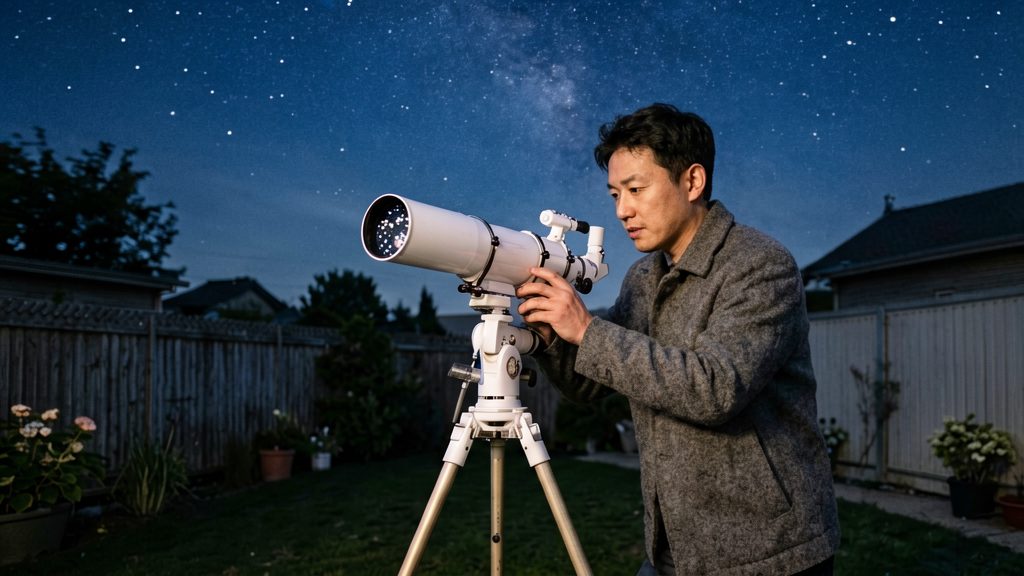
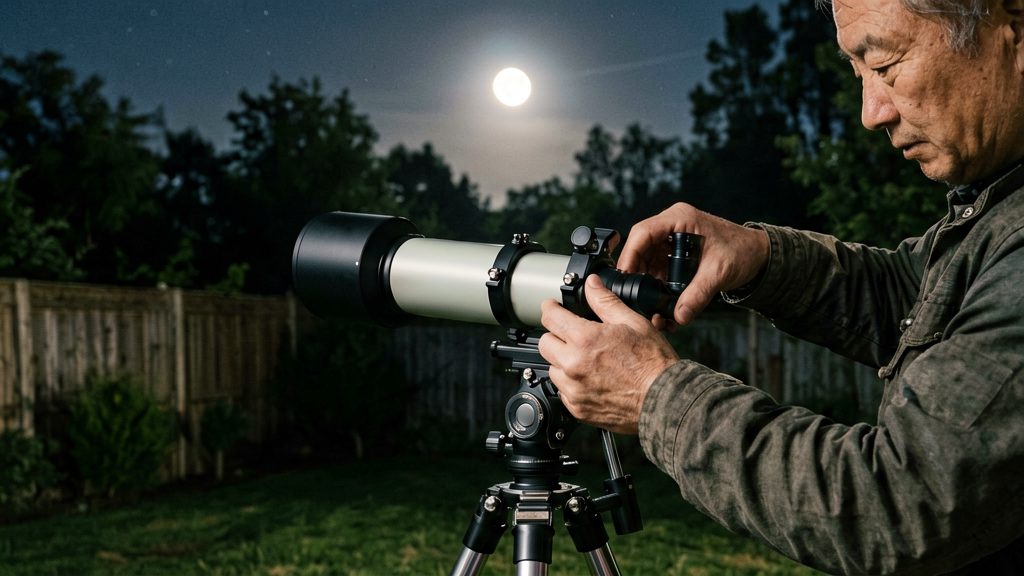
Afocal shots through a telescope
For afocal imaging, centre and focus the Moon in the telescope before you attach the phone. The phone adapter keeps the lens aligned over the eyepiece. Expect several attempts before you get a sharp frame, because small shifts in position change the result.
Shooting through binoculars or a telescope
Holding the phone lens to an eyepiece turns a small Moon into a large one in the frame. According to FOX Weather (2024), this makes the Moon appear much larger than a standard phone shot. The method works in two stages: centre and focus the Moon through the optics first, then align the phone and take the picture.
Centring and focusing before you shoot
- Point the instrument at the Moon and centre it in the eyepiece field before you attach the phone.
- Focus with the telescope or binocular focuser, not the phone. Once the Moon is sharp to your eye, the phone’s view should show the same image.
- Use a low-power eyepiece for the first attempt. A smaller field makes it harder to keep the Moon centred.
Keeping the Moon in view with a driven mount
The Moon drifts out of the field within a few minutes at high magnification. A driven mount, which tracks the sky’s motion, keeps it in place long enough to frame and take several shots. Without tracking, you will need to nudge the mount by hand between frames.
Holding the phone over the eyepiece
A phone adapter clamps the handset over the eyepiece and stops it from sliding or tilting. Stable alignment matters more than the adapter’s design: check that the lens sits centred on the exit pupil before each attempt.
Editing your Moon photo
Editing is where a sharp, detailed lunar image is recovered from a flat capture. The core moves are Levels to restore surface contrast and a gentle Unsharp Mask to define crater edges. Both are found in many third-party editors (the Photos app offers similar but differently named tools), and the order matters: adjust tonal range first, then sharpen.
Restoring surface contrast with Levels
A Moon photo taken under bright or hazy conditions often looks grey, with the maria (dark plains) and bright highlands barely separated. Levels fixes this by remapping the tonal range.
- Open the image in your editor and select the Levels or Curves tool.
- Drag the black point slider right until the darkest shadows sit at the edge of the histogram, which deepens the shadow areas.
- Drag the white point slider left until the brightest highlights just stop short of clipping.
- Adjust the midtone slider slightly to brighten or darken the middle range without shifting the extremes.
Stop when the bright limb and surface detail separate clearly. If the highlights turn into a featureless white patch, you have pushed the white point too far, and the detail is lost.
Sharpening crater edges with Unsharp Mask
Once contrast is set, the Unsharp Mask tool increases the local difference between neighbouring pixels, which makes crater rims and rilles stand out. Apply it at low strength and check the result at 100% zoom.
| Setting | Purpose | Practical approach |
|---|---|---|
| Amount | Strength of the edge boost | Start low and raise gradually |
| Radius | Width of the area affected | Keep small so only fine edges change |
| Threshold | Minimum difference that gets sharpened | Raise slightly to protect smooth areas |
Apply the mask to the whole image once, then compare before and after. The aim is to see crater walls more clearly, not to create a harder outline around the Moon.
Common mistakes to avoid
Most disappointing iPhone Moon photos come from a handful of repeatable errors. Some are physical, such as a dirty lens, while others come from judging the image on a small screen or from ignoring how fast the Moon moves across the frame. Fixing these before you press the shutter usually improves a result more than any editing step.
Smudged phone lens and dirty telescope eyepiece
A fingerprint on the phone’s lens softens every highlight, and the Moon’s bright limb then looks like a glowing haze. Wipe the lens with a soft, dry cloth before each session, especially after handling it in a pocket. When you use an afocal setup, check the eyepiece as well. A smudge on the eyepiece lens produces the same blur and can look like poor focus, so clean the eyepiece before you blame the focus or the phone.
Judging sharpness on a small preview screen
The phone’s preview screen is too small to show fine lunar detail reliably. An image can look sharp on the screen and then reveal soft craters when opened at full size. Check focus by zooming into the preview. Review the actual file on a larger display before you decide a shot is usable.
Overlooking the Moon’s rapid drift across the frame
The sky’s rotation carries the Moon out of a high-magnification frame within a few minutes, especially through an eyepiece. At high magnification, a small drift is enough to crop off part of the disc or shift it out of focus. Recenter the Moon before each exposure, and check its position again after you shoot a short series. When you use a telescope, a driven mount keeps the Moon in view, so the frame stays composed without constant adjustment.