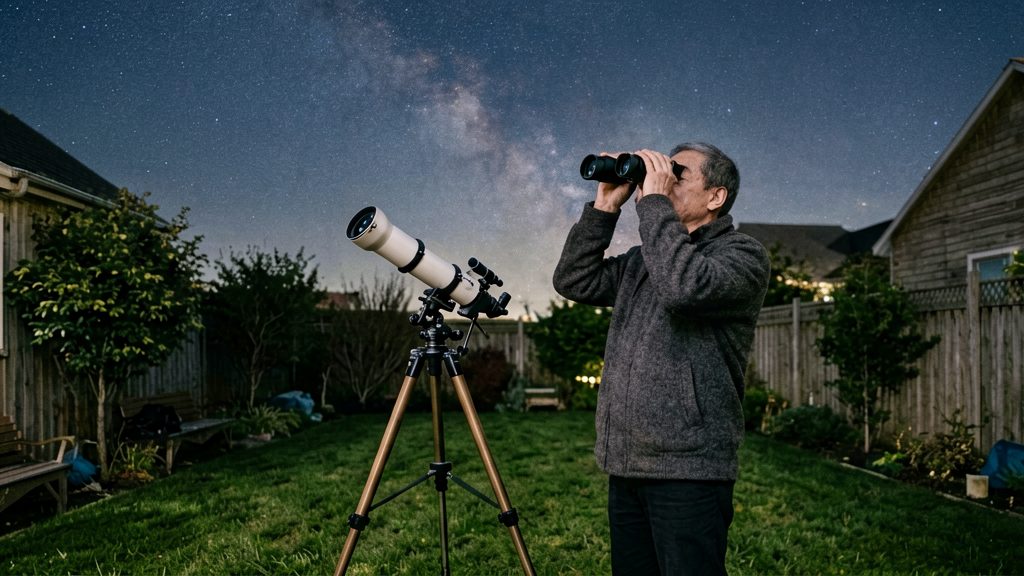
Binoculars or telescope: which should a beginner buy?
Choose binoculars first if your early targets are the Moon, Jupiter’s moons, Andromeda and other bright deep-sky objects. According to BBC Sky at Night Magazine (2024), a 10x50 pair (10x magnification, 50 mm or about 2 inch front lens) is a good baseline for astronomy because it balances portability, cost and ease of use. Choose a telescope when a specific target needs more magnification than binoculars provide, such as Saturn’s rings. Decide from the objects you want to see, not from a general winner.
Start with the targets. List the three or four objects you most want to see from your home or nearest dark site, then check each one against the table below.
Mapping observing goals to instrument type
| Target | What BBC Sky at Night Magazine (2024) reports | Instrument fit |
|---|---|---|
| Jupiter and its four Galilean moons | Jupiter’s moons are visible in binoculars | Binoculars |
| Moon’s terminator | Listed as a binocular target | Binoculars |
| Saturn’s rings | Hard to see without more magnification | Higher magnification than standard binoculars |
| Andromeda Galaxy (M31), M13, Triangulum Galaxy (M33) | Listed as binocular targets | Binoculars, under dark skies |
If most of your list falls in the first three rows, binoculars cover your goals. If Saturn’s rings are the main goal, plan for an instrument with more magnification.
Ordering the decision steps
- Define your targets. Separate bright objects (Moon, Jupiter) from faint deep-sky objects (M31, M13, M33).
- Match targets to instrument type using the table above.
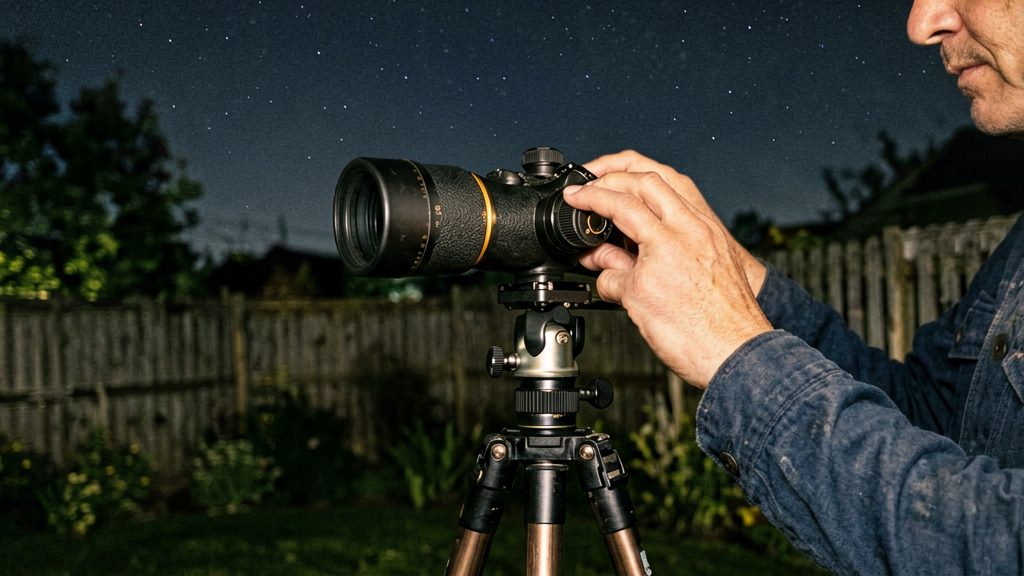
Why binoculars are an easy first instrument
Binoculars suit a first session because they show a wide patch of sky, pack into a small bag and are ready to use as soon as you unfold them. BBC Sky at Night Magazine (2024-08-27) describes binoculars as easier to use and more portable than telescopes, and says their wider field of view helps with spotting objects.
Wide view for finding objects
A beginner’s first problem is knowing where to point. A wide field of view keeps a star pattern or bright object in frame while you sweep, so you can match what you see against a star chart or app without hunting through a narrow window. Sweep slowly, pick out two or three bright stars, and move from one to the next.
Portability and weight for outdoor use
Binoculars are carried in one hand or in a daypack, with no separate components to assemble. Weight varies between models, so check the figure in the manufacturer’s specifications before you buy, and compare it with the distance you plan to walk to your observing spot.
Quick setup with no alignment
Binoculars need no telescope-style alignment or star-based setup before use, only a quick fit to your eyes. The routine is short:
- Hinge the barrels to match the distance between your eyes until you see a single round image.
- Focus on a distant object with the central focus wheel.
- Cover the objective lens of the barrel on the diopter side (usually the right), focus the centre wheel with your left eye on a distant object, then cover the left objective and turn the diopter ring until the image is sharp for your right eye.
Reflector telescopes, by contrast, may need their mirrors collimated from time to time, which is an extra step you avoid with most binoculars.
What can you see with binoculars?
Binoculars show a useful set of targets without a telescope, including lunar surface detail along the terminator, Jupiter’s four Galilean moons, Saturn as a planet, and deep-sky targets such as the Andromeda Galaxy (M31), M13 and the Triangulum Galaxy (M33).
Lunar surface along the terminator
The terminator is the line dividing the sunlit part of the Moon from the dark part. Craters and ridges near this line cast long shadows, which make their relief easier to see. Scan along the edge of the lit area rather than looking at the full Moon, where that relief is flatter.
Jupiter and the Galilean moons
Jupiter is one of the two planets most easily seen in binoculars, along with Saturn. Its Galilean moons are visible as small points of light near the planet. Their positions shift from night to night, so check a star chart or astronomy app for their current arrangement before you observe.
Saturn and its limit
Saturn is the second planet that binoculars show readily. Its rings are hard to see at binocular power, so expect to see the planet itself without a clear ring outline. The ring outline needs more magnification than binoculars give.
Deep-sky targets: M31, M13 and M33
The Andromeda Galaxy (M31), M13 and the Triangulum Galaxy (M33) are among the deep-sky targets listed for binoculars. All three are faint, so they reward patient, steady observing rather than quick scanning.
When does a telescope make more sense?
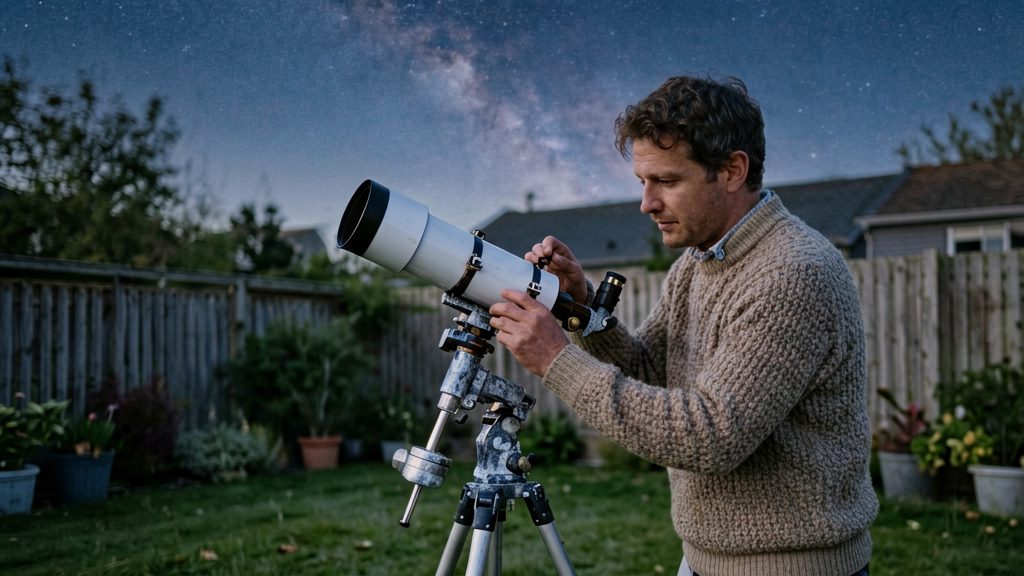
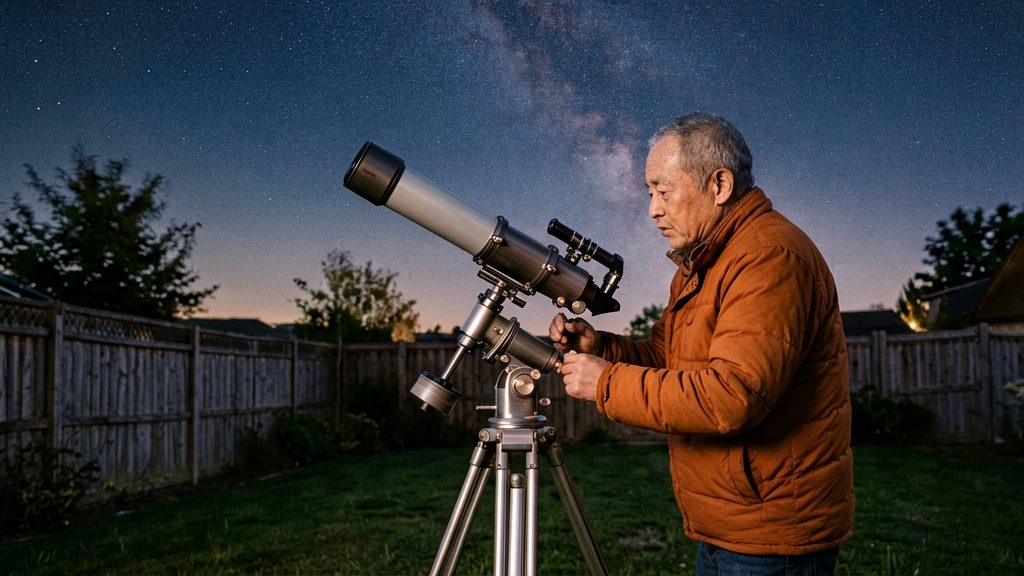
A telescope pays off when your targets need more light or more magnification than binoculars can supply. Those two points define the trade-off: a larger front lens gathers more light from faint targets, while higher magnification spreads that light over a bigger image and dims it, so a larger aperture helps keep the view bright at higher power.
Detailed planetary observation at higher magnification
Seeing structure on a planet’s disc, such as Jupiter’s cloud bands, generally takes more magnification than most binoculars offer. A telescope lets you change power with eyepieces as the view allows.
- Start with a low-power eyepiece to find and centre the planet.
- Step up to a higher-power eyepiece only when the planet is steady in the field.
- Expect shimmer: higher magnification magnifies atmospheric turbulence, so the sharpest views often come in brief steady moments.
Fainter deep-sky objects needing larger aperture
The binocular targets named by BBC Sky at Night Magazine (2024-08-27) are the Andromeda Galaxy (M31), M13 and the Triangulum Galaxy (M33). Fainter galaxies, nebulae and star clusters may need a larger front lens to become visible, and a larger aperture generally helps with dim targets.
Eyepiece swaps for a range of magnifications
Binoculars offer one magnification, while a telescope can cover a range through eyepiece changes. A practical sequence:
- Use the lowest-power eyepiece for wide-field searching and finding targets.
- Move to a higher-power eyepiece for detail on bright objects such as planets and the Moon.
- If a target becomes noticeably dimmer as power rises, go back to the previous eyepiece, because the image is then limited by the light the telescope collects.
What size binoculars should you buy?
Binocular labels state two numbers, and both matter for night sky viewing. Reading the label correctly tells you what a pair will show before you buy.
Reading the 10x50 notation
| Part of label | Meaning | Effect on viewing |
|---|---|---|
| 10x | Magnification: objects appear 10 times closer | Larger image, narrower field of view, and a dimmer image at a given objective size |
| 50 | Objective diameter in millimetres: the front lens | Light-gathering capacity; larger values collect more light |
The two numbers work together. To estimate the exit pupil (the width of the light beam leaving the eyepiece), divide the objective diameter by the magnification. For 10x50, 50 ÷ 10 = 5 mm.
Objective diameter and low-light performance
For viewing in low light, the front lens size is the most important factor, according to BBC Sky at Night Magazine (2024). A wider objective collects more light, which makes faint objects easier to see under dark skies. When comparing two models with the same magnification, choose the one with the larger objective number.
Why higher magnification dims objects
Higher magnification spreads the same collected light over a larger image, so objects look dimmer, as BBC Sky at Night Magazine (2024) notes. Stronger magnification also narrows the field of view, which makes it harder to find and hold targets by hand. For beginners, a moderate magnification paired with a suitable objective gives a brighter, steadier view than a high magnification with a small front lens.
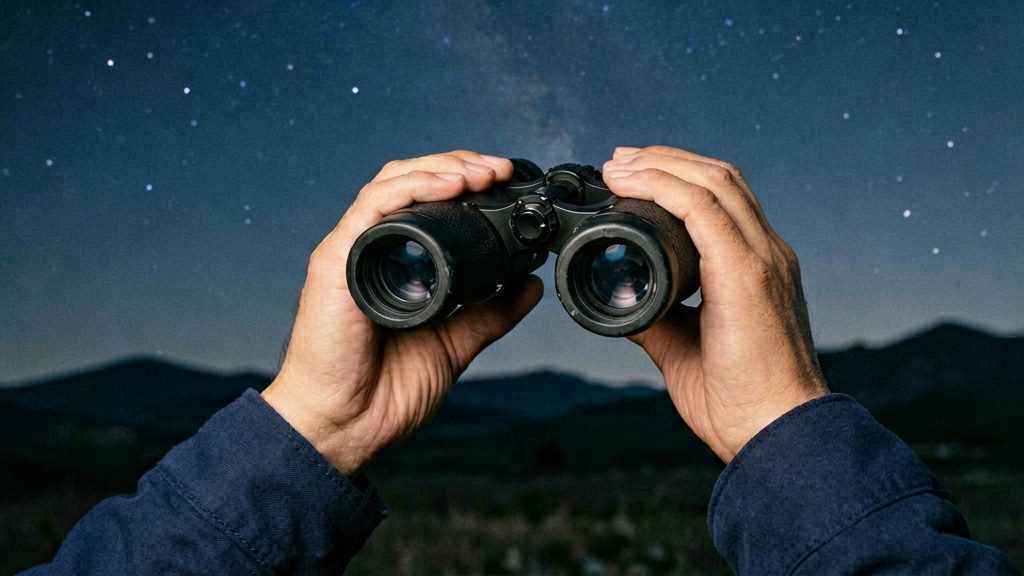
Do you need a tripod or mount?
For most beginners, binoculars can be used hand-held for short sessions, but a tripod becomes useful once you want steadier views, a child is observing, or sessions run long. The decision depends on how long you observe, who is observing, and which targets you choose.
When hand-holding stops working
Hand-holding is usually enough for brief looks at bright targets such as the Moon, or for scanning a wide field. It becomes tiring when you hold the binoculars to your eyes for long periods, and the image wobbles more as you concentrate on fainter or finer detail. Those are the moments when a support helps most.
| Situation | Hand-held | Tripod or support |
|---|---|---|
| Quick scan of the Moon or bright planets | Usually sufficient | Optional |
| Long session on deep-sky targets | Tiring | Recommended |
| Child observing | Often difficult to keep steady | Recommended |
| Faint or finer targets, such as Jupiter’s Galilean moons | Image may wobble | Steadier view |
Tripod adapter and mounting-screw receptacle
Binoculars do not all have the same mounting point, so check before buying a tripod. BBC Sky at Night Magazine (2024-08-27) advises looking for a binocular with a mounting-screw receptacle, which is the threaded socket that accepts a tripod adapter. Without it, you may need a separate bracket or may not be able to mount the binoculars at all. Confirm the thread type and whether an adapter is included in the manufacturer’s specification or product listing, then match it to your tripod head.
Image stabilization as an optional extra
Image stabilization reduces hand shake electronically or optically, which can make a hand-held view steadier. It is an optional feature that costs more than standard binoculars (BBC Sky at Night Magazine, 2024-08-27), so weigh it against a simple tripod. A tripod may be a lower-cost way to steady the view, while stabilization suits observers who need to hold the binoculars without support.
What can a beginner see from a light-polluted backyard?
From a light-polluted backyard, binoculars still show the brightest targets: the Moon’s terminator, Jupiter and Saturn. Faint deep-sky objects need darker skies, so the practical approach is to observe bright targets from home and save galaxies and star clusters for a darker site.
Sky brightness and the Bortle scale
The Bortle scale rates how dark a night sky is on a numbered scale, from the darkest rural skies to the glow of inner-city areas. Light pollution is the artificial glow from streetlights, buildings and floodlights that brightens the sky and hides faint stars. The more glow overhead, the fewer stars you can see with the naked eye and in binoculars.
Sky brightness affects objects differently. Bright objects such as the Moon and planets stand out against a brighter background, while faint objects lose contrast quickly as sky glow increases.
Realistic expectations under suburban and urban skies
| Target | Sky requirement (BBC Sky at Night Magazine, 2024) |
|---|---|
| Moon’s terminator | Bright target; suited to home observing from suburban or urban skies |
| Jupiter and Saturn | Bright planets, easiest planets to see in binoculars |
| Jupiter’s four Galilean moons | Visible in binoculars |
| Andromeda Galaxy (M31), M13, Triangulum Galaxy (M33) | Dark, moonless skies away from light pollution recommended |
In a bright sky, a lower magnification generally gives a brighter, wider view that is easier to use.
Finding darker sites with light pollution maps
Use an online light pollution map to find candidate sites before you travel:
- Open the map and zoom to your area.
- Read the map legend to match colours to sky brightness.
- Look for areas that are dark on the map and within reach of home, then check access and parking.
- Visit at night and let your eyes adapt to the dark before judging the sky.
- Compare what you see with the map, since local lighting, haze and weather can differ from the map’s view.
Light pollution maps show general sky brightness, not conditions on a given night, so check the map’s date and source when you use it.
How do your goals, sky and budget decide the first purchase?
Binoculars are generally the lower-cost starting point, according to BBC Sky at Night Magazine (2024-08-27). Choose a telescope when your goal is a specific target that binoculars cannot show well, and check current prices for each model, since they vary by brand and retailer.
Spending tiers and first-purchase logic
Your targets should decide the instrument type first, then your budget. Compare these tiers:
- Entry budget: A pair of 10x50 binoculars with a tripod-mount receptacle.
- Higher budget: Larger binoculars or a telescope, if your targets call for more light or magnification. Check current prices, because none are confirmed here.
Decision matrix: goal, sky and budget
| Your priority | Sky condition | Starting point | Reason from the reference |
|---|---|---|---|
| Lowest cost, easy handling, finding objects | Any | Binoculars (10x50) | Lowest-cost entry point |
| Moon’s terminator, Jupiter’s four Galilean moons | Any | Binoculars | Both are visible in binoculars |
| Andromeda Galaxy (M31), M13, Triangulum Galaxy (M33) | Dark, moonless sky | Binoculars, observed away from light pollution | Dark skies are recommended for deep-sky objects |
| Deep-sky objects from a light-polluted backyard | Light-polluted | Travel to a darker site before buying for deep-sky use | Dark, moonless skies are recommended |
Upgrade path after the first instrument
Use your first pair for a while before deciding on a telescope. Note which targets you could not see and check whether they need more magnification.