Photographing the Milky Way with a Phone
Photographing the Milky Way with a phone requires only a few pieces of equipment: a phone with a Night/Astro or Pro (manual) mode, a tripod with an adjustable phone clamp, and a way to start the exposure without touching the screen, such as a Bluetooth remote or the self-timer. No camera body or lens purchase is needed. Keeping the phone’s lens clean matters as much as any accessory.
Gear checklist for a phone
| Item | Minimum requirement | Why it matters |
|---|---|---|
| Phone | Night/Astro or Pro (manual) controls | Lets you set exposure yourself instead of relying on automatic scene detection |
| Phone | RAW capture, if offered | Keeps more image data for later editing |
| Tripod | Adjustable clamp that holds the phone securely | Keeps the phone in a fixed position across the exposure |
| Trigger | Bluetooth remote or self-timer | Starts the exposure without contact with the phone |
| Lens cloth | Soft microfibre cloth | A smudged lens scatters light around bright stars |
Phone with manual controls
Night/Astro mode or Pro mode is the core requirement.
Tripod clamp and trigger
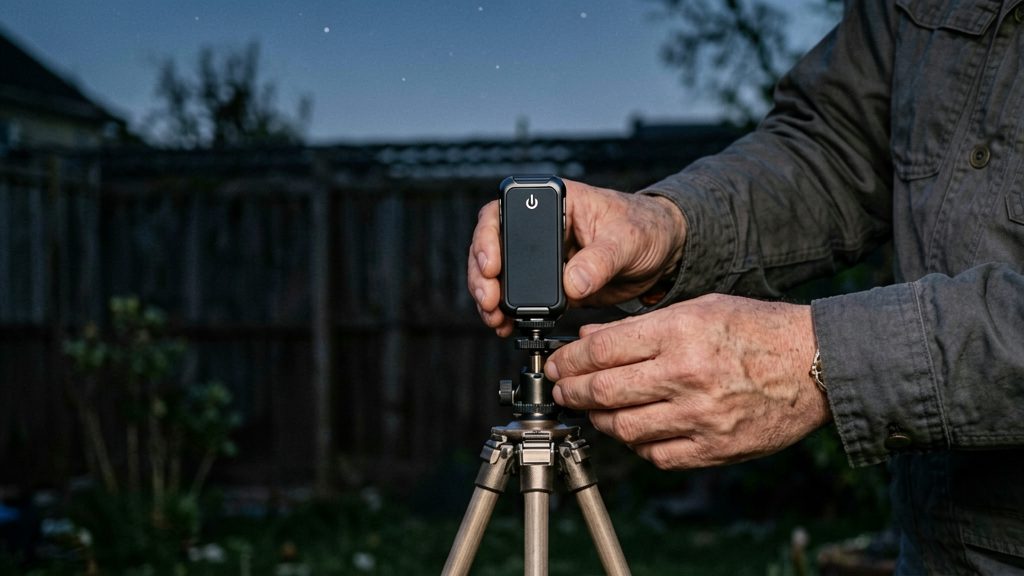
Choose a clamp that grips the phone firmly in the orientation you plan to shoot. A Bluetooth remote or self-timer is commonly used to avoid pressing the screen, which can shake the phone at the start of the exposure.
Why a tripod matters
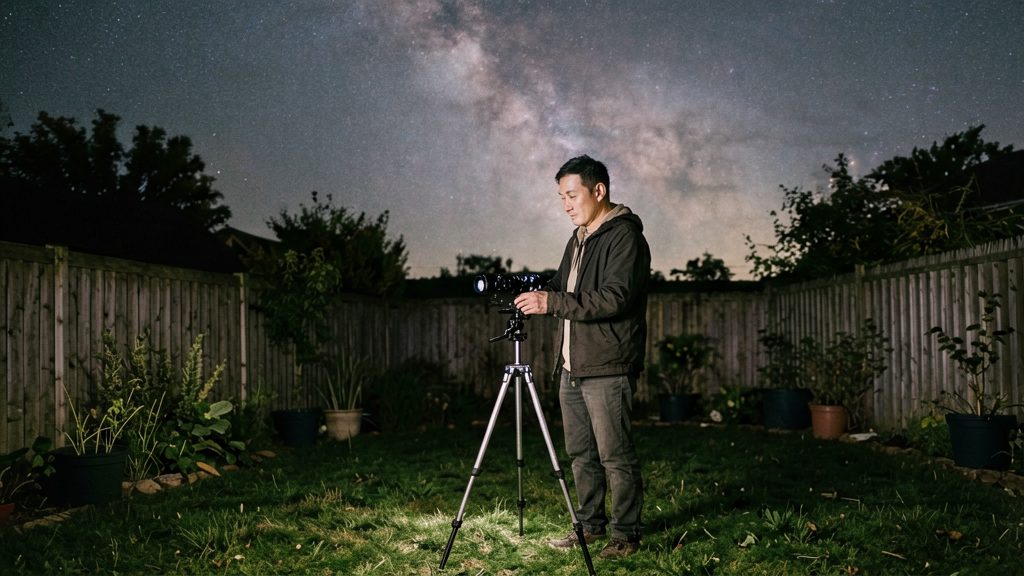
A stable mount is essential: without one, any movement during the exposure blurs the stars and limits sharpness. Star Walk (2026-07-25) lists a stabilized phone on a tripod as the first requirement for phone astrophotography, and Skylum (2026-06-23) advises securing the phone firmly so it cannot move during the exposure. Any movement of the device during the exposure shows up as blurred points of light and limits sharpness.
Securing the phone
- Clamp the phone in a holder or phone adapter on the tripod head, rather than balancing it on a surface.
- Tighten every locking knob before you start, then press gently on the phone to check that nothing shifts.
- Keep the phone’s cable, if one is connected, slack so it cannot pull the device during the exposure.
Vibration from the shutter
Pressing the shutter button on the screen transmits vibration through the phone to the tripod.
Stable footing and a level head
- Set the tripod on firm, level ground. Soft grass, sand or a sloping surface lets legs sink or tilt during the exposure.
- Spread the legs fully and check that the centre column is locked.
- Level the head so the phone sits square to the sky, which keeps the horizon and the Milky Way’s arc aligned in the frame.
When is the best time to see the Milky Way in Canada?
For observers in Canada, the bright central region of the Milky Way is best placed in the evening sky in July and August. Canada lies in the Northern Hemisphere, so the core is a summer target, but how high it climbs and how long true darkness lasts vary with latitude. In the far north, summer nights may never become fully dark. The core is best photographed during astronomical darkness, after the sky has fully darkened, and on nights close to the new moon, when moonlight does not compete with the faint galactic band.
Core visible in July and August evenings
- Plan Milky Way sessions for evenings in July and August, when the core is well placed after dusk.
- Outside these months, the core is less favourably placed in the evening sky; confirm with a sky app.
New moon nights offer the darkest sky
- Choose nights when the moon is new or close to it. Moonlight brightens the sky and reduces the contrast of the core.
- Check the moon phase in your calendar or sky app and schedule sessions around it within the July and August window.
Checking visibility in a sky app first
Exact nightly times depend on your latitude and longitude, so a fixed calendar is less reliable than a local check. Before going out:
- Open a star chart or sky app and set your current location.
- Confirm the date and time you plan to shoot, then check that the galactic core is above the horizon.
- Note the time when astronomical darkness begins, and plan to arrive before it.
Where can you find dark skies?
A dark sky site is one where the Milky Way’s faint structure is visible to the naked eye and the phone sensor isn’t washed out by artificial glow. Check a light pollution map before you drive, then confirm conditions on arrival. Use the Bortle scale to compare candidate sites, since lower classes indicate darker skies.
Use light pollution maps and the Bortle scale
- Open a light pollution map and zoom in on your candidate site.
- Read the map legend to find the Bortle class for that spot.
- Compare candidates: the lower the Bortle class, the darker the sky.
- Maps show average glow across an area. The sky directly overhead can still differ, so verify on the night.
Check RASC Dark Sky Preserves
The Royal Astronomical Society of Canada (RASC) maintains a Dark-Sky Preserve program; check the RASC website for the current list before you plan a trip, because listings, boundaries and access rules can change. Preserve status is a useful shortlist, not a guarantee of darkness on a given night.
Judge the site on arrival
| Check | What to look for |
|---|---|
| Horizon | A clear view down to the horizon in the direction you plan to shoot |
| Nearby lights | Towns, highways, yard lights and glow along the horizon |
| Naked-eye test | Faint Milky Way structure visible without optical aid; if it’s hard to see, the glow is too strong |
| Access | Legal, safe parking and a firm, level spot for the tripod |
Protect your night vision
Dark-adapted eyes rely on rod cells, which are much less sensitive to red light, so red light disturbs night adaptation less than white light. A bright white light or a bright phone screen can reset your adaptation, so use a red-light headlamp for setup and keep it on the lowest setting that lets you read controls.
Which phone settings work best?
Set the phone to Night/Astro mode or to Pro mode, where it is available, since Pro mode lets you control exposure and ISO directly. Some Night modes limit manual control, so check whether yours exposes these settings. Star Walk (2026-07-25) lists Night/Astro or manual controls as the requirement for astrophotography. The goal is an exposure short enough to keep stars as sharp points, with ISO roughly in the 1600 to 3200 range as Skylum suggests, adjusted to what your phone allows.
| Setting | Recommended value | Source |
|---|---|---|
| Exposure | Under about 25 seconds, so Earth’s rotation does not turn stars into streaks. This figure is only moderately reliable (the source is ambiguous) and several phones cap night-mode exposure below it. | Skylum (2026-06-23) |
| ISO | Roughly 1600 to 3200, never above 3200 because of noise | Skylum (2026-06-23) |
| Flash | Off | Star Walk (2026-07-25) |
| Digital zoom | Off, because it adds no real detail | Star Walk (2026-07-25) |
| File format | RAW, if the phone offers it | Star Walk (2026-07-25) |
Exposure limits differ between phone models, and several phones cap night-mode exposure below 25 seconds. Check your phone’s manual or its Pro-mode exposure range before you shoot.
Adjusting exposure and ISO
When a frame looks too dark, raise ISO rather than lengthening the exposure. Skylum (2026-06-23) advises this, since a longer exposure brings back the star trails you are trying to avoid. Stay within the 1600 to 3200 range first, then judge brightness on the preview.
How do you focus on the stars?
Autofocus often fails on the night sky because it needs contrast to lock on, and faint stars give it very little to work with. The reliable approach is to switch to manual focus in Pro mode and set the focus to infinity. According to Skylum (2026-06-23), focus should be set to infinity in Pro or manual mode, and optical image stabilization should be turned off when focusing manually.
Focus routine
- Open the camera’s Pro (manual) mode and enable the manual focus control.
- Drag the focus control to the infinity symbol (∞).
- Turn off optical image stabilization in the camera settings before you focus.
- Point the phone at a bright star or planet and look at the preview.
- Adjust the focus slowly until the star appears as a small, sharp point rather than a soft disc with a halo.
- Take a test frame and review it at full size. If the stars still look soft, repeat the adjustment.
How do you edit and improve your Milky Way photo?
Editing a Milky Way frame is mostly about restraint. According to Skylum (2026-06-23), shooting in RAW makes it possible to apply a few small adjustments: a slightly cooler white balance, sparing dehaze, and sparing noise reduction. Heavy processing flattens the faint structure of the galactic core and can turn the sky into an artificial-looking gradient, so each adjustment should be pushed only until the change is visible.
| Step | What it does | Watch for |
|---|---|---|
| Cooler white balance | Shifts the sky toward a natural night tone | Teal cast or unnatural star colour |
| Dehaze | Adds contrast to the sky and dust lanes | Amplified grain and bright halos around stars |
| Noise reduction | Smooths grain in the sky | Softened faint stars and fine dust detail |
Make each change in small steps, and check the result at 100% zoom before moving on. A reasonable order is to start with the white balance, since the colour balance affects how the other adjustments look.
Stack several frames to reduce noise
Stacking combines several shots of the same field into one image. Because the phone stays fixed on the tripod, the stars sit in the same place across frames, while the random noise in each frame differs and averages out. Capture a sequence with identical settings, align the frames in a stacking tool, and average them. More frames generally give a smoother result, but any movement of the phone between shots will misalign the stars and blur the stack.