What is a rotating planisphere?
Two rotating discs printed with a star map
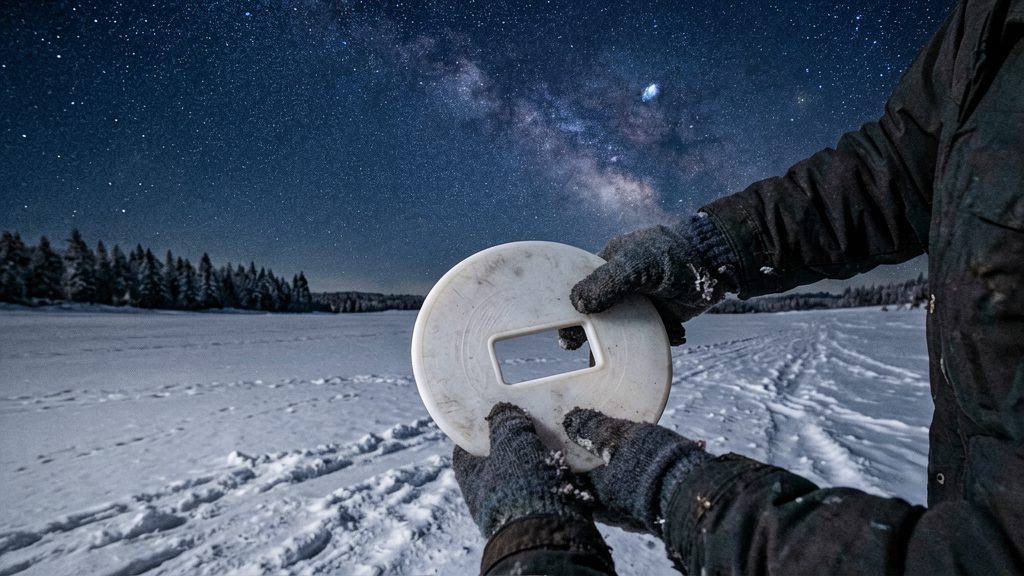
A planisphere consists of two circular discs joined at a central pin, so one disc turns relative to the other. The printed star map is what the discs carry, and rotating them changes which part of the sky is displayed.
What the printed chart contains
The Royal Astronomical Society of Canada (RASC) (2026) describes its planisphere as highlighting three categories of objects:
- Constellations, the recognizable star patterns used as landmarks
- Bright stars, the brightest points within those patterns
- Major deep-sky objects, the fainter targets beyond individual stars
Naked-eye sky, no power needed
A planisphere is used with unaided eyes. It does not require a telescope, binoculars, batteries or an electrical connection, which makes it usable in a dark field, on a campsite or at a balcony with no power supply.

Which latitude planisphere suits Canada?
A planisphere is built for one latitude band. Its star pattern assumes a particular viewing latitude, so the stars only match the real sky when you use the edition for your location. According to the Royal Astronomical Society of Canada (RASC, 2026), observers in southern Canada should order its 40–50° North edition. The sources we checked do not name an edition for observers farther north, so if you live there, compare your own latitude with the range printed on any chart before buying.
Why each chart is tied to one latitude
Stars rise, set and climb to different heights in the sky depending on how far north or south you stand. A planisphere fixes these angles in its design, so the chart works only within the range it was made for.
RASC 40–50° North edition
| Feature | Detail |
|---|---|
| Latitude band | 40–50° North |
| Intended region | Southern Canada (RASC, 2026) |
| Shows | Constellations, bright stars and major deep-sky objects (RASC, 2026) |
What a wrong latitude does
Using a planisphere well outside its latitude band puts the stars in the wrong places (BBC Sky at Night Magazine, 2026). A constellation may then appear lower, higher or in a different direction than the chart suggests, which makes star-hopping frustrating for beginners.
How do you set and use a planisphere?
Setting a planisphere takes three actions: match the time and date on its two discs, hold it overhead with your facing direction at the bottom, and use the central pin to find north.
| Step | Action | Result |
|---|---|---|
| 1. Set the date and time | Line up the time on the upper disc with the date on the lower disc | The chart shows the sky for that date and time |
| 2. Orient the chart | Hold the planisphere overhead with the direction you are facing at the bottom | The chart lines up with the sky in front of you |
| 3. Find north | Use the central pin, which marks Polaris | The north reference is located on the chart |
Once the chart is oriented, the constellations printed on it correspond to the stars you see above. Check the labels against the sky before you start identifying objects.
Why can’t a planisphere show planets or the Moon?
A planisphere maps only fixed stars and constellations. Those stars keep the same positions relative to each other, so a rotating disc can show them permanently. The Moon and planets move against that background, so they cannot be printed on the chart. According to BBC Sky at Night Magazine (2026), a planisphere cannot locate either the Moon or the planets.
How to find planets anyway
- Start with the constellations. Match the bright stars in the sky to the printed patterns on the disc so you know which points of light are already charted.
- Look for a bright point that is missing from the chart. BBC Sky at Night Magazine (2026) says a bright “star” absent from the planisphere is probably a planet.
- Use the dotted ecliptic line. The ecliptic is the path the Sun appears to follow through the year, and the planets stay close to it. BBC Sky at Night Magazine (2026) notes that this line helps you look for planets, so search along the dotted path rather than across the whole sky.
Reading your chart in the dark with red light
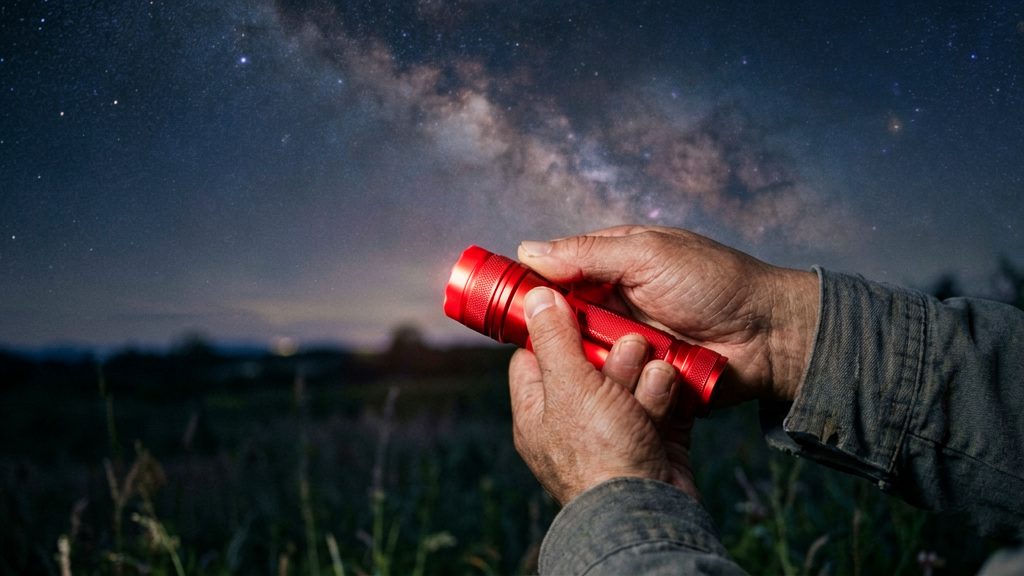
Your eyes need time to adjust to the dark, and a bright white light resets that adaptation. Red light is the standard alternative because it lets you read the planisphere without losing your night vision, so you can look back at the sky immediately after checking the chart. According to BBC Sky at Night Magazine (2026), a red torch is the way to read the chart for this reason.
Choosing the light
- Red LED flashlight: A small, dimmable model is easiest to keep in a pocket or clip to a jacket. Choose one with a low setting so you can use the least light that still shows the chart.
- Red-filtered headlamp: This keeps both hands free for holding the planisphere and adjusting the discs. Look for a red mode, since some headlamps only offer white light.
- Avoid white or blue-tinted light: Even a brief flash from a phone screen or a white flashlight can undo the adaptation you have built up.
Holding the light
Hold the light low and angled down so it falls on the chart, not on your eyes or the sky. Keep the beam off the glossy surface of the planisphere, because direct light reflecting off it creates glare that makes the star labels harder to read. Once you have found your target, switch the light off and look up.
Where to buy a planisphere in Canada
The Royal Astronomical Society of Canada (RASC) sells a 40–50° North star wheel planisphere, listed at CAD 11.25 according to RASC (2026). When that page was checked, the item was out of stock and could not be backordered, so it may not be available to order directly. Canadian buyers should check the RASC listing for current availability before planning a purchase.
| Item | Detail (RASC, 2026) |
|---|---|
| Edition | 40–50° North, recommended by RASC for southern Canada |
| Listed price | CAD 11.25 |
| Availability at check | Out of stock |
| Backorder | Not possible at check |
| Chart content | Constellations, bright stars, major deep-sky objects |
Checking the listing before you buy
- Confirm the latitude band printed on the chart or in the product description matches your location.
- Look for the printed latitude on the planisphere itself, not only in the online title.
- The RASC listing does not state the size of the planisphere, so check the dimensions with the seller if you need a specific format for storage or carrying.
Other sources
Use the same latitude check for any retailer or secondhand seller. Ask the seller to confirm the printed latitude in writing, and buy only from listings that state it clearly.
Is a planisphere better than an astronomy app?
A planisphere is better when you want a device that works with no signal and no startup. An astronomy app is better when you need to know where the Moon and planets are on a given night. Neither replaces the other, and the two work well together.
| Factor | Rotating planisphere | Astronomy app |
|---|---|---|
| Internet | Not needed | Not needed for the sky view itself, but some apps need it for updates or extra data |
| Planets and Moon | Cannot show them | Shows their positions live for your time and location |
| Setup time | Turn the time disc to the date, then hold it overhead to match the sky | Open the app and confirm your location and time |
| Failure risk | Works in the cold, in the dark and after a dropped phone | Depends on battery, screen and device condition |
Power and setup are the planisphere’s main advantages. Setup takes only a few quick actions: line up the time on the upper disc with the date on the lower disc, then hold the chart overhead with your facing direction at the bottom.
Planet coverage is where the app has the advantage. A planisphere cannot place the Moon or planets, because their positions change from night to night. An app calculates them for your exact time and place.
Hybrid use works well for most observers. Set the planisphere for the stars and constellations, then open the app only when you want to locate a planet or the Moon. This keeps the paper chart as a reliable backup if the phone battery runs low.