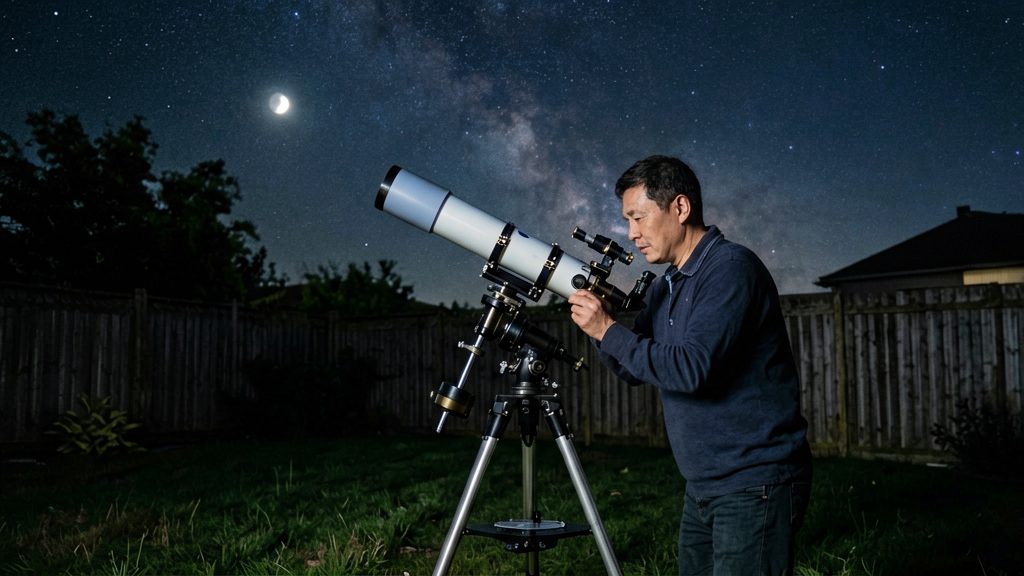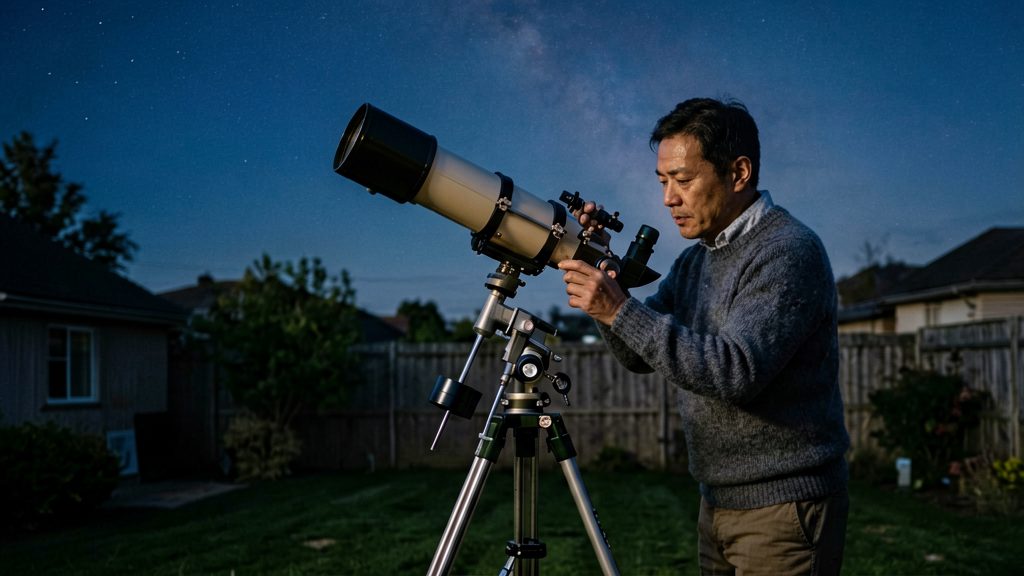
An equatorial mount is a telescope support whose polar axis is tilted to match your latitude and pointed toward the celestial pole; a second axis (declination) lets you aim at different objects. Because the sky appears to turn around that pole, a single axis can follow a star across the sky. This makes it the classic choice for beginners who want to keep planets, the Moon or deep-sky objects centred in the eyepiece.
What is an equatorial mount and why use one?
An equatorial mount tracks an object by rotating about one axis. The polar axis must be parallel to Earth’s axis of rotation, which is what allows that single motion to match the apparent movement of the sky. According to BBC Sky at Night Magazine (2023), this is the defining difference from other designs.
Single-axis motion compared with altazimuth motion
| Feature | Equatorial mount | Altazimuth mount |
|---|---|---|
| Axes of movement | One polar axis (rotation about it) | Two axes: altitude (up and down) and azimuth (left and right) |
| Tracking an object | Rotate about one axis | Move both axes together, in combined steps |
| Relation to Earth’s rotation | Polar axis parallel to Earth’s rotation axis | Axes aligned with the horizon and zenith, not the pole |
With an altazimuth mount, a star’s path requires coordinated movement on both axes. With an equatorial mount, the same path is a single rotation, which is why the design suits continuous tracking.
Why the polar axis must be parallel to Earth’s axis
If the polar axis is not parallel to Earth’s rotation axis, the telescope drifts off target in a curved path instead of a simple one. A correctly set axis means a star stays fixed relative to the eyepiece while the mount turns. Accuracy matters most for long observing sessions and for photography, where small drift shows up as blurred or elongated stars.
Drive motor tracking to counter Earth’s rotation
A drive motor turns the polar axis at the rate needed to offset Earth’s rotation. Once the motor is running, an object stays roughly centred without manual nudging. For beginners, this removes the most tiring part of observing, since you can focus on identifying features on a planet or a nebula rather than chasing it across the field.
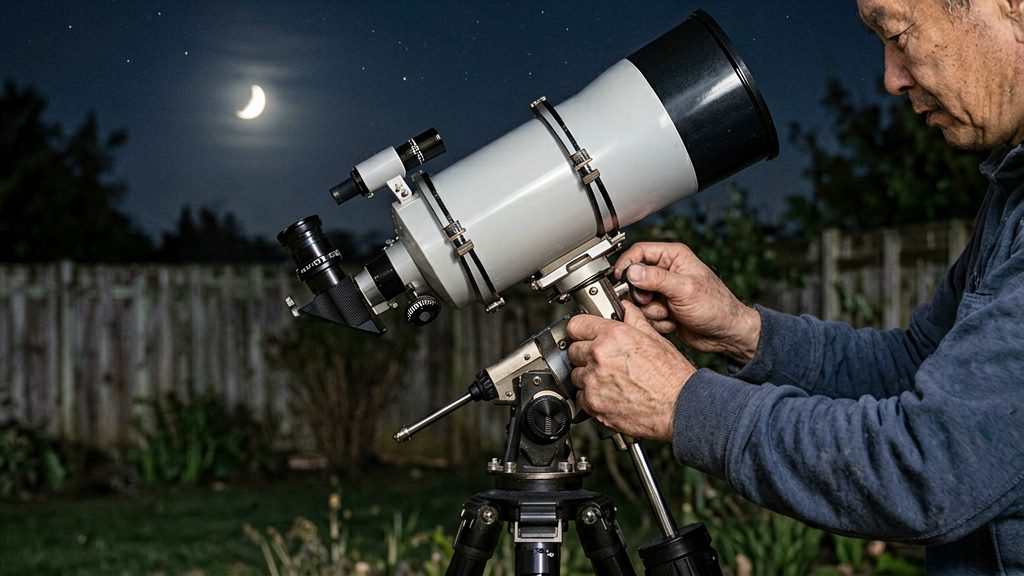
Choose a spot and level the tripod
The tripod is the base for every later step. If it moves or sits unevenly during the session, the polar axis setting, alignment and tracking will all drift with it, so settle the ground and the head before anything else.
Choose a firm, vibration-free surface. A concrete patio, a paved driveway or a solid lawn works well. Avoid soft soil, loose gravel, and timber decking that flexes when you walk nearby. Keep the mount away from anything that shakes, such as a fence that a neighbour leans on or a road where vehicles pass close by. A slope is a poor choice because a leg can settle over the course of a night.
Next, level the tripod head with a spirit level, the first step in the setup order recommended by BBC Sky at Night Magazine (2023):
- Extend the legs to a comfortable working height and tighten their locks.
- Place the spirit level on the flat top of the tripod head.
- Read the bubble, then turn the level a quarter turn and read it again.
- Adjust the leg lengths until the bubble is centred in both directions.
- Recheck after you tighten the leg locks, since tightening can shift the head.
Once the head is level, mark the position of each leg. Use chalk, a paint marker on a concrete surface, or small markers beside pavers or lawn edging. Note the leg extension length as well, so you can return to the same height. The same setup order recommends marking leg positions for faster future setups, because the feet return to the same spots and you can check the level quickly instead of starting from scratch.
| Check | How to do it | Done when |
|---|---|---|
| Ground stability | Press each leg foot and watch for sinking or rocking | The legs stay still under light pressure |
| Head level | Spirit level on the head, read in two directions | The bubble is centred in both |
| Leg marks | Mark each foot and note the extension length | Next session, the feet return to the same spots |
How do I find true north in Canada?
A compass points to magnetic north, not to the geographic pole that an equatorial mount’s polar axis must line up with. The angle between the two is the magnetic declination, and it changes with your location. To point the mount at true north, you read the compass, apply the local declination, and aim at the corrected direction.
Magnetic north and true north
- True north is the direction along Earth’s rotation axis toward the geographic North Pole.
- Magnetic north is where the planet’s magnetic field pulls a compass needle. It is not fixed and drifts over time.
- Magnetic declination is the angle between the two, given as east or west of true north.
According to BBC Sky at Night Magazine (2023-07-05), the setup should point the mount at true north, not magnetic north, using a compass offset for magnetic variance.
Getting the declination for your site
- Note your location and the current date.
- Look up the declination for that exact point using a current online calculator. Natural Resources Canada offers a magnetic declination calculator; enter your own latitude and longitude and the observing date.
- Record the value and whether it is east (E) or west (W).
- Re-check occasionally, because the value shifts slowly over the years.
Applying the correction
| Declination | Converting a magnetic bearing to true bearing |
|---|---|
| West (W) | True bearing = magnetic bearing − declination (e.g. magnetic 0° with 15° W declination gives true 345°) |
| East (E) | True bearing = magnetic bearing + declination (e.g. magnetic 0° with 15° E declination gives true 15°) |
Read the compass, apply the correction, and turn the mount’s azimuth so the polar axis points at the corrected direction.
Declination across Canada
Declination varies widely across Canada: it is east of true north in parts of the west and west of true north in the east, and the values can be large in the far north. Check the value for each observing location with the Natural Resources Canada calculator, especially if you travel to a dark-sky site.
Set the latitude angle
Setting the polar axis altitude means tilting the mount’s polar axis above the northern horizon at an angle equal to your site’s latitude. In Canada, latitudes run from about 42° to 70° N, so the setting depends on where you observe. Set the altitude before fine alignment, because the rest of the setup depends on it.
Read your latitude
Find your latitude in degrees from a paper map or a GPS or mapping app on your phone. Note whether it is north or south, and use the decimal value or the degrees and minutes, whichever your template scale uses. BBC Sky at Night Magazine (2023-07-05) uses London, at 51.5° N, as a UK example. Use the latitude of the place where you will observe, not your home address if they differ.
Use the right-angled triangle template
Use a card right-angled triangle template with a latitude angle scale and a spirit level, as described by BBC Sky at Night Magazine (2023-07-05). Set the template to your latitude, then position it against the mount so that its edge follows the polar axis. Place the spirit level on the template and adjust until the bubble is centred.
Adjust the altitude and lock the clutch
Loosen the altitude clutch, which holds the polar axis at its set angle. Raise or lower the mount’s altitude until it matches the angle on the template, then tighten the clutch fully so the axis cannot move.
How do I polar align with Polaris?
Polar alignment with a polar scope points the mount’s polar axis at the sky’s rotation axis, which lies very close to Polaris. The method works only while Polaris is visible through the scope, and only on mounts that have a polar scope. You look up where Polaris should sit in the reticle for the current date, time and your location, then move the mount until the star reaches that spot. According to AstroBackyard, you adjust azimuth first, then make fine altitude tuning, and only then tighten all the clamps.
Why the reticle target changes
Polaris does not sit at one fixed point in the polar scope reticle. Its expected position depends on the date, so a target read from an old chart or memory can point the mount the wrong way. Use a planetarium or polar alignment app that accounts for the current date, time and location.
| App | Platform | What it shows |
|---|---|---|
| Polar Scope Align Pro | iOS | Where Polaris belongs in the reticle for the current date, time and location |
| Polar Clock | Android | Where Polaris belongs in the reticle for the current date, time and location |
Step order
- Set up the mount on a stable, level tripod.
- Open the app, enter the date, time and location, and note the position Polaris should occupy in the reticle.
- Turn the azimuth adjustment until Polaris moves to that position.
- Adjust altitude in small increments to remove the remaining offset.
- Tighten every clamp, then check the reticle again.
Reticle layout and adjustment knobs differ between mount models. Check the manufacturer’s instructions for your mount to confirm which knob controls azimuth and altitude.
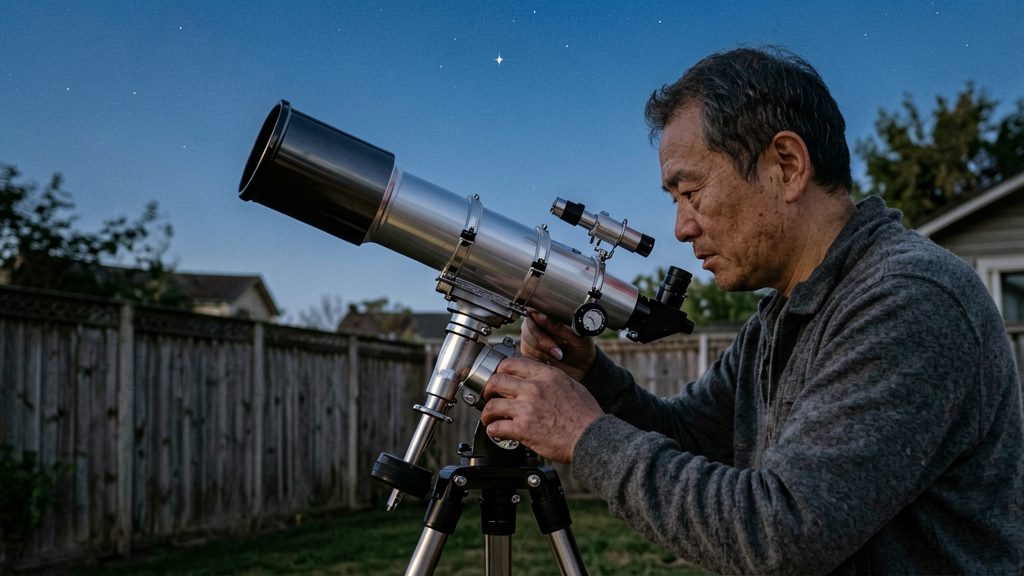
Balance the telescope and check your alignment
Before observing, the optical tube and counterweight should balance so the mount moves without strain, and the polar axis should point roughly at the celestial pole. Balancing steps differ between models, so follow your manufacturer’s manual for the exact order and load limits. Check the finderscope in daylight, then confirm the polar alignment at night.
Counterweight balance on both axes
Balance each axis with the eyepiece and any camera attached, since added weight changes the balance. Loosen a clutch only as your manual directs, and secure the counterweight before moving the mount.
Finderscope alignment on a distant daytime target
Align the finderscope in daylight, before dark, as described by BBC Sky at Night Magazine (2023-07-05):
- Choose a distant, sharply defined object, such as a rooftop edge or a treetop.
- Centre it in the main telescope using your lowest-power eyepiece.
- Look through the finderscope. If the object is off-centre, adjust the finder’s alignment screws until the same object sits on its crosshair.
- Recheck after moving the telescope, since a bumped finder can drift out of alignment.
Night check: loosen the clutch and watch Polaris
According to BBC Sky at Night Magazine (2023-07-05), you can verify the polar alignment at night:
- Find Polaris in the finderscope or the eyepiece.
- Loosen the polar axis clutch and rotate the telescope slowly around that axis.
- Watch Polaris. It should trace a small circle around the centre of the view.
- If the circle is large or off-centre, adjust the mount’s altitude and azimuth, then recheck.
Do I need perfect alignment for visual observing?
For visual observing, no. A rough alignment is enough, so the right ascension (RA) axis only needs to point close to Polaris. The mount then keeps a planet, the Moon or a double star near the eyepiece field.
Tracking tolerance for eyepiece observing
At eyepiece magnifications, a small tracking error shows up as a slow drift across the field. For short looks, you can re-centre the target with the slow-motion controls, so the alignment does not need to be exact. Errors become more noticeable at high magnification, where the field is narrower and the drift crosses it faster.
Drift alignment when Polaris is hidden
Buildings, trees or a low horizon can block Polaris. In that case, drift alignment is the alternative: you track star movement across the sky and adjust the mount’s altitude and azimuth until the drift stops. The AstroBackyard guide names PHD2 as software that supports this method. Drift alignment is more time-consuming than a polar scope check, so it suits sessions where you plan to image.
Why alignment matters more for astrophotography
Long exposures keep the shutter open for minutes, so any slow drift turns stars into short trails. This is why accuracy requirements rise sharply once a camera replaces the eye.
| Use | Alignment accuracy | Practical method |
|---|---|---|
| Visual observing | Rough: RA axis pointed near Polaris | Quick setup; re-centre by hand |
| Long-exposure astrophotography | Much more accurate | Polar scope or drift alignment (for example, PHD2) |