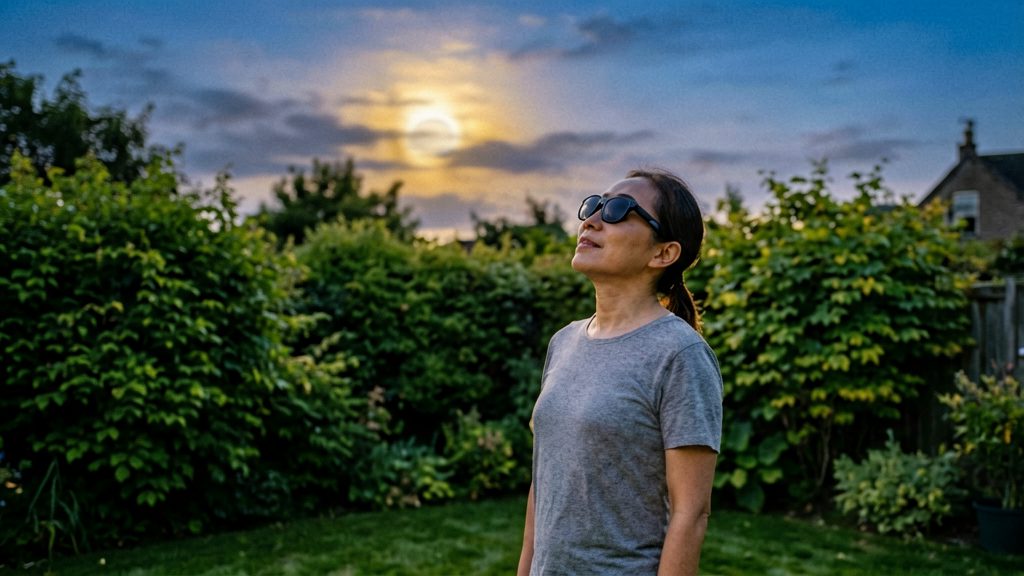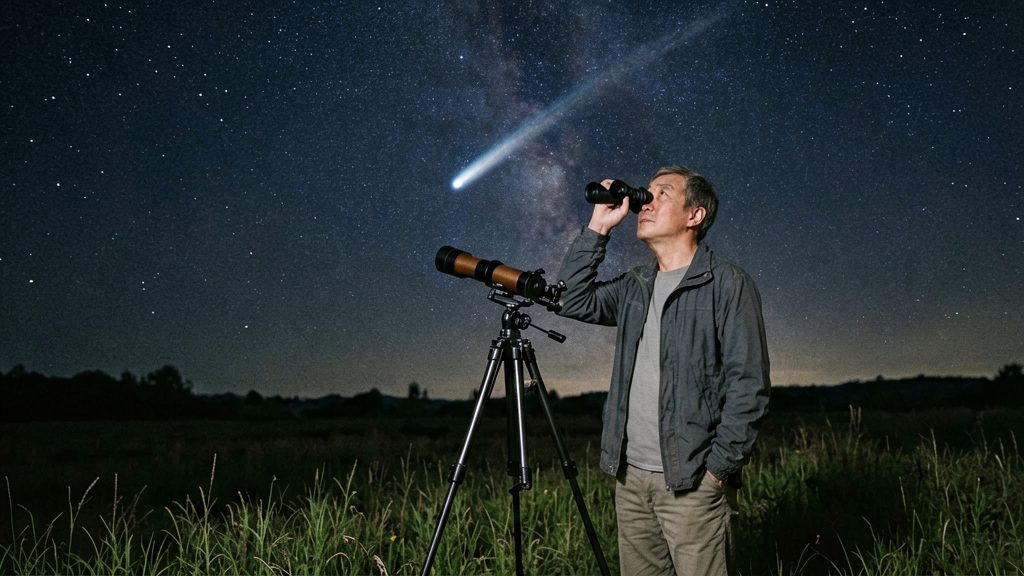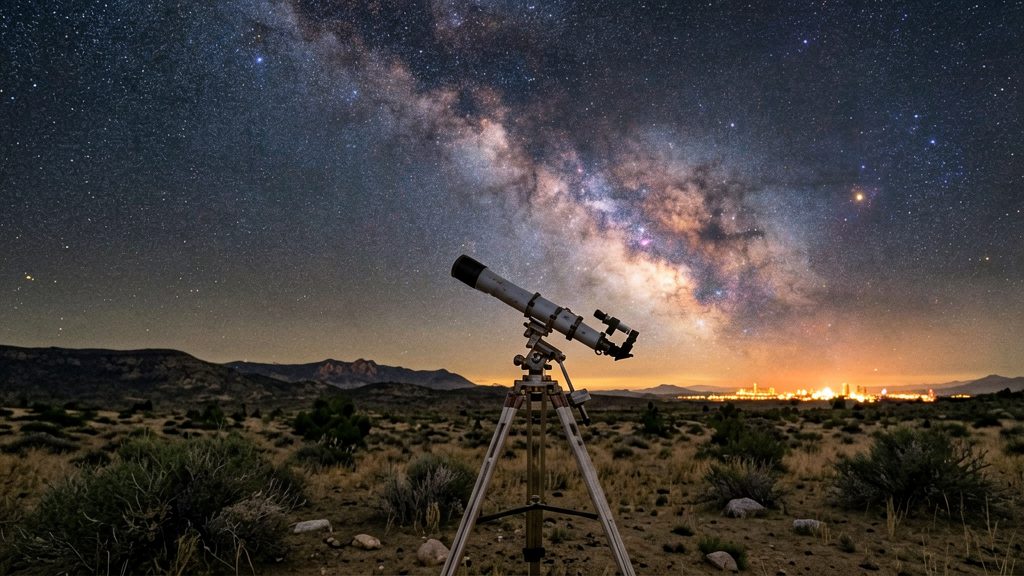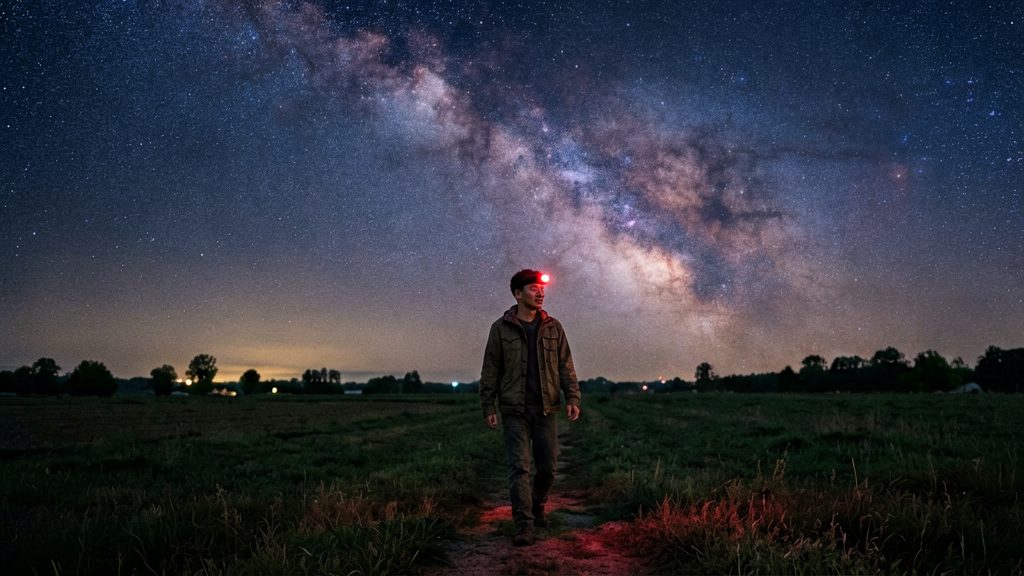
The Perseids remain a practical target from a suburban backyard because the shower is produced every year by a well-established debris stream, and its meteors are fast enough to stand out in a short glance at the sky. The count you record still depends mainly on sky darkness. Published figures range from about 10 to 100 meteors per hour, but only the NASA figures (about 25, and 50 to 100) describe dark skies, so treat those as maximums. The National Geographic estimate of 10 to 30 per hour is the closest to backyard conditions, though it comes from a single 2013 article.
Why the Perseids work even from a suburban backyard
The source: comet 109P/Swift-Tuttle
The Perseids come from comet 109P/Swift-Tuttle, which orbits the Sun every 133 years, according to NASA Science (2026). Earth crosses the debris the comet leaves along its path each year, and that debris burns up in the atmosphere as meteors. Because the stream recurs annually, the shower gives backyard observers a repeatable target rather than a one-off event.
Speed and visibility
The meteors travel about 37 miles (59 km) per second, according to NASA Science (2026). Their speed means the streaks are brief, so look at a wide area of sky rather than one spot.
Realistic hourly counts from a suburban yard
| Source (date) | Published figure | Conditions stated |
|---|---|---|
| NASA Science (2026) | About 25 meteors per hour | Dark skies (fast facts) |
| NASA Science (2026) | About 50 to 100 meteors per hour | Dark skies (article text) |
| National Geographic (2013) | 10 to 30 meteors per hour | Suburban backyard or municipal park with no direct light, clear skies |
The two NASA figures describe dark skies, so a suburban yard will record fewer meteors than the maximum. The National Geographic range (at least 10 to 30 per hour, for a backyard or park with no direct light and clear skies) is the closest match to backyard conditions, but it comes from a single 2013 article with no primary source found, so use it as an estimate rather than a guarantee.
When is the best time to watch the Perseids?
The 2026 Perseids peaked on the night of Aug. 12-13 and stayed active through Aug. 24, according to NASA Science (2026). The 2027 peak date and Moon phase are not verified here, so check NASA or the American Meteor Society before planning. For a backyard observer, the peak night matters less than the hours within it. Meteor counts are highest when the sky is darkest, which falls between midnight and predawn, according to National Geographic (2013).
| Time window | What to expect | Source |
|---|---|---|
| From about 10 p.m. | Some Perseids may already appear | NASA Science (2026) |
| Midnight to predawn | Darkest skies and the best viewing window | National Geographic (2013) |
| Pre-dawn hours | Best timing from the Northern Hemisphere, overlapping the midnight to predawn window | NASA Science (2026) |
Moon phase and sky brightness
A bright Moon lightens the sky and hides fainter meteors, so it lowers your count even during the peak. NASA advises looking up broadly and away from the Moon (NASA, 2014). Check the Moon’s phase for the specific night you plan to watch, since it changes from year to year.
Where should you sit and which way should you look?
Choose a position that lets you see most of the sky without turning your head. The Perseid radiant lies in Perseus and rises in the northeast, according to National Geographic (2013), but NASA advises looking up broadly, so you do not need to stare at the radiant. Meteors can cross large areas of sky, so a wide view matters more than staring at one point.
Posture that avoids neck strain
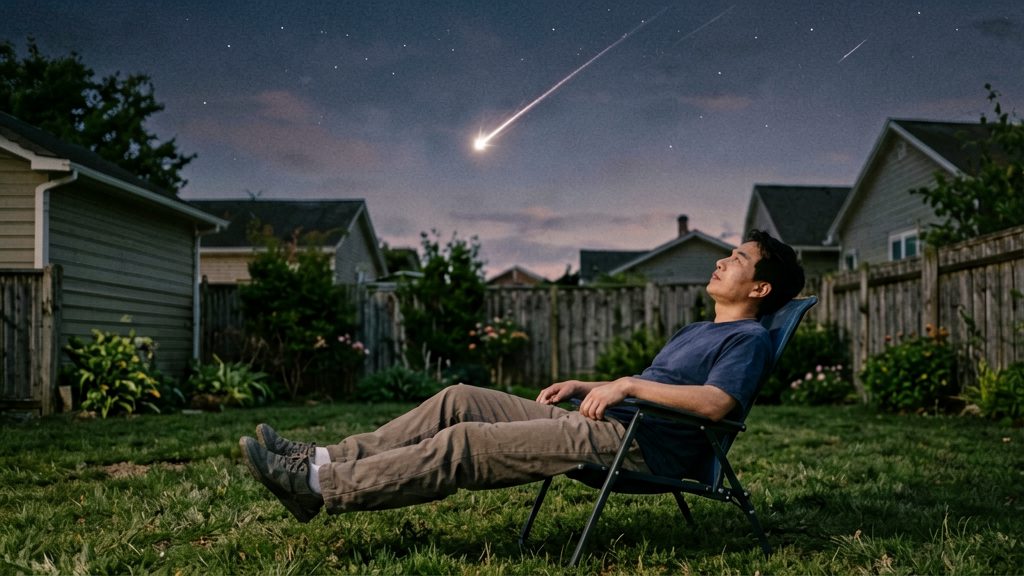
NASA (2014) advises lying back on a lawn chair or sleeping bag. A reclined position lets the head rest on a support while your eyes scan upward. Lying back keeps the neck relaxed during a long session. Adjust your seat so the sky fills your view with minimal head movement.
Directions to check
| Direction or factor | Why it matters |
|---|---|
| Northeast | The Perseid radiant in Perseus rises here (National Geographic, 2013) |
| Overhead and the wider sky | Meteors appear across large areas, so a broad view covers more of the sky |
How do you cut backyard light pollution?
Cutting backyard light pollution means shielding or switching off every light that reaches your eyes during the session, before you sit down.
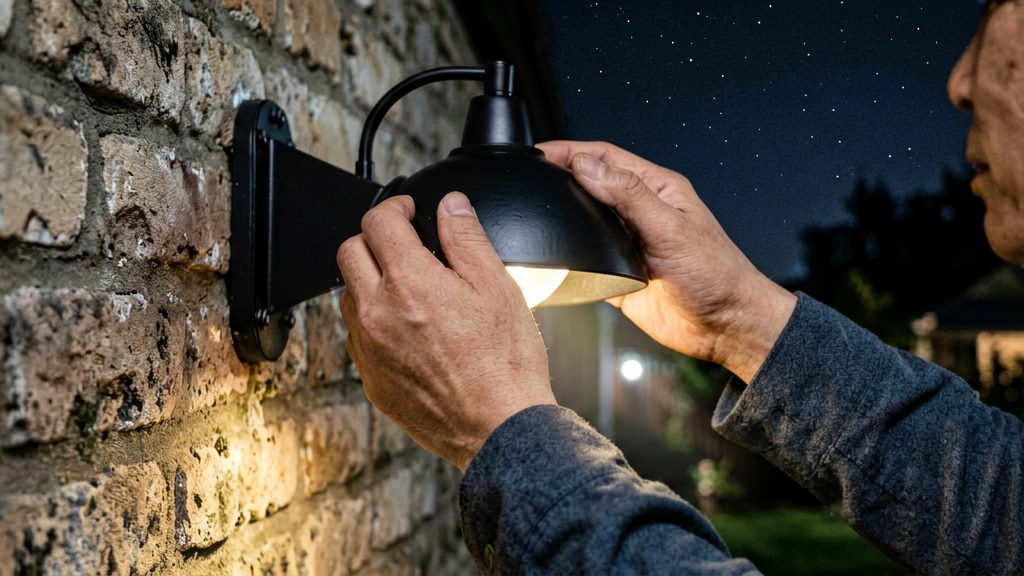
Shielding porch lights, floodlights and neighbor glare
Most backyard glare comes from a few fixed fixtures. Work through them in this order:
| Source | Fix | Effect |
|---|---|---|
| Porch or door light | Switch it off for the session, or use a fully shielded fixture that points downward | Stops direct light reaching your eyes and the sky above |
| Floodlight or security light | Aim it downward, add a shield, or set it to motion-only | Prevents light spilling across the lawn |
| Neighbour’s fixture | Ask the neighbour to angle or shade it for the session | Reduces glare entering your yard from outside |
| Streetlamp | Cannot be switched off by you; reposition your chair | A house, fence, hedge or tree between you and the lamp keeps it out of your view |
Where you control the bulbs, warm-toned, lower-output bulbs produce less glare than bright white ones. Check the product label or manufacturer’s instructions for the light’s output and shielding before buying a replacement.
Switching off indoor lights before going outside
Lamps and ceiling lights shine through windows and patio doors onto the lawn. Turn off or dim the rooms that face the yard, and draw the curtains or blinds. National Geographic (2013) notes that eyes need 15 to 20 minutes to adapt to the dark, so switch off indoor lights several minutes before you step outside. Doing this during the adaptation period is more effective than turning lights off after you have already sat down.
Finding darker sites with light pollution maps
Light pollution maps show artificial sky brightness by area. Use one to compare your yard with a nearby park or rural spot before you travel. Map colours are estimates, so confirm the conditions on site by looking at the sky. Certified dark-sky sites can also be worth checking before a trip, but confirm conditions on site.
Dark adaptation and red light for your Perseid session
Your eyes need about 15 to 20 minutes to reach full dark adaptation, according to National Geographic (2013). White light such as a flashlight, porch light or headlamp can cost up to 30 minutes of night vision. Plan to spend the first part of your session without any white light, and use red light for the tasks you cannot avoid.
Dark adaptation timeline
Full adaptation takes roughly 15 to 20 minutes after you step outside, so start the clock before you settle into your chair. The 2013 National Geographic figures are typical guidelines, not guarantees, and individual results vary.
| Stage | What to do |
|---|---|
| First 2 minutes | Walk to your observing spot in the dark, and avoid looking at your phone. |
| Minutes 2 to 15 | Keep your eyes on the sky. Faint stars and the Milky Way become visible as your eyes adjust. |
| Minutes 15 to 20 | Reach full adaptation. Your counts are most reliable from here. |
Light discipline
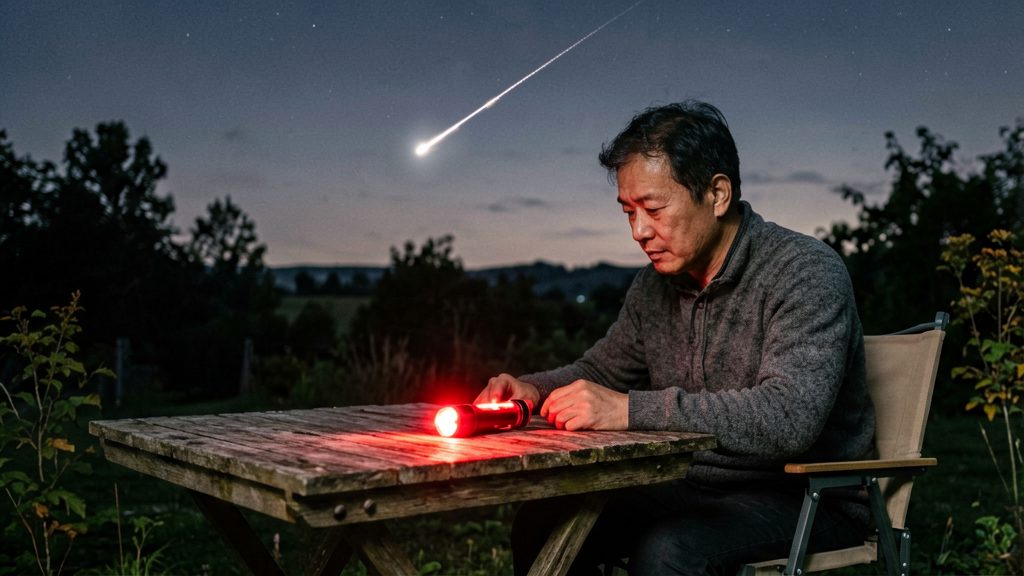
Red light is the practical tool for the tasks you cannot skip, such as reading a star chart or setting up a meteor counting log. National Geographic (2013) recommends a red flashlight in place of white light for this purpose.
Keep white light off in these situations:
- Walking to and from your spot
- Checking the time or a star app
- Adjusting a chair, blanket or equipment
If someone in your group needs white light, ask them to cover the beam with a red filter or to point it at the ground.
Do you need binoculars or a telescope?
No. National Geographic (2013) states that binoculars and telescopes are not needed for meteors, because unaided eyes work best when meteors cross large areas of sky.
Why a telescope misses most meteors
A telescope trades field of view for magnification. At high power, the view is narrow, so a meteor streak crossing the sky will usually pass outside the eyepiece. Binoculars also narrow the view compared with the unaided eye. Even a wide-field eyepiece only shows a small patch, and you cannot know in advance where a meteor will appear.
Optics for other night-sky targets
Optics help with objects that stay in one place and reward closer inspection. Choose the instrument by target:
| Target | Suitable optics | Why it works |
|---|---|---|
| Meteors | Unaided eyes | Covers the widest sky area |
| Moon | Binoculars, or a telescope with a low-power eyepiece | The whole disc fits in the view, and surface detail becomes visible |
| Planets | Telescope with a higher-power eyepiece | Planetary detail needs magnification |
For planets, check the eyepiece and telescope manufacturer’s instructions for the maximum usable magnification, because pushing magnification beyond what the aperture supports reduces image clarity.
Photographing Perseids from home
A steady camera with a long shutter captures more Perseids than a handheld phone. According to National Geographic (2013), the suggested setup is a tripod-mounted DSLR with a wide lens, ISO 400, a remote timer, and exposures from 15 seconds up to 30 to 40 seconds. Meteors appear at random, so keep the camera shooting through the night.
Camera setup
| Setting | Suggested value | Source |
|---|---|---|
| Mount | Tripod | National Geographic (2013) |
| Lens | Wide | National Geographic (2013) |
| ISO | 400 | National Geographic (2013) |
| Exposure | 15 seconds to 30–40 seconds | National Geographic (2013) |
| Release | Remote timer | National Geographic (2013) |
Exposure and framing
- Exposure: Longer exposures record fainter meteors but also lengthen the star trails. Test a few frames at the 15-second end and at the longer end, then compare them on a screen. The exact values depend on your camera and sky brightness, so check your camera’s manual.
- Radiant direction: Meteors appear to spread out from the radiant, but the streaks can fall anywhere in the frame.
- Moon: Keep the Moon out of the frame.
Smartphone limits
Phones handle Perseids poorly for two reasons. A meteor streak lasts a fraction of a second, and most phone night modes combine several frames over a longer period, so a brief streak can be averaged out or lost. Phone camera apps also rarely offer the controlled, long single exposures described above. If your app has manual exposure controls, check its maximum shutter time and ISO range before the night. Otherwise, a phone is better for photographing the sky’s general field and the Moon’s position than for catching individual meteors.