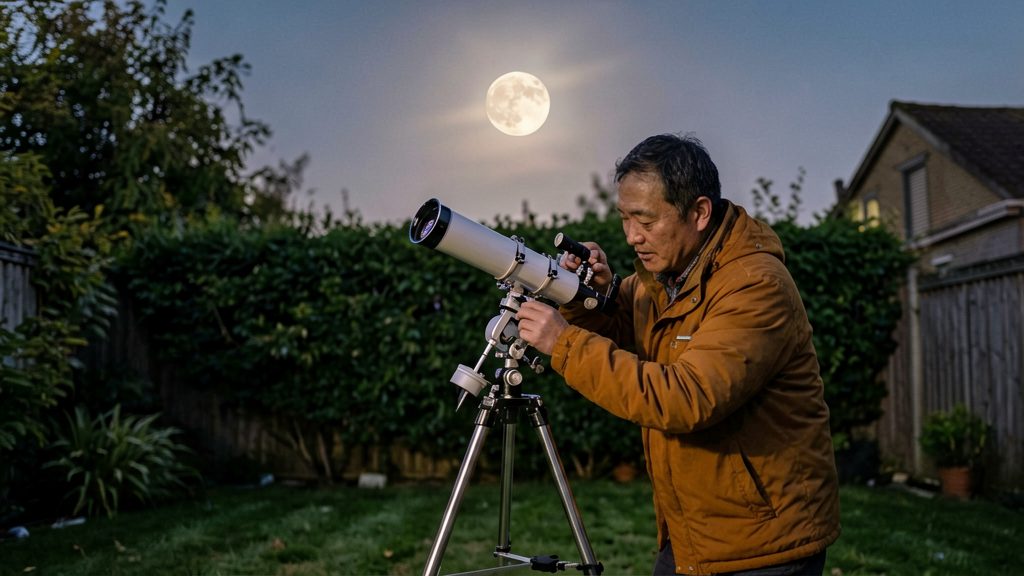
The terminator, the boundary between the lit and unlit parts of the Moon, is the best place to look with a small telescope. Along this line the Sun hits the surface at a low angle, so shadows are long and crater rims, central peaks and mountain ridges stand out in sharp relief. Near full Moon the Sun is almost overhead, shadows nearly vanish, and the surface looks flat and washed out.
Why the terminator is the best place to look
Low sun angle creates the contrast. Where sunlight grazes the surface, every rise casts a shadow, and the shadow’s length exaggerates its height. A crater rim that is barely visible under high sun becomes a bright ridge on one side and a dark hollow on the other. The same effect makes mountain ranges and central peaks readable as three-dimensional forms.
Full Moon hides relief. With the Sun high, most features are lit from directly above and look flat. Bright ray systems can still be seen at full Moon, but the surface detail that depends on shadows is largely lost.
| Lighting along the day-night line | Effect in a small telescope |
|---|---|
| Low sun, near the terminator | Rims and peaks cast long shadows; relief is strong |
| High sun, near full Moon | Shadows shrink; surface looks washed out |
Tracking the terminator means observing the same region on several nights. As the lunar day progresses, the line moves across the disk, so a feature that is flat one night can show strong relief a few nights later.
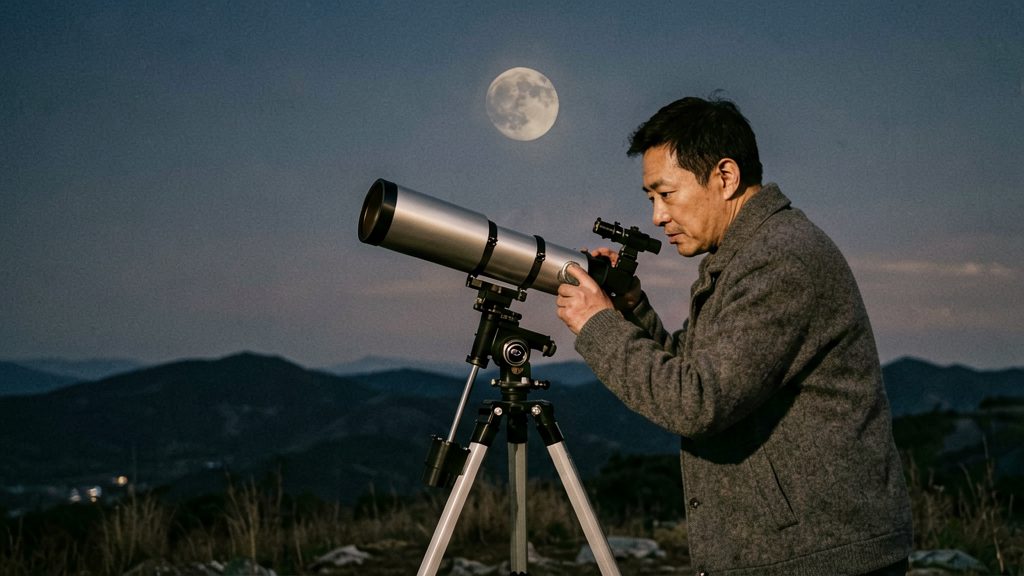
What can you see on the Moon with a small telescope?
A small telescope, as defined by NASA Goddard Space Flight Center (2017) for its lunar observing challenge, is a 50–60 mm refractor or a 4–6 inch reflector. Instruments in this range show the Moon’s four main feature types: maria (dark plains), craters, rilles, and mountains.
Aperture classes
| Instrument type | Aperture | Equivalent in millimetres |
|---|---|---|
| Refractor | 50–60 mm | 50–60 mm |
| Reflector | 4–6 inch | About 102–152 mm |
Feature types
| Feature type | Examples | What to look for |
|---|---|---|
| Maria (dark plains) | Mare Imbrium, Mare Tranquillitatis, Mare Crisium | Large, smooth, dark areas. Mare Tranquillitatis is visible, but the Apollo 11 lander is too small to see (Sky & Telescope). |
| Craters | Copernicus, Plato, Gassendi | Circular rims and floors. |
| Rilles | Rilles on the floor of Gassendi | Narrow channels in the surface. Sources differ on which rilles a small telescope resolves; the Hadley Rille is reported to need a larger instrument (BBC Sky at Night Magazine). |
| Mountains | Lunar Apennines | A long mountain range, which the BBC Sky at Night Magazine describes as running over 900 km. |
How aperture and seeing limit detail
- Aperture sets how much fine structure a telescope can resolve. A 6-inch reflector shows the same feature types as a 50 mm refractor, but it reveals finer structure within them.
- Seeing, the steadiness of the air, limits detail at any aperture. On unsteady nights, edges blur and small craters lose definition, so the best views come on nights when the image stops shimmering.
Craters worth finding first
Copernicus, Plato and Gassendi are three prominent craters to look for with a small telescope. Each measures between 93 and 110 km across, and each has a distinct visual trait. According to BBC Sky at Night Magazine, a small telescope shows Copernicus clearly.
| Crater | Diameter | Visual trait to look for |
|---|---|---|
| Copernicus | 93 km | Terraced rim and bright rays |
| Plato | 109 km | Smooth floor, near the northern edge of Mare Imbrium |
| Gassendi | 110 km | Rilles (channels) on its floor |
Copernicus
The terraced rim is the feature to check first. Copernicus is also one of the craters NASA Goddard Space Flight Center names as prominent near full Moon, when its bright rays are visible across the disk.
Plato
Plato’s smooth floor sets it apart from the rougher craters around it. Its position on the northern edge of Mare Imbrium makes it easy to locate from the dark plain. NASA Goddard lists Plato among the features to look for at first quarter.
Gassendi
Gassendi is the one to choose for surface texture. Its floor holds rilles, but sources differ on which rilles a small telescope resolves, so treat them as a stretch target that depends on aperture and steady seeing.
Mountains, valleys and the Straight Wall
Not every lunar feature is a round crater. The Straight Wall (Rupes Recta) is a fault, a long break in the surface, and the Vallis Alpes is a valley. Both appear as straight or linear features, so they stand apart from the ring-shaped craters around them.
The Straight Wall
The Straight Wall is a 110 km fault more than 270 m high. A small telescope shows it as a thin dark line near the crater Birt. According to NASA Goddard Space Flight Center (2017), it casts a dark shadow at sunrise and appears as a bright line once sunlight reaches its slope. Your observing time therefore changes how it looks, and it is best located while the lunar sunrise shadow is still visible.
Vallis Alpes
The Vallis Alpes valley is 130 km long. According to BBC Sky at Night Magazine, it is visible even in a small telescope, which makes it a useful target for checking your setup on a night when the crater detail is less clear.
| Feature | Length | Shape | Key observing fact |
|---|---|---|---|
| Straight Wall (Rupes Recta) | 110 km | Fault, over 270 m high | Thin dark line near Birt; bright once sunlit at its slope |
| Vallis Alpes | 130 km | Valley | Visible even in a small telescope |
Which Moon phase is best for observing?
No single phase shows the whole Moon at its best. Shifting sunlight picks out different features, so the right time depends on the target. Near first quarter, the Apennine Mountains, Mare Imbrium and several craters stand out. Near full Moon, Tycho’s bright rays dominate the disk, though the surface looks washed out and flat.
| Phase | Features it lights up best | Source notes |
|---|---|---|
| First quarter | Apennine Mountains and their shadows, Mare Imbrium, Archimedes, Plato, Aristoteles, Eudoxus | The lunar Apennines run over 900 km and look most striking when lit from the side (BBC Sky at Night Magazine) |
| Near full Moon | Tycho’s rays, Copernicus, Kepler, Aristarchus | Tycho is about 85 km wide, and its rays are best seen at full Moon (Sky & Telescope) |
Why check several phases
NASA Goddard Space Flight Center (2017) recommends observing across several phases, because the changing light reveals different features. A single session usually covers only one part of the surface well, so repeating the observation over a lunar cycle gives a fuller view.
Planning a session
- Choose your target first, then check which phase lights it.
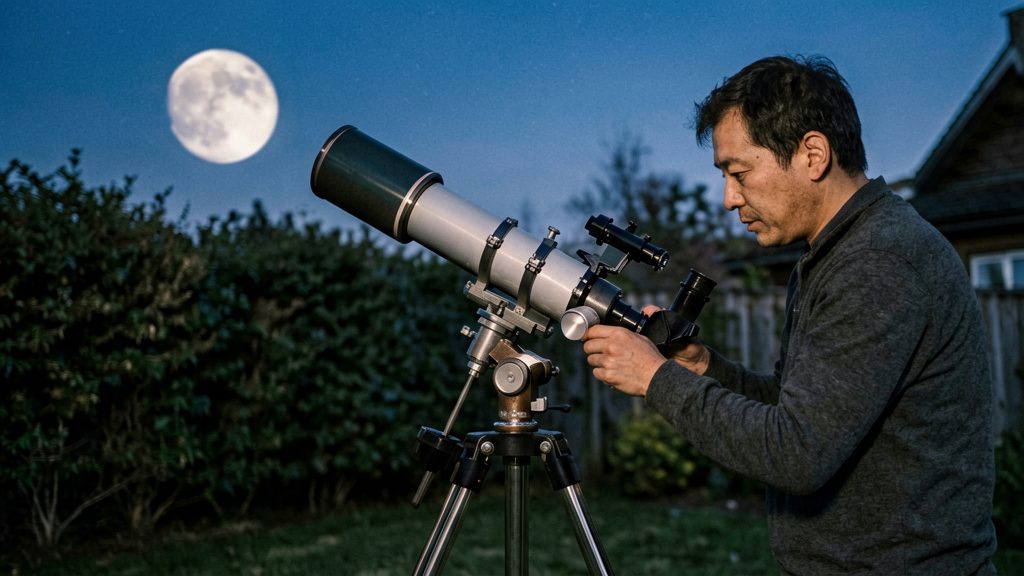
Do you need a moon filter?
A moon filter is optional for most first sessions, and it matters most when the Moon is very bright. According to Sky & Telescope, if the Moon is too bright, a lunar filter reduces the glare and also improves contrast. Binoculars can start without one: a 7x50 pair should show lunar features down to about 50 km across, according to BBC Sky at Night Magazine. The glare problem is greatest near full Moon.
Neutral density versus polarising filters
Some products are described as neutral density or polarizing, but this distinction is not established by the sources. Check the manufacturer’s specification to see how a given filter works. Check the label or the manufacturer’s instructions to confirm which type you have. If the listing names neither, ask the seller before buying.
Filter placement: eyepiece versus front of the telescope
Lunar filters usually thread onto the eyepiece barrel. Follow the manufacturer’s instructions for the mounting position and thread size. Before fitting a filter at the front of the optical tube, confirm with the manufacturer that the product is rated for that position and that its threads match your telescope. Use a filter on the eyepiece you use most for the Moon, so you do not need to change filters during a session.
Checking transmission and label claims
Light-reduction figures are printed on some filters, but compare them against the manufacturer’s specification rather than relying on general terms such as “dark” or “light”. Test the filter at the eyepiece before a full session:
- Observe the Moon with and without the filter, using the same eyepiece.
- Confirm the glare is reduced while crater rims near the terminator remain visible.
- If the view becomes so dim that surface detail disappears, the filter is too dark for your conditions.
Magnification and orientation tips
Start with the lowest power your eyepiece set allows. Magnification equals telescope focal length divided by eyepiece focal length, so a longer focal length eyepiece gives less magnification. Center the Moon in the field at low power first, then switch to shorter focal length eyepieces to zoom in on a region. According to BBC Sky at Night Magazine, low-power views show the most detail, so the wider view is the most useful starting point before you zoom in.
Working up the magnification
- Insert the longest focal length eyepiece and center the Moon.
- Identify the major features in the wide view.
- Swap to a shorter focal length eyepiece and re-center the target.
- Repeat until the image starts to soften or the Moon drifts out of the field quickly.
Why the image appears flipped
The image you see depends on the optical design and the accessories in the light path. Compare the common setups:
| Optical setup | Typical Moon view | Practical fix |
|---|---|---|
| Newtonian reflector, eyepiece in the focuser | Inverted (upside down) | Rotate a printed map 180 degrees |
| Refractor or catadioptric with a star diagonal | Mirror-reversed (left and right swapped) | Mirror the map, or use an erecting diagonal |
| Refractor or catadioptric with an erecting prism diagonal | Upright, not reversed | Map orientation matches the sky |
| Eyepiece that flips the image | North/south or east/west flipped | Check the view against a map before identifying features |
The role of the diagonal
A diagonal is a 90-degree prism or mirror that sits between the telescope and the eyepiece, so you can observe comfortably at the eyepiece position. A standard prism diagonal leaves the image mirror-reversed. An erecting prism diagonal turns the image upright and unreversed, which is simpler when you compare the view with a chart or with what you see by eye. Some eyepieces flip the image in one axis regardless of the diagonal, so the diagonal type alone does not settle the orientation.
Easy targets for binoculars and phone cameras
According to BBC Sky at Night Magazine, a 7x50 binocular should show lunar features down to about 50 km across. That is enough to pick out large dark plains and mountain ranges without a telescope. Phone photos of the Moon depend a great deal on how the phone is held and exposed, so the setup matters as much as the target.
Targets to find
| Target | What to look for | Condition noted by sources |
|---|---|---|
| Mare Crisium | Isolated dark oval about 620 x 570 km | Visible to the naked eye, and binoculars show it (BBC Sky at Night Magazine) |
| Lunar Apennines | Mountain range over 900 km long | Most striking when lit from the side (BBC Sky at Night Magazine) |
| Tycho’s rays | Bright ray system spreading across the disk | Best at full Moon (Sky & Telescope) |
Phone digiscoping setup
Digiscoping means photographing through an optical instrument with a phone. For the Moon:
- Use a phone clamp or adapter that holds the phone lens centred over the eyepiece. Follow the adapter maker’s fitting instructions.
- Mount the optics on a tripod and use a remote shutter or timer so pressing the screen does not shake the image.
- Position the phone so the lens sits close to the eyepiece exit, and move the phone slightly until the full bright disk fills the frame with no dark vignetting at the edges.
Exposure and zoom settings for beginners
- Lower the exposure manually if the app allows it, which keeps surface detail in the bright areas.
- Use the eyepiece for magnification and leave the phone’s digital zoom off. Digital zoom enlarges pixels rather than adding detail.
- If the Moon is too bright, fit a lunar filter to the eyepiece. It reduces glare and improves contrast. Check the product label to see whether it is polarizing or neutral-density, as the two behave differently.