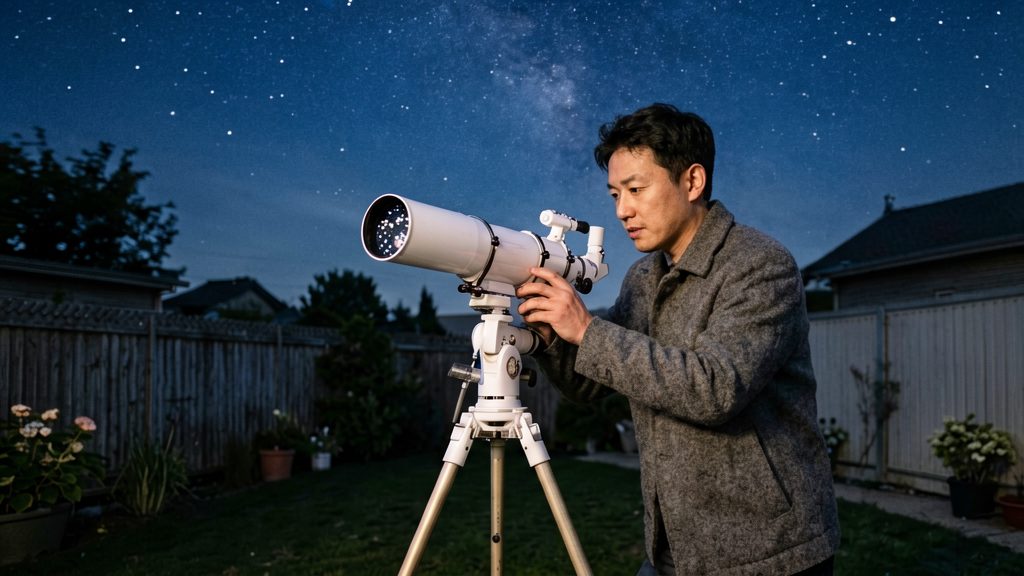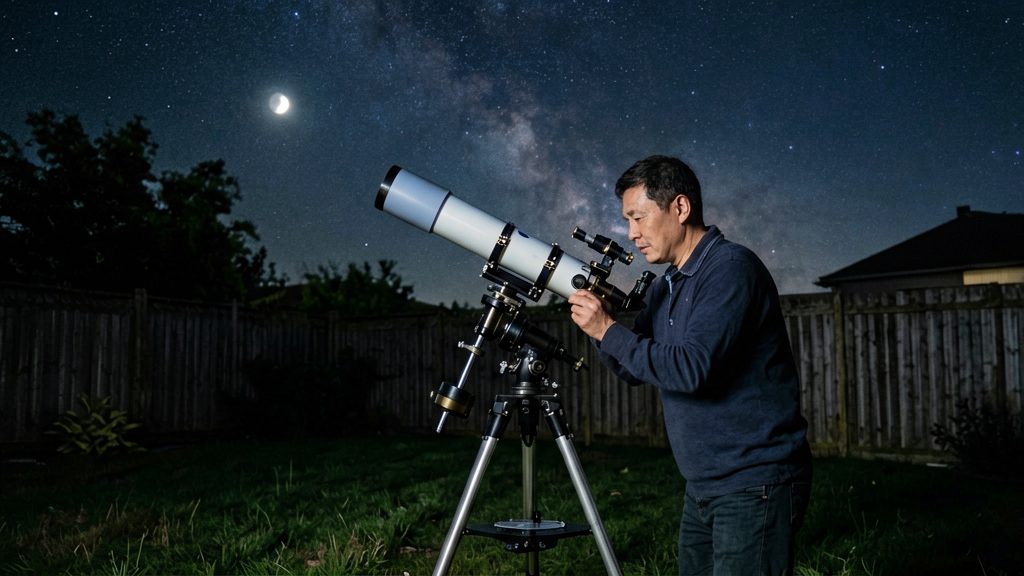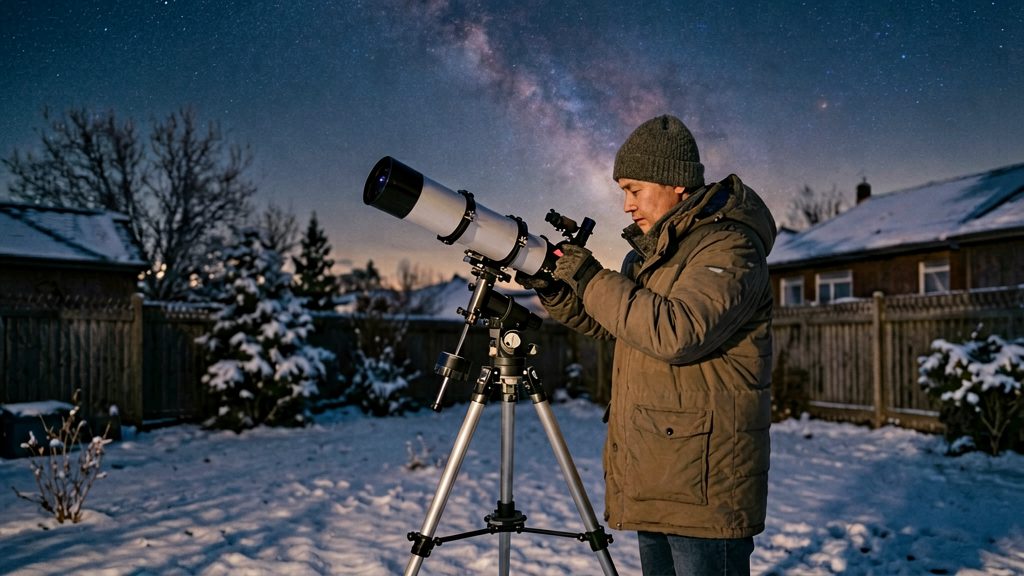
There is no single best telescope for every Canadian backyard. This guide shows how to choose one: aim for roughly 4–5 inches of aperture on a stable alt-az mount, then check how steady it is, how long setup takes and how much it weighs to carry outside.
What makes a good beginner telescope?
Use these three practical checks together with aperture, which is the main specification (see the next section), when you compare scopes in the shop or on the product page.
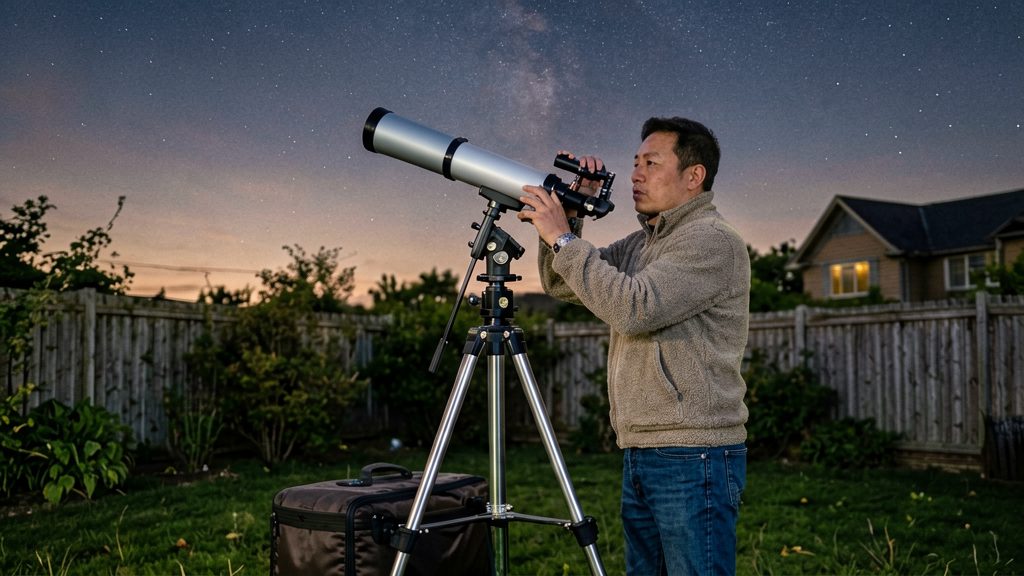
Tripod stability
A stable tripod is the first test. Cottage Life recommends a stable tripod and warns against flimsy mounts. A wobbly mount shakes the image every time you touch the focuser or move your eye from the eyepiece, which makes small targets hard to hold in view.
To test it, set the scope up and gently tap the tube or focuser. Note how long the image takes to stop moving. A mount that keeps shaking for a long time will frustrate you on the Moon and planets, where fine detail matters most.
Setup time
Setup time decides whether you will actually observe on a weeknight. Cottage Life advises avoiding models that take more than 15 minutes to set up. Time your first assembly from the box, including attaching the tripod, mounting the tube and fitting the eyepiece. If it exceeds 15 minutes on the first try, expect it to take longer in the cold, when your hands are stiff.
Carrying weight
Carrying weight matters when the telescope lives in a garage or shed and you carry it across a yard. The 6-inch classic Dobsonian weighs about 34 lb and is bulky to carry. Weigh the complete package, including the base or tripod, before you buy, and compare it with what you can lift and carry comfortably.
| Check | What to verify | Reference |
|---|---|---|
| Tripod stability | Image settles quickly after a light tap | Cottage Life |
| Setup time | Assembly takes 15 minutes or less | Cottage Life |
| Carrying weight | 6-inch classic Dobsonian about 34 lb; tabletop Dobsonian is more portable | The Planetary Society (2023) |
Aperture matters more than magnification
For a beginner, the number that matters most on a telescope is its aperture, the diameter of the main light-gathering optic. The Planetary Society (2023) identifies aperture as the main specification to consider, and calls a 4–5 inch scope a solid starting point for most beginners. Aperture controls how much light reaches your eye, which sets how faint a galaxy or nebula you can see and how sharp planetary detail looks. Magnification, by contrast, is simply a way of enlarging an image that the aperture has already captured, so it cannot add detail that the light did not carry.
Cottage Life advises a minimum of 3–6 inches (75–150 mm) of aperture, depending on the optical design, while The Planetary Society suggests 4–5 inches as a solid starting point. Sources differ, so treat these as guides rather than a fixed rule.
Aperture sets the brightness and detail limit. Magnification only scales the image.
How magnification is calculated
Magnification is a ratio, not a measure of quality:
- Magnification = telescope focal length ÷ eyepiece focal length
- Example: a 1000 mm focal length telescope with a 10 mm eyepiece gives 100x (1000 ÷ 10).
Swapping eyepieces changes magnification without changing the light collected. This is why a large magnification number on a box does not tell you how good the optics are.
Why high magnification claims mislead
The Planetary Society (2023) notes that magnification above about 200x brings little benefit on a beginner telescope. Cottage Life similarly advises avoiding scopes with huge magnification claims. Atmospheric turbulence, often called seeing, usually limits sharpness well before that point, so an image that looks blurry at 300x is typically blurry because of the air, not because you need more power.
Refractor, reflector or catadioptric?
The three main optical designs are refractors, reflectors (including Dobsonians, which are reflectors on a simple altazimuth mount) and catadioptrics. They differ mainly in upkeep, how much dust they let in, how easy they are to carry and what they cost for a given aperture. Refractors use lenses, reflectors use a mirror and are economical for large apertures, and catadioptric designs pair a mirror with a corrector lens in a short tube. Each design trades these factors against the others, so the right choice depends on how often you will move the scope and where you will store it.
Refractors: low maintenance
Cottage Life describes refractors as low-maintenance. Because they use a lens rather than a mirror, they avoid the mirror-drift problem that makes reflectors need more upkeep.
Reflectors and Dobsonians: economical for large apertures
Reflectors are an economical way to gather light in a larger aperture. A 6-inch classic Dobsonian is a popular pick. Two maintenance points follow from the open tube design:
- Dust: the open tube lets dust reach the optics, so the mirror and tube need occasional cleaning.
- Alignment: mirrors can drift out of alignment, which is why reflectors need more upkeep than refractors (The Planetary Society, 2023).
Catadioptrics: compact, but moisture-sensitive
Catadioptrics are compact and camera-friendly, which makes them useful for beginners who want to try basic photography. They cost more than reflectors of the same aperture and are sensitive to moisture, so they should be stored somewhere dry, according to Cottage Life.
Do you need a GoTo mount?
A computerized GoTo mount helps when you want to find faint objects quickly and have limited time at the eyepiece. An alt-az mount, which moves up-down and left-right, is the better choice when your goal is learning the sky itself. The Planetary Society (2023) recommends an alt-az mount for beginners and says a GoTo computerized mount may not be the best way to learn the sky.
Why alt-az suits beginners
An alt-az mount follows the same directions you use when you look up: altitude (height above the horizon) and azimuth (compass direction). Moving the tube by hand means you learn where objects sit relative to the horizon and to landmarks such as the Moon, bright planets and the brightest stars.
- Alt-az mounts are the usual pairing for beginner Dobsonians and tabletop scopes.
- Check current Canadian stock and prices for any model you consider, since listings change.
Why equatorial mounts are less intuitive
Equatorial mounts are aligned to the celestial pole, so one axis tracks the sky’s rotation. Setting one up requires polar alignment, and moving the scope means working along an axis that does not match the horizon. Newcomers often find this harder to follow than simple up-down motion.
When GoTo helps
GoTo mounts use motors and a computerized database to point the telescope at a selected object. They are useful when:
- You want to reach deep-sky objects that are hard to find by star-hopping.
- You have a short observing window and limited familiarity with the sky.
- You plan to use the scope for astrophotography, where tracking matters.
Should you start with binoculars?
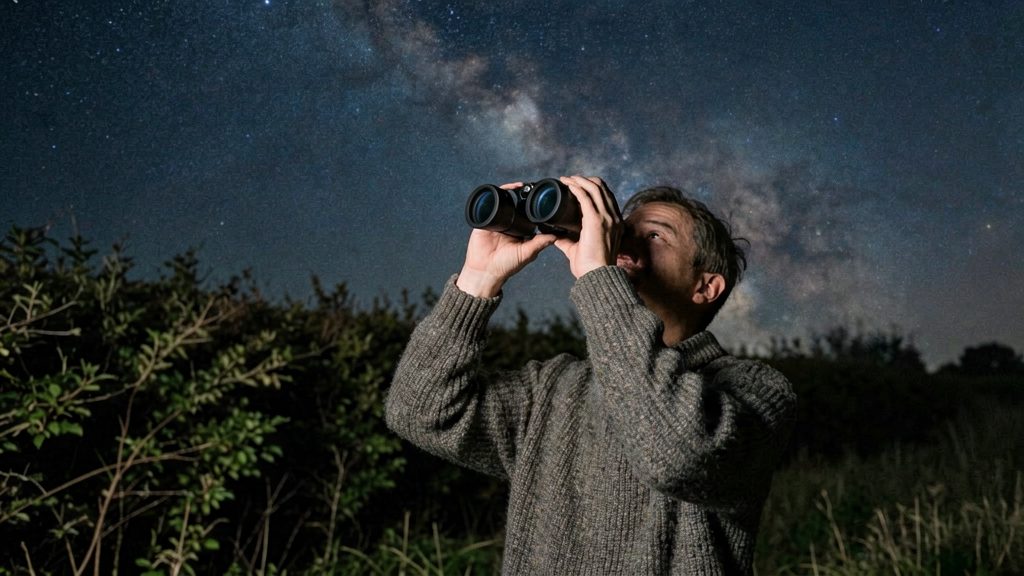
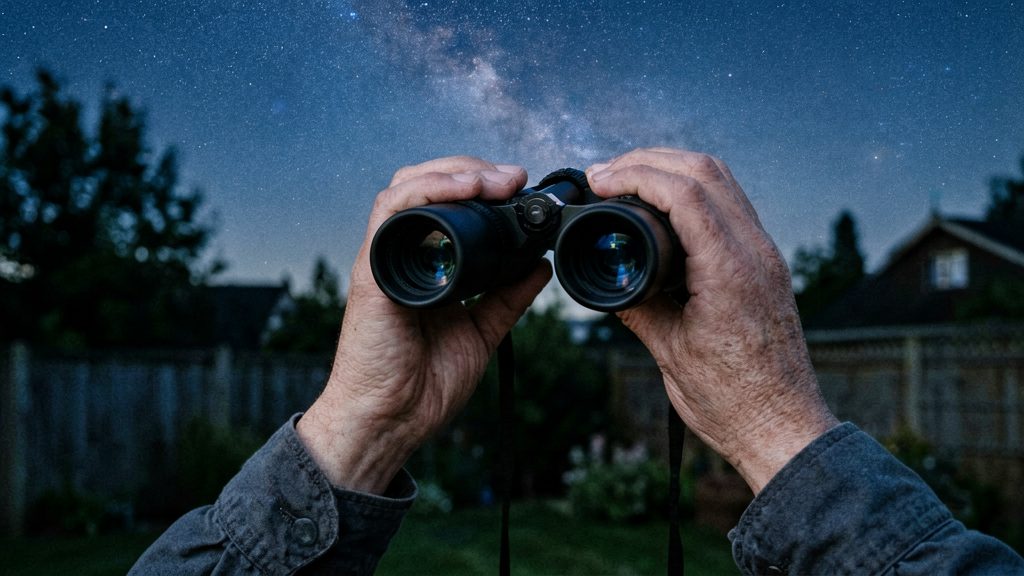
For many beginners who are unsure about telescopes, good binoculars are a low-risk first instrument. According to The Planetary Society (2023), they show lunar craters, bright star clusters and Jupiter’s brightest moons, which are among the first targets most newcomers want to find. Binoculars are a low-risk way to find out whether you enjoy observing before you spend more on a telescope.
What binoculars reveal
- Lunar craters: Craters are easiest to pick out near the boundary between the sunlit and dark parts of the Moon, where shadows are longest.
- Jupiter’s brightest moons: The four brightest moons appear as small points of light beside the planet. Their positions shift from night to night, so you can track them over several evenings.
- Bright star clusters: Wide fields of view make it easy to sweep across groups of stars and to get a feel for the sky’s layout.
Why this suits unsure beginners
Binoculars let you practise star-hopping, which means moving from one recognisable star pattern to another to find a target. Learning this skill first makes it easier to use a telescope later, because you will already know how to locate objects in the sky.
Using a binocular tripod adapter
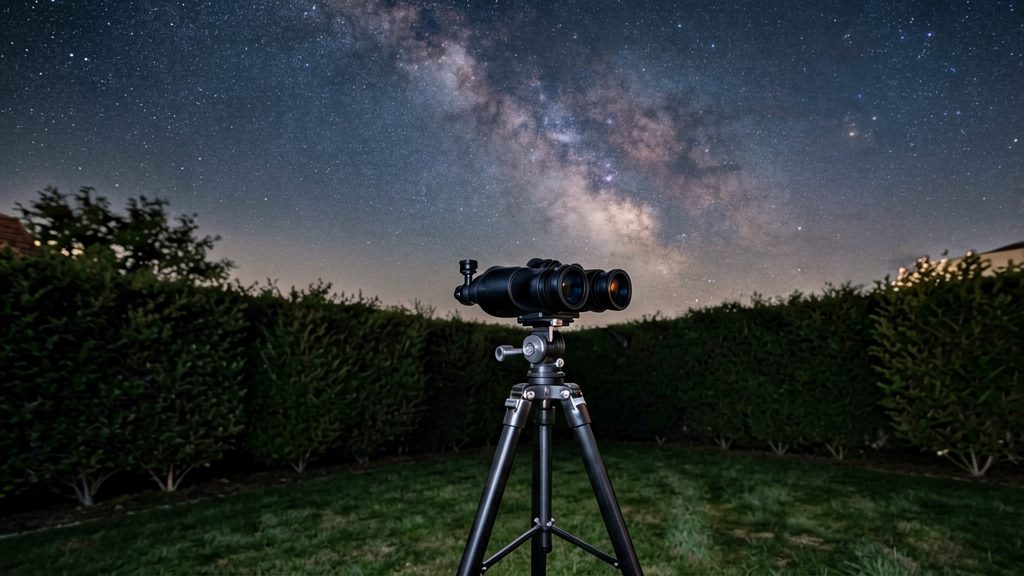
Hand-held binoculars magnify shake along with the view, so the image wobbles. A binocular tripod adapter attaches the binoculars to a tripod, which keeps the view steady and reduces fatigue during longer sessions.
- Set up the tripod on firm, level ground and extend the legs to a comfortable height.
- Attach the adapter to the tripod head and fasten it securely.
- Mount the binoculars in the adapter and tighten all locks before you look through them.
- Adjust the focus and the interpupillary distance (the spacing between the eyepieces) to suit your eyes.
How much should you spend in Canada?
For a first telescope, most of your money should go to aperture and a steady mount, not to accessories or high magnification claims. The Planetary Society puts a beginner scope at roughly US$200–400 and says anything under US$100 is frustrating. Cottage Life gives CAD $200–300 at a specialist retailer, with no date stated. The Planetary Society figures are in US dollars and come from 2023, while Cottage Life’s figures are not confirmed, so check current Canadian listings before you buy.
Budget reference points
| Reference | Figure | Context |
|---|---|---|
| The Planetary Society (2023) | US$200–400 | Typical beginner telescope range (US dollars, not confirmed in CAD) |
| The Planetary Society (2023) | Under US$100 | Described as frustrating for beginners |
| Cottage Life (undated) | CAD $200–300 | Specialist retailer price (not confirmed) |
Split the budget between optics and mount
- Aperture is the main specification. The Planetary Society describes a 4–5 inch scope as a solid starting point for most beginners.
- Recommended mount type is an alt-az mount for beginners, according to The Planetary Society. An equatorial mount is harder to learn, and a GoTo mount may not be the best way to learn the sky.
Checking used equipment
Used telescopes can offer good value, but check these points before paying:
- Optics: Look through the eyepiece for dust, scratches or haze. Reflectors collect dust through the open tube, and mirrors can drift out of alignment.
- Alignment: On a reflector, confirm the mirrors can be adjusted (collimated) and the image sharpens as you adjust them.
- Focuser: Turn it through its full range. It should move smoothly without slipping.
- Tripod and mount: Check for wobble, loose fittings and missing parts.
Eyepieces, finder and red flashlight
Eyepieces determine your magnification, so a second eyepiece with a different focal length changes what you see. Budget for at least one, and confirm its focal length against the scope’s specifications before buying.
Check the finder scope, a small guide telescope mounted on the main tube, for alignment with the main scope. For night use, a red-filtered flashlight protects your dark adaptation better than a white light. Prices for these items vary, so compare current listings at Canadian retailers.
Setting up in a cold Canadian backyard
Cold nights affect a telescope’s image before you ever look through the eyepiece. Three factors matter most: acclimation of the optics to outdoor air, control of dew point condensation on the glass, and enough power and warmth to keep a session going.
Letting the tube reach outdoor temperature
A telescope carried from a heated room still holds that warmth. The tube and mirror or lens release it slowly, and the uneven temperature sets up air currents inside the tube that soften fine detail, especially on planets and the Moon. Bring the telescope out well before you plan to observe, and give it a longer settling period when the indoor-outdoor difference is large or the tube is big. The time needed depends on the scope and the temperature difference, so check the manufacturer’s instructions.
Controlling dew
Dew forms when the front lens or corrector plate cools below the dew point of the surrounding air. Two approaches address this:
- Dew shield: a tube extension that blocks the sky’s radiant cooling of the front glass and reduces condensation.
- Dew heater: a resistance strip fitted around the front element that keeps it slightly above ambient temperature. It needs a power source, which ties directly into your power planning.
Refractors are described as low-maintenance, but their objective lens still collects dew.
Planning battery power
Cold can reduce the usable capacity of batteries, so plan your power before the session rather than discovering a shortage mid-observation. List every load: the dew heater, a computerized mount, a smart telescope, a phone or tablet running a star chart app. Then choose a portable battery rated for the voltage and current on each device’s label. Carry a spare or keep the battery warm inside a jacket until use.
Building a warm, compact observing kit
Keep the kit small so you can carry everything in one trip and bring it back indoors without disturbing your dark-adapted eyes:
- Layered clothing, with a windproof outer layer and a hat, since your body heat is the main source of comfort during long sessions.
- A red-light headlamp, so you can read charts and adjust controls without losing night vision.
- A sealed container or bag for eyepieces and accessories, so they warm up gradually when you bring them inside and do not fog.
- A flask of a warm drink.
Where to try before you buy
Handling a telescope before you pay is the most direct way to check that it suits you. Three options are open to most beginners: astronomy clubs and public star parties, specialist shops with demonstration units, and club loan programmes where they exist. Use the same checklist at each one so your comparisons stay fair.
Astronomy clubs and public star parties
Star parties bring many telescope types to one field, so you can compare instruments under the same sky. Members often bring their own scopes and let beginners look through them. Ask to see the same target through two designs, such as a refractor and a reflector, since they feel and behave differently at the eyepiece.
Ask your local astronomy club whether it lends telescopes to members and on what terms, since lending arrangements differ between clubs.
Specialist shop demo units
A specialist retailer may keep display models you can handle. Ask staff to set one up and show you the focuser and eyepiece. Demo units are not always available for handling, so confirm before you visit.
Hands-on checklist
| Check | What to test | Red flag |
|---|---|---|
| Focuser smoothness | Rack the focuser through its full travel with an eyepiece inserted, then release it | Grinding, sticking, or the image drifting after you let go |
| Tube rigidity | Gently press and release the tube or its mounting point while looking at a distant object | Wobble that continues after you stop touching it |
| Eyepiece fit | Insert the supplied eyepiece, then tighten the locking thumbscrew | A loose fit, or an eyepiece that tilts or slips under light pressure |