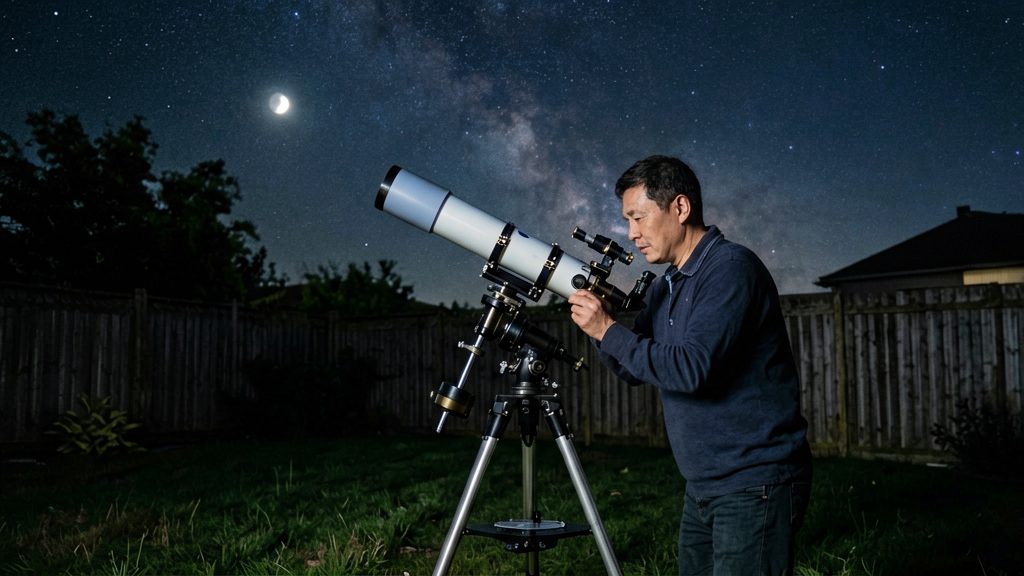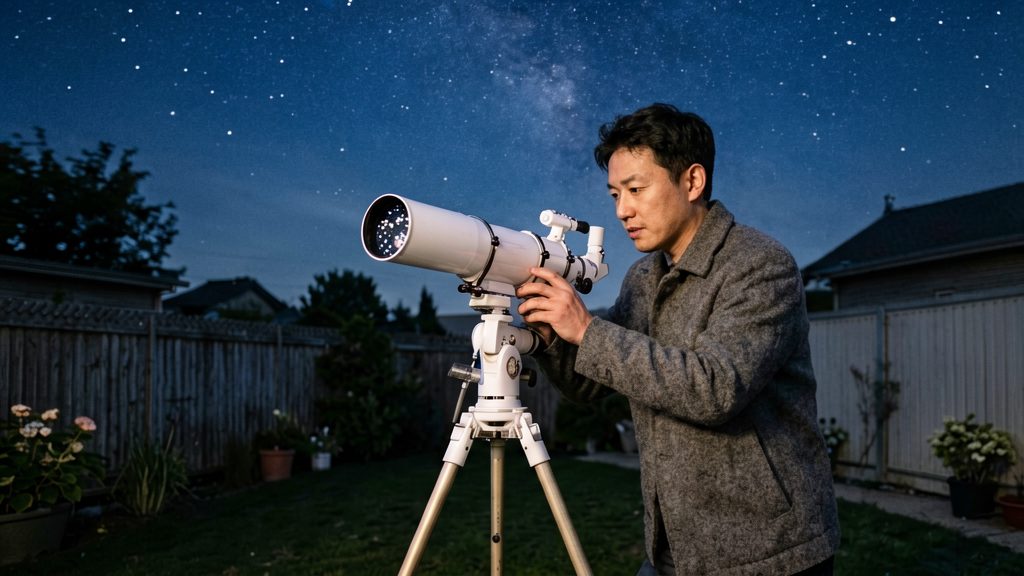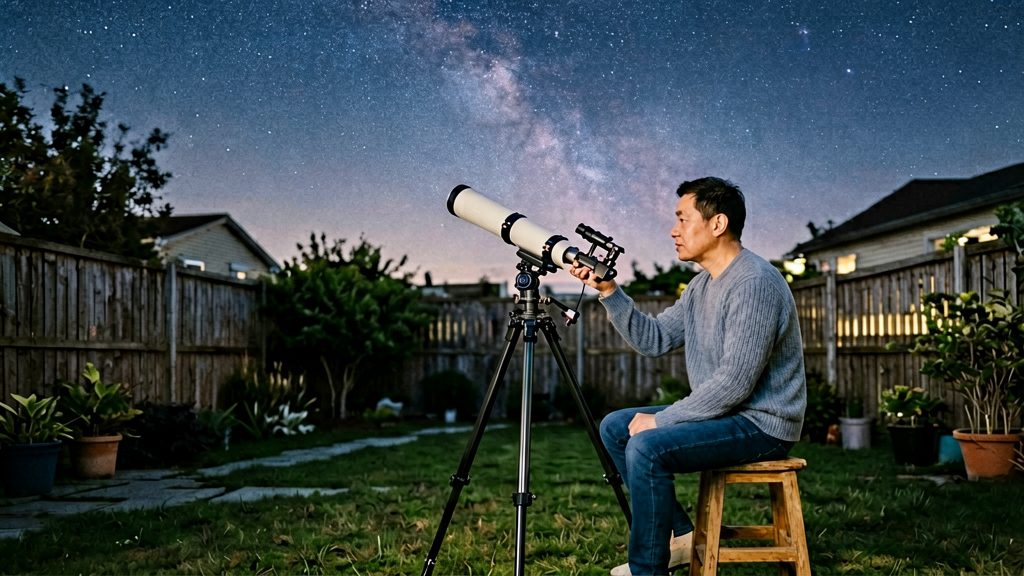
Why seated observing changes tripod choice
Sitting down lowers your eyes by roughly the difference between standing height and seated height, so the eyepiece has to move down by the same amount for a comfortable view.
Eye level is the starting point. Measure your seated eye height on the chair you actually use, not on a stool or bench. Your chair height, cushion thickness and any footrest all change where your eye sits, so test with the same seat you will observe from.
The Celestron NexStar manual, as hosted by ManualsOnline, recommends setting the tripod height so you can look directly into the eyepiece while seated, with the diagonal fitted. Use that as the test: with the scope set up, sit down, and adjust the legs until the eyepiece lines up with your eye without tilting your head.
Standing-height tripods and neck strain
A tripod extended for standing use puts the eyepiece above a seated observer’s line of sight. To reach it, you lean forward or tilt your head back, and the strain builds over a session.
Tripod versus tabletop mount for seated users
Tabletop mounts solve the height problem differently. Placing the telescope on a table lowers the eyepiece without shortening the legs, which suits observers who prefer to sit at a fixed spot. The trade-off is that the table height, top surface and its contact with the ground now determine your eyepiece position and stability.
| Setup | Eyepiece height for a seated observer | Main trade-off |
|---|---|---|
| Standing-height tripod | Often too high | Neck and shoulder strain |
| Lowered tripod legs | Adjustable to eye level | Less stable as legs extend |
| Tabletop mount | Set by table height | Depends on table stability and height |
What is the best tripod height for seated observing?
No single tripod height works for everyone. Celestron’s NexStar manual does not give a figure in inches or centimetres.
Why no universal number exists
Three variables change the result:
- Seated eye height: this differs between observers and depends on posture.
- Eyepiece position: on an altitude-azimuth mount, the eyepiece moves as the tube is raised or lowered, so the height that suits a low target differs from the one that suits a high target.
- Seat height: the chair sets the starting point for everything else.
Reported ranges (unverified)
Two published ranges appear in secondary sources. Neither could be checked against its original page, so treat them as starting references only.
| Setup | Reported range | Status |
|---|---|---|
| Meade Standard Field Tripod | Adjustable 34 to 54 inches (about 86 to 137 cm), described as suitable for standing or seated viewing | Unverified; search snippet only |
| Tabletop Dobsonian (Astronomy Hacks, O’Reilly, “Please Be Seated”) | Eyepiece height about 37 to 47 inches (about 94 to 119 cm) | Unverified; search snippet only |
How to find your own height
- Fit the diagonal and the eyepiece you use most often.
- Point the telescope at an object near the altitude you normally observe.
- Adjust the tripod legs until the eyepiece sits at eye level with a relaxed neck.
- Repeat the check on a high target and a low one. If your eye position shifts a lot, set the height for the altitude range you observe most.
How to match tripod height to your seat
To match tripod height to your seat, set the scope so your eye lines up with the eyepiece without leaning forward or hunching your shoulders. The steps below measure your seated eye height, adjust the legs in locked increments, and then check diagonal clearance.
Step 1: Measure your seated eye height
Have someone measure from the ground to your eye while you sit, or measure from the seat cushion to your eye and add the seat height. Write the figure down so you can compare it with the eyepiece position on your scope.
Step 2: Adjust the legs in small, locked steps
- Extend all three legs to the same length.
- Lock each leg clamp before you move to the next adjustment.
- Raise or lower the head in small steps, locking after each change.
- Sit down again and check the eyepiece line. Repeat until your eye sits level with the eyepiece without craning your neck.
Keep the legs at matching extensions so the mount head stays level. Make all height changes before you start observing, not during a session.
Step 3: Confirm diagonal and eyepiece clearance
With the diagonal and eyepiece installed, check the following:
- Your knees and the chair legs clear the tripod legs and the base of the scope.
- The diagonal does not touch your forehead or glasses.
- The tube can swing through its normal range without striking the chair or your knees.
Does a taller tripod mean a wobblier view?
In principle, yes. Celestron’s NexStar manual states that the higher the tripod legs are extended, the less stable the tripod is. The effect on the image depends on what you are doing at the eyepiece, and the manual separates casual visual observing from photography.
| Use | Leg height guidance in the Celestron manual |
|---|---|
| Casual visual observing | Stability may not be affected |
| Photography | Set the tripod low for stability |
Why visual observing tolerates more sway
The manual says casual observing may not be affected. A likely reason is that at the eyepiece you can wait for a small vibration to settle, though sway can still be noticeable at high magnification.
Lower settings for astrophotography
Exposures often last seconds or longer. Any stability loss during an exposure appears as a smeared or blurred star. Practical steps:
- Lower the legs to the shortest comfortable setting before you start shooting.
- Focus, then wait for vibrations to die out before you take the exposure.
- Avoid touching the telescope or tripod during the exposure, and use a remote shutter release or the camera’s timer.
Which chair or stool works best?
For seated observing, the seat needs three things: a height you can adjust, a base that stays steady, and enough support to hold a position for a full session. An adjustable astronomy chair meets all three on level ground. A drummer’s throne and a bar stool each suit narrower cases, with trade-offs in adjustment and stability.
Seat types compared
| Seat type | How height is set | Stability | Trade-off to check |
|---|---|---|---|
| Adjustable astronomy chair | Column adjusted in steps, usually by lever or screw | Wide base, stable on level ground | Confirm the listed height range in the manufacturer’s specifications |
| Drummer’s throne | Height set by adjusting the post | Good when the base is wide and flat; a narrow seat can rock | Fine adjustment is limited |
| Bar stool | Fixed height, usually with no adjustment | Light base; tips more easily on grass or gravel | Only practical for one consistent eyepiece height |
Stability trade-offs
A seat that moves under you adds to the sway. A seat with a wide, flat base keeps shake low, which matters most at high magnification, when small movements show in the eyepiece.
Cushion, back support and leg room
- Cushion: A firm seat holds its height through a session. A soft cushion that compresses slowly lowers your eye, so the observing position drifts.
- Back support: A backrest keeps the spine upright, so you hold the same head position for longer without leaning.
- Leg room: Check that your knees clear the tripod legs and the mount base before you sit down. Seats with a low front edge or a wide base are more likely to hit the tripod.
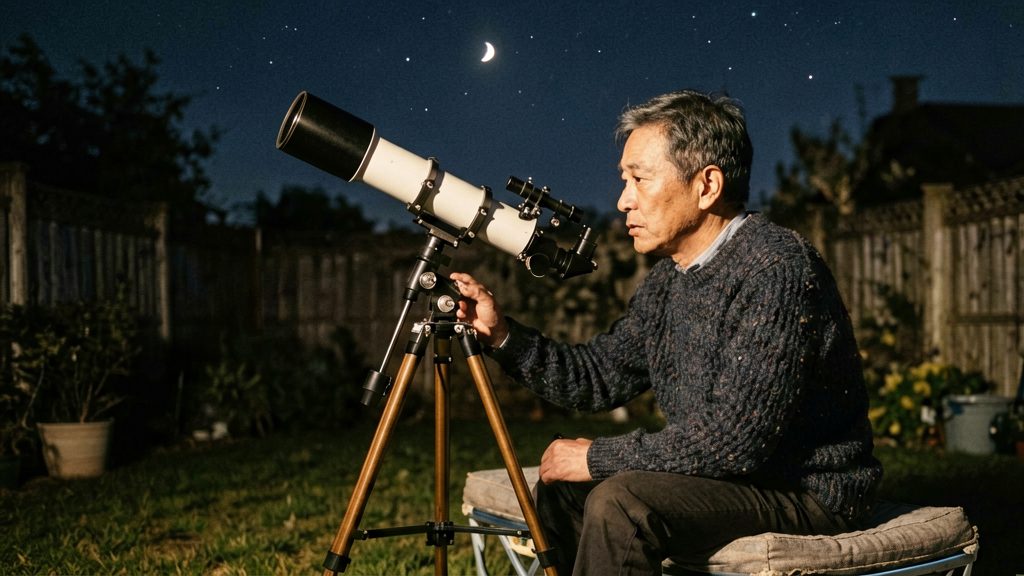
Does eyepiece height change with the target?
Yes. On an altitude-azimuth mount, the eyepiece moves along an arc as you slew the tube from horizon to zenith, so the height you set for one part of the sky may not suit another. The height you set applies to the sky region you observe most, not to every target.
How the eyepiece moves on an alt-az mount
The tube rotates around the altitude axis, and the eyepiece is fixed to the tube, so it travels in the same arc. The direction of that travel depends on where the eyepiece sits:
- Rear-mounted eyepiece (typical of many Schmidt-Cassegrain and some refractor setups): as the tube points toward the zenith, the eyepiece tends to drop toward the mount. Near the horizon, it rises.
- Front or side-mounted eyepiece (common on Newtonian reflectors): the movement follows the opposite pattern, so check the actual position on your own scope rather than assuming.
Your tripod height therefore works best across a band of altitudes, not at a single point.
Zenith versus horizon viewing
- Zenith targets force a steep viewing angle. A seated observer often has to lean back or move the chair, which makes it harder to hold a stable head position.
- Low-altitude targets near the horizon place the eyepiece at a different height and angle, sometimes requiring the observer to lower their seat or shift position.
Re-adjusting when you change sky regions
- After a large slew, adjust the seat before touching the tripod if the eyepiece no longer lines up with your eye.
- Re-check the eyepiece position each time the target moves into a different altitude band. Do this once per target change, not continuously.
Tripod features worth having
For seated observing, the tripod should let you return to the same height in seconds without the head wobbling. Three features determine that: how the legs lock, how strong the legs and head are, and whether the tripod gives you a way to record and reuse a height.
Leg locking mechanisms decide how quickly you can change height and how reliably the legs hold their setting:
- Twist locks tighten by rotating a collar around each leg. They are compact and cheap, but each leg must be tightened by hand to the same degree, and they can slip if they are under-tightened.
- Lever locks (also called clamp locks) close with a cam or flip lever. They are faster to adjust and easier to repeat, because a fully closed lever gives a consistent clamping force.
When comparing models, check the locking type in the manufacturer’s listing or manual, and test it in the shop if you can. Look for legs that lock at every extension point rather than only at preset stops.
Leg diameter and maximum load rating affect stability at the height you choose. Thicker leg tubes resist flex better, and the load rating tells you the total weight the tripod is designed to carry, including the mount, optical tube and eyepieces. Use the figures printed on the manufacturer’s specification sheet or product label, and compare them against the combined weight of your setup, not just the telescope’s weight. Leg diameter is usually given in the specification sheet; if it is not listed, ask the manufacturer or retailer before buying.
Accessory tray and height-indicator markings make height changes repeatable:
| Feature | What to check | Why it matters |
|---|---|---|
| Accessory tray | Presence of a tray or cross-bar that holds eyepieces and a diagonal | Keeps accessories at hand so you do not lift the scope or disturb the setting |
| Height markings | Printed or engraved scale on each leg | Lets you note a height in numbers and return to it |
| Marking type | Scale or indicator that stays legible after handling | A worn marking gives no reliable reference |
If the legs have no scale, mark the extension point yourself with a strip of tape or a fine marker line at the top of the leg collar. Record the mark’s position for each eyepiece and observer so you can return to it without measuring again.