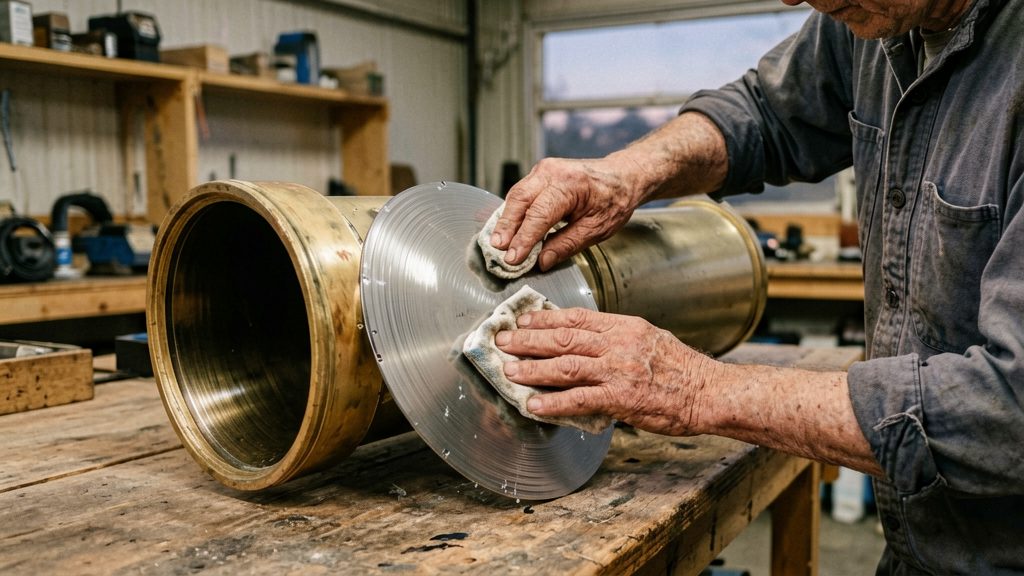
Usually not. Cleaning is worth doing only when debris combines with moisture and sticks to the glass, or when it visibly lowers image contrast. Cleaning more often than that adds handling risk to the mirror, so identify the contamination before reaching for cotton wool.
Does your Newtonian mirror really need cleaning?
Ordinary dust versus pollen, foliage and insects
According to BBC Sky at Night Magazine, normal dust is rarely harmful. Pollen, leaves and insect remains are a different case, and the decision depends on whether they stay dry or get wet.
| Contamination | Effect on the mirror | Action |
|---|---|---|
| Normal dust | Rarely harmful | Leave it alone |
| Pollen, foliage or insects on a dry mirror | No sticking reported by the sources | Leave it alone and monitor |
| Pollen, foliage or insects combined with dew or rain | Sticks to the mirror | Clean |
| Debris that noticeably reduces contrast | Visible loss of image quality | Clean, using a gentle method |
How dew and rain turn debris into residue
Moisture is the trigger. When dew and rain wet pollen, foliage or insect remains, they bond to the aluminium coating and form a sticky film that is hard to remove by blowing or brushing. Check the mirror after damp nights, since the residue may not be obvious until it dries.
Signs that debris reduces image contrast
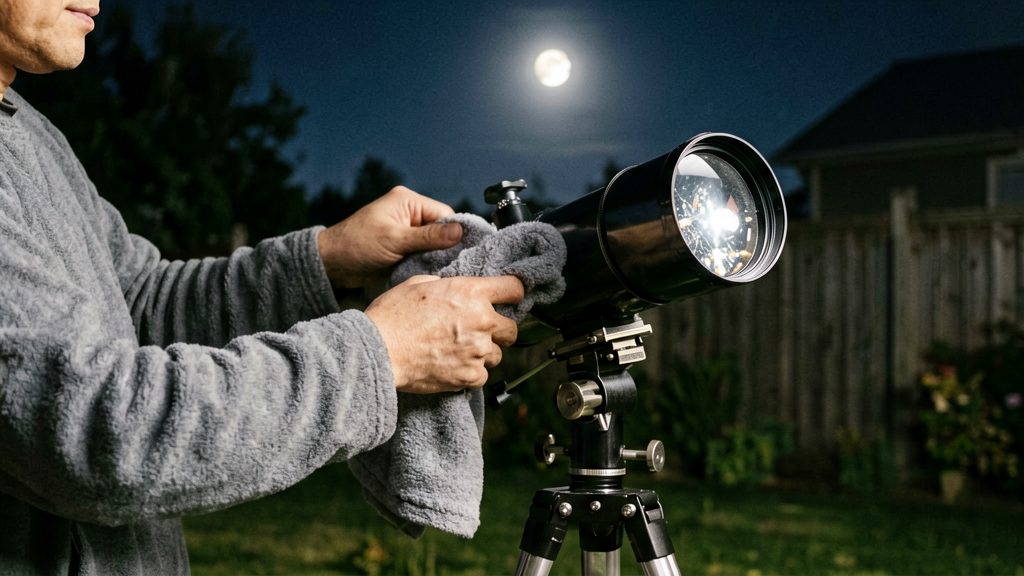
First Light Optics advises cleaning only when debris noticeably reduces image contrast. Practical signs include a bright, high-contrast target, such as the Moon, looking flatter than it did on a previous clean night, or dark background areas appearing greyer. Compare the same target on two nights under similar sky conditions before deciding.
What you need before you start
Gather the right supplies and inspect the mirror under light before you touch it. The light check also tells you whether cleaning is needed at all.
Supplies
| Item | Purpose | Note |
|---|---|---|
| Surgical cotton-wool balls | Wipe the mirror surface | Use these, not makeup-remover pads, according to First Light Optics |
| Plastic bowl | Holds the soaking water | Plastic avoids chipping the mirror edges |
| Distilled water | Rinsing | Use it for the final rinse in hard-water areas, per First Light Optics |
| Hand-held puffer blower | Removes loose dust | Hand blower is preferred here; sources disagree on compressed air, so avoid it |
Light check for defects
Hold the mirror up to a light source and inspect the reflective surface for three types of defect:
- Pinholes: tiny points where the coating is missing.
- Scratches: linear marks that catch the light differently from the surrounding surface.
- Uneven coating: patches where the reflectivity looks different across the mirror.
Record what you see before cleaning. Cleaning does not repair these defects, and any scratch can be more obvious once debris is removed.
Deciding whether to clean
Clean only when pollen, foliage or insects combine with dew or rain and stick to the mirror, according to BBC Sky at Night Magazine. Overcleaning can weaken the protective silicon dioxide overcoat, and in extreme cases the coating can peel at the edges, according to First Light Optics.
When to send the mirror for recoating
Numerous pinholes, scratches or patches of uneven coating mean the mirror should be professionally recoated, according to Astronomy magazine. A well-maintained coating can last 10 years or more, so a light check every time you handle the mirror helps you catch decline early. Contact a qualified telescope service or a Canadian retailer, or ask your local Royal Astronomical Society of Canada centre, for recoating options, because recoating is outside the scope of home cleaning.
How to remove the primary mirror safely
Removing the primary mirror carries a risk of accidental damage, so the goal is to refit it in exactly the position it came from. Check your owner’s manual first, as sources differ on whether the mirror must come out of its cell. Before anything is unclipped, mark the mirror edge and the cell with an indelible pen. The reference marks let you refit the mirror in the same orientation, which matters because the mirror is set up with a specific alignment in the tube.
Once the reference marks are in place, release the primary from its clips. According to BBC Sky at Night Magazine, the mirror is held by three or more clips, so check every one before lifting and release them evenly rather than working one side loose.
Handle the mirror only by its edges. Lift it straight up and keep your fingers off the reflective surface. Follow the telescope’s owner’s manual for removing the mirror, and place it on a clean, soft surface where the reflective face cannot touch anything.
How do you wash a Newtonian mirror step by step?
Wash the primary and secondary mirrors one at a time. Each mirror soaks for about five minutes in tepid water with a little detergent, then gets wiped with well-soaked cotton wool dragged across the surface. Each piece of cotton is used for a single stroke, according to BBC Sky at Night Magazine.
- Separate the mirrors. Clean the primary and secondary mirrors separately so that debris from one does not transfer to the other.
- Soak in a plastic bowl. Place each mirror in a plastic bowl containing tepid water with a little detergent, and leave it for about five minutes. The plastic bowl keeps the edges from chipping.
- Prepare the cotton. Soak the surgical cotton-wool balls well before use.
- Draw the cotton across in one stroke. Pull a single cotton ball across the mirror surface in one smooth movement. Let the cotton’s own weight provide all the pressure; do not press down.
- Discard after one stroke. Throw the cotton away after each stroke. Reusing it would redeposit the debris it has just collected.
How to rinse and dry without streaks
Rinsing and drying are the last steps of a cleaning session, and they decide whether the mirror ends up with streaks or spots. Once the cotton-wool stage is finished, rinse the mirror thoroughly, then let it air-dry in a position that stops water from pooling on the surface. Avoid wiping or blotting.
Rinsing
- Rinse the mirror under clean water until no detergent remains.
- In areas with hard water, use distilled water for the final rinse, as recommended by First Light Optics. Mineral deposits left by hard water can dry as visible marks.
- Rinse gently and keep the cell and other parts away from the rinse water.
Drying with the mirror on its edge
- Stand the mirror on its edge to air-dry, as advised by First Light Optics. This lets the water drain away from the reflective surface rather than sitting on it.
- Hold the mirror at an angle of more than 45° so that droplets roll off instead of drying in place, according to Astronomy magazine.
What should you never do to a mirror?
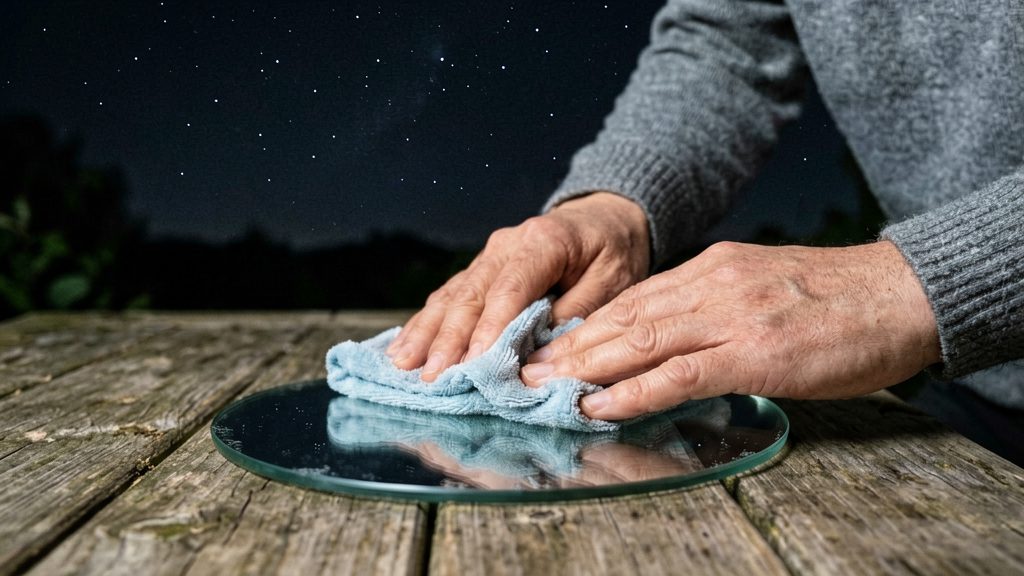
Overcleaning and scrubbing can damage a Newtonian primary’s coating; ordinary dust rarely does. The mistakes below all attack the same thin layers: the aluminum reflective coating and the silicon dioxide overcoat that protects it. Avoid each one, and the mirror keeps its contrast for far longer.
Scrubbing stubborn debris instead of accepting residual marks
Pressing or rubbing the cotton to lift a stubborn spot is the fastest way to scratch the coating. A few faint marks left behind rarely affect the image, so if the debris stays, leave it. Do not scrub.
Overcleaning and weakening the protective overcoat
Every wipe removes a little of the silicon dioxide overcoat. Repeated cleaning can weaken it, and in extreme cases the coating can peel at the mirror edges.
Using brushes and abrasive tools on soft aluminum
The aluminum coating is very soft and easily gouged. Brushes, abrasive pads and makeup-remover pads all risk leaving permanent scratches.
How do you reassemble and collimate afterwards?
Reassembly means returning the primary mirror to the position you marked before removing it, so its alignment stays close to what it was. Reattach the clips evenly, then reinstall and realign the secondary mirror. Confirm the result with a star test or a collimation cap before observing, and follow your telescope’s manual for collimation.
Returning the primary to its marked position
- Set the mirror in the cell so the edge marks line up with the cell marks, with the coated face toward the tube opening.
- Reattach each clip evenly, holding the mirror firmly without stressing the glass.
Realigning the secondary mirror
- Reinstall the secondary in its holder, centred under the focuser so the light cone from the primary reaches the eyepiece.
- Adjust the holder’s tilt screws until the secondary’s reflection is centred in the view down the focuser.
- Recheck the secondary’s position after any change to the primary, because the two adjustments affect each other.
Checking collimation
| Method | What you check | Notes |
|---|---|---|
| Star test | Defocused image of a bright star shows concentric rings | Needs a steady night and a bright star at high altitude |
| Collimation cap | Centre spot of the primary and the secondary line up in the cap’s view | Fits the focuser; works in daylight or at night |
How to keep a mirror clean longer
Most of the work in keeping a Newtonian primary mirror clean happens outside the cleaning session itself. The real problem is debris that combines with moisture. Pollen, foliage or insects that meet dew or rain stick to the mirror and become hard to remove. Reducing that contact is the most practical way to extend the time between cleanings.
Cap the tube and focuser
Dust caps on the tube and the focuser reduce build-up inside the optical tube. Keep them fitted whenever the telescope is not in use, including between observing sessions, because an open tube lets airborne particles settle on the primary mirror. The same principle applies during transport: replace the caps before carrying the instrument out of its case.
Choose a sheltered observing site
Set up away from foliage and insect activity where possible. Pollen and leaf debris, combined with dew, are the material that sticks to the mirror, so a spot clear of trees and shrubs reduces the amount of organic matter that reaches the optics. Avoid placing the telescope directly under lights that attract insects.
Store the telescope indoors
Keep the instrument indoors in a dry, stable environment between sessions. Moisture is the factor that turns loose debris into residue, so a dry storage space limits this process. Avoid rapid temperature swings, which cause condensation to form on cold optics when the telescope is brought inside after an observing session; allow it to acclimatise before opening the tube.