Why are Messier objects good targets for a small telescope?
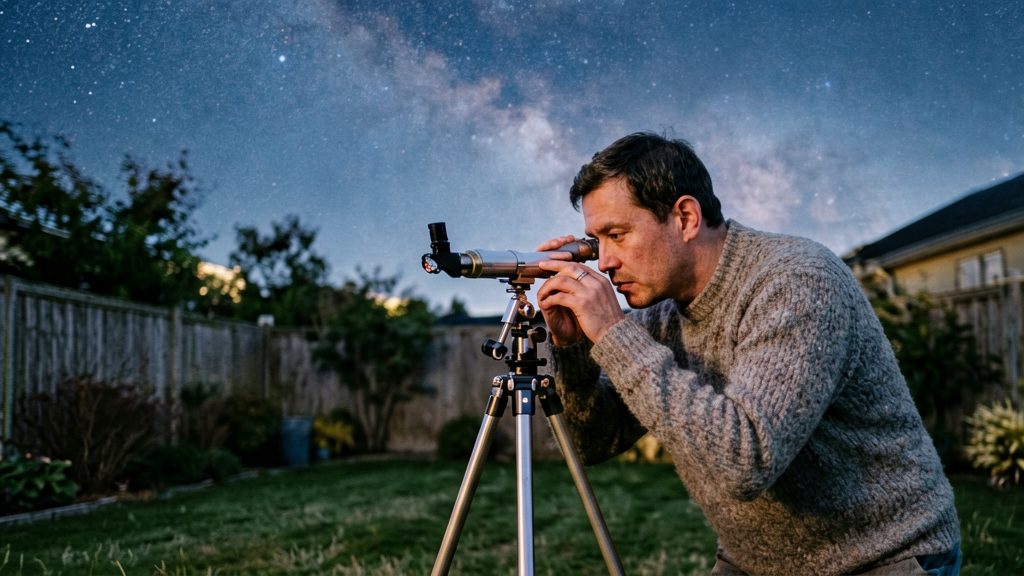
Messier’s instrument sets the scale. Charles Messier worked with instruments roughly equivalent to a modern 80–100 mm reflector, according to RASC (2026). BBC Sky at Night Magazine (2026) names his telescope as a 3.5-inch refractor, about 89 mm. A beginner’s scope in the 80–100 mm range is therefore in the same aperture class as the instrument used to build the list.
The object mix. The 110 entries break down as follows (RASC, 2026):
- 28 open clusters
- 29 globular clusters
- 8 bright nebulae
- 4 planetary nebulae
- 40 galaxies
- 1 double star (M40)
Clusters and galaxies account for 97 of the 110 entries, so most of the list falls into those two groups. The sheet’s examples show how different types look at the eyepiece. M3 is a globular cluster, and M51 and M81 (with M82 beside it) are galaxies. Working through a single list therefore exercises several kinds of target rather than one.
Why 110 defines the list. The RASC list follows the one published annually in the Observer’s Handbook (RASC, 2026). The 110 entries are the reference set for the programme, so a beginner who checks a catalogue against that list is working from the same targets as other observers.
What gear do you need to start?
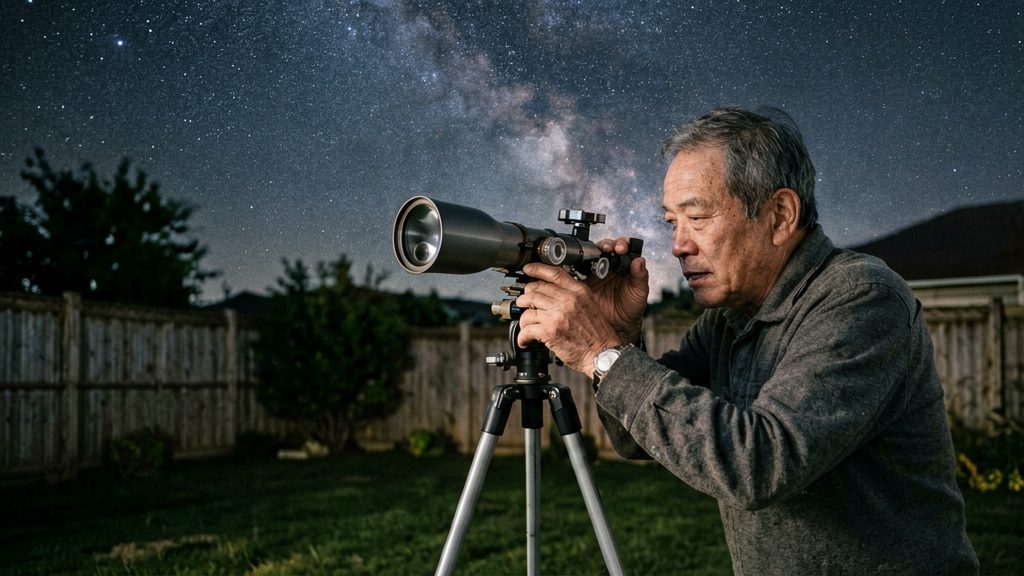
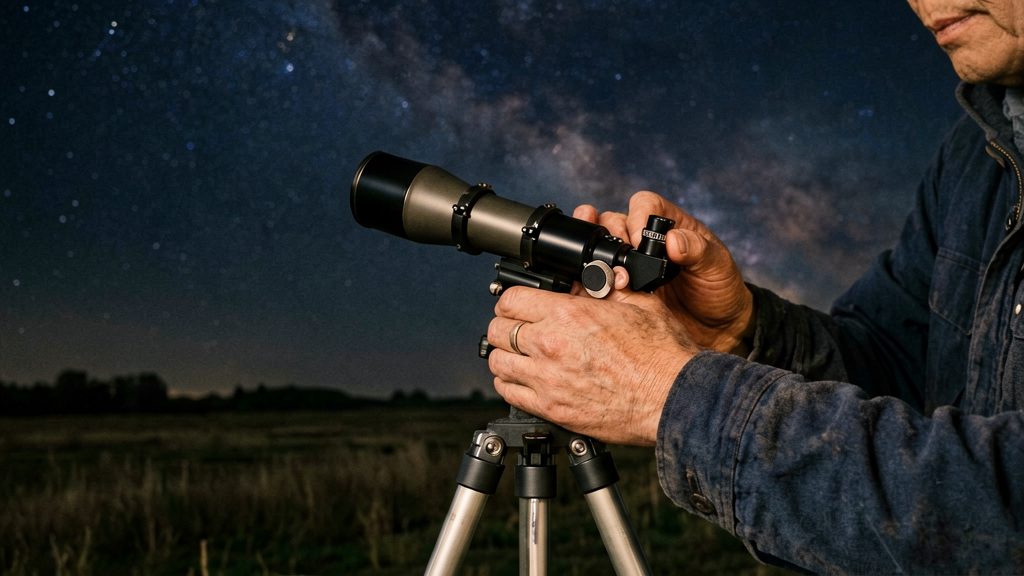
A small telescope is enough for the Messier catalogue. The minimum kit is a telescope of roughly 80–100 mm aperture (the class Messier used), a steady mount, a finderscope, a red light and a star chart or astronomy app.
Aperture thresholds
| Aperture | What the sources say |
|---|---|
| 4–5 inches (about 102–127 mm) | Celestron (2023) suggests a 4–5 inch GoTo or app-assisted scope for a full Messier marathon |
The 4-inch figure is a manufacturer suggestion for a marathon, not a minimum for every object.
Mount: alt-azimuth or equatorial
- Alt-azimuth mounts move up-down and left-right. They are the simplest way to point a telescope by hand and suit a first session of pointing at targets one by one.
- Equatorial mounts are tilted so one axis points toward the celestial pole. After alignment, one motion follows the sky, which helps on long sessions with fainter objects.
- For a marathon, Celestron (2023) recommends a GoTo or app-assisted setup, paired with a checklist and a dry run before the night.
Finderscope
A finderscope has a wider field of view than the main eyepiece, so you can locate a target before centering it in the eyepiece. Align it during the day on a distant object such as a far-off pole or rooftop, never near the Sun, since looking at the Sun through optics causes permanent eye damage. Then confirm the alignment at night on a bright star.
Red light and star atlas
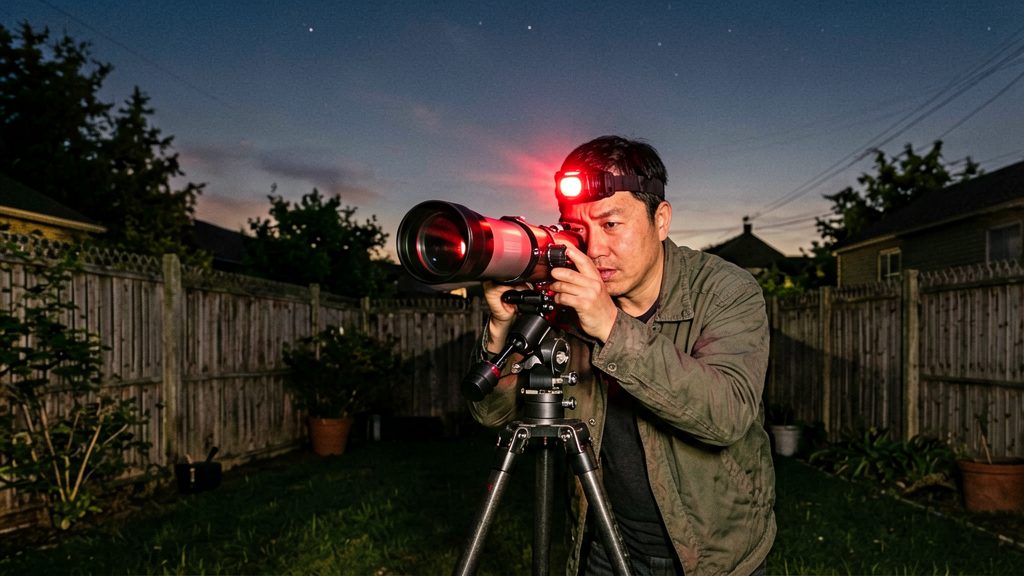
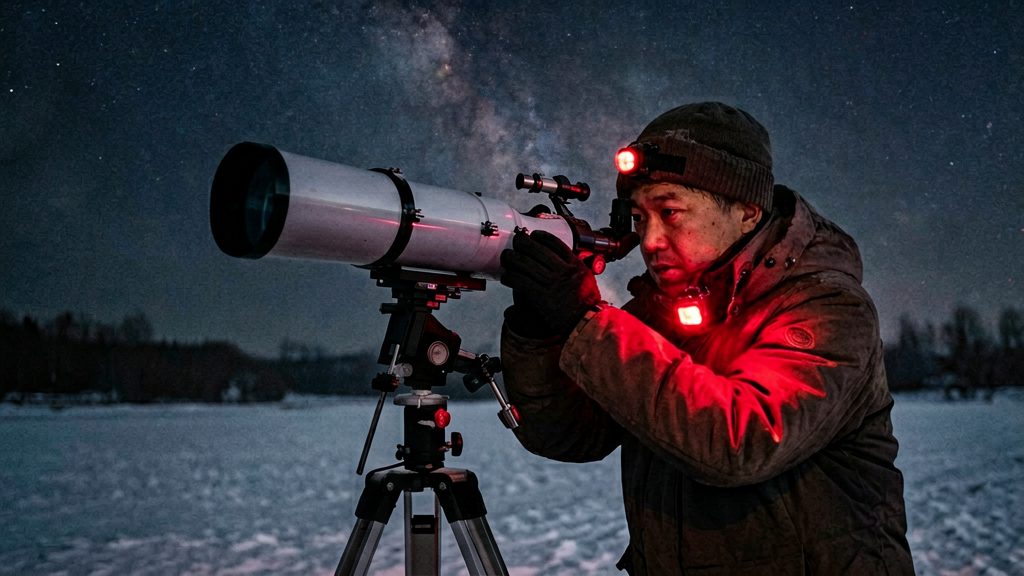
Use a red flashlight to read charts and handle equipment, and keep white light away from your eyes during the session.
A printed atlas or a star chart app works for either mount type.
How does star hopping work?
Star hopping means moving from a bright star you can identify by eye to a faint Messier target in a series of short steps, checking each stop against your chart. The telescope’s field of view acts as your ruler. Because you cannot point straight at a faint object, the method works only if each step lands on a pattern you can recognise. The RASC Messier program requires observers to find all 110 objects themselves. Star hopping is the method for the Traditional certificate, while the Computer-aided version allows Go-To (Royal Astronomical Society of Canada, 2026).
Converting chart scale to eyepiece field of view
Charts show a fixed scale, while the eyepiece shows a fixed patch of sky. To connect them:
- Find the apparent field of view listed in your eyepiece’s specifications.
- Divide that apparent field by the eyepiece’s magnification to get the true field of view.
- Compare the true field with the chart’s scale bar or with the separation between two stars you can measure on the chart.
If two anchor stars lie farther apart than your true field, you need an intermediate hop. Check the result before moving on: the stars in the eyepiece should match the chart’s pattern in both spacing and orientation. Note that the image in most eyepieces appears reversed or flipped compared with the printed chart, so compare the pattern’s shape, not its position on the page.
Recognising asterisms and anchor stars
An anchor star is a bright star you can name or find without the telescope, ideally one that belongs to a recognisable asterism. The Big Dipper is the usual starting point in the northern sky. Its bowl stars are good anchors, and Phecda, one of the bowl stars, is commonly used as a launch point. One hop often described runs from Phecda toward M109. Confirm this route against your own chart before relying on it.
Choose an anchor that:
- is clearly brighter than its neighbours,
- forms a distinct triangle, bend or pair with nearby stars,
- lies within a few true fields of your target.
Once you spot the asterism in the eyepiece, check that the stars you see match the chart’s pattern before moving on.
Sweeping in a spiral pattern
If the target is not obvious at the suspected position, sweep the area in a spiral:
| Step | Action |
|---|---|
| 1 | Centre the suspected position in the field. |
| 2 | Move outward in small, regular steps, keeping each step smaller than the true field. |
| 3 | Pause at each pass and look for a faint, fuzzy patch or a star-like group. |
| 4 | Compare what you see with the chart’s surrounding stars. |
| 5 | Stop when the target appears or when the spiral reaches the edge of your search area. |
To practise, pick a target from the list below, such as M57 in Lyra, and plan your hop on a chart or in an app, starting from a bright star you can identify by eye.
Which Messier objects should you try first?
For a small telescope, start with targets that show a clear shape at low magnification. According to BBC Sky at Night Magazine (2026), good small-scope targets include M81, with M82 beside it, M51, M3 and M57.
| Priority | Target | Type | Expected view in a small scope |
|---|---|---|---|
| 1 | M57 (Ring Nebula) | Planetary nebula | A misty but well-defined oval in a 3- to 4-inch scope |
| 2 | M81 and M82 | Galaxy pair | Two galaxies in one low-power view, with M82 beside M81 |
| 3 | M3 | Globular cluster | A round, fuzzy glowing patch |
| 4 | M51 | Galaxy | A faint target listed as suitable for small scopes, best attempted from a dark site |
The order reflects how readily each target shows in a small instrument. It is a practical suggestion, not a ranking from the sources.
M57 is the most reliable early success because its oval shape is distinct even when the nebula is faint. The M81 and M82 pair works well at low power, since both galaxies fit in the same field.
How do you beat Canadian light pollution and weather?
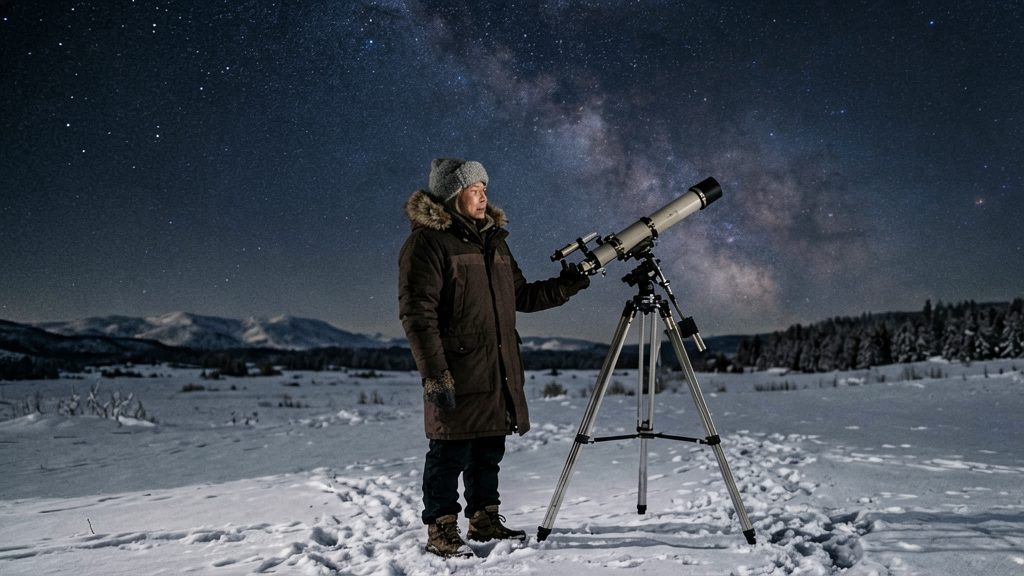
Most Messier objects are within reach of a small telescope, but only if your eyes and your site cooperate. Dark adaptation takes time, sky glow varies with your location, and humidity and dew can end a session before you reach the faint targets. Plan for all three before you set up.
Dark adaptation and red light
According to BBC Sky at Night Magazine (2026), eyes need about 40 minutes to dark-adapt. Work with that timeline:
- Dark adaptation: Avoid white light, phone screens and car headlights during the first part of the session, and use your phone only in red-light mode once you are outside.
- Red light: Use a red torch or your app’s red-light mode to read charts and logbooks. The same source notes that red-light mode helps with finding targets while protecting night vision.
- Shared light: Ask anyone with you to use red light too, and turn off porch lights and vehicle interiors when you can.
Choosing a dark site
Light pollution is the main limit on faint Messier objects such as galaxies and open clusters. To judge a site:
- Check an online light-pollution map for your region and shortlist areas with lower sky glow.
- Visit the shortlisted site during daylight to confirm access, parking, ground safety and the view of the horizon in every direction.
- Return on a clear night, let your eyes adapt for the full 40 minutes, and compare the naked-eye stars and the Milky Way with your home sky.
Look for designated dark-sky places in your province or territory through your local astronomy club. The Royal Astronomical Society of Canada (RASC) has local centres that can point you to nearby sites. Verify any preserve status with the managing organisation before you travel.
Cloud, humidity and dew
Humidity affects transparency and dew forms on optics. Practical steps:
- Check forecasts for cloud cover and dew point, and treat a narrow gap between air temperature and dew point as a warning sign.
- Keep eyepieces and the finder capped until setup, so moisture does not settle on the glass.
- Use a dew heater band or dew shield on the telescope and finder when dew is likely. At the end of the session, do not wipe wet optics with a dry cloth. Cap the telescope and let the dew evaporate indoors at room temperature. Remove loose dust with a blower, and clean the glass only when necessary.
- Bring a towel or cloth for the mount and tripod legs, which can become slippery and cold.
Can you earn the RASC Messier certificate?
The Royal Astronomical Society of Canada (RASC) awards a Messier certificate to observers who complete its Messier Catalogue program. According to Royal Astronomical Society of Canada (2026), the certificate has been awarded since 1981 and was the first RASC observing program to offer a certificate.
Membership and the visual rule
The RASC describes the certificate as open to RASC members who visually observe all 110 objects. Eligibility for non-members is unclear from the published information, so confirm with [email protected] before you start.
The two versions
The certificate comes in two versions:
| Version | Finding method |
|---|---|
| Traditional | Star-hopping |
| Computer-aided | Go-To |
What the logbook must show
- You find each object yourself. Applicants locate every target without another observer’s help.
- You keep your own logbook. Each entry must come from your own observing sessions.
- The order is free. The 110 objects can be observed in any sequence.
When is the Messier marathon, and how does Canadian latitude affect it?
The Messier marathon is a single-night attempt to observe all 110 Messier objects. The window runs from mid-March to early April, around the new Moon, when moonlight interferes least. Celestron (2023) gives roughly 20°S to 55°N as the ideal latitude range. Canadian observers should check their own latitude against that range, because the same object list behaves differently from a southern Ontario site than from the far north.
Timing the window
| Factor | Value for the night |
|---|---|
| Date window | Mid-March to early April |
| Moon phase | Around new Moon |
| Sun’s position | Between Pisces and Aquarius, a region with no Messier objects |
| Ideal latitude range | Roughly 20°S to 55°N (Celestron, 2023) |
Because the Sun sits in a part of the sky with no Messier objects, the catalogue’s targets fall on the night side of the sky during this window.
Sequencing dozens of objects in one night
The catalogue contains 28 open clusters, 29 globular clusters, 8 bright nebulae, 4 planetary nebulae, 40 galaxies and 1 double star (RASC, 2026). Objects can be observed in any order for the RASC certificate (RASC, 2026), so you choose the order yourself.
The practical approach is to sort targets by when they are highest above the horizon. Start with objects low in the west as dusk ends, then move eastward through the sky as the night progresses. Plan each block of targets around its constellation region so that you do not return to a part of the sky you have already passed.
Latitude and object altitude in Canada
An object’s highest point in the sky depends on both your latitude and the object’s position north or south of the celestial equator. Objects in the southern part of the Messier list stay low for northern observers, and from high latitudes some never clear the horizon.
Canada lies mostly north of 45°N. Southern Canada falls within the 55°N ceiling in Celestron’s range, while the far north sits above it, so the completeness of a marathon depends on where you observe. To test a specific site, enter your coordinates in a planetarium app and check each target’s maximum altitude during the window. Any object that never rises above your local horizon, or stays very low, should be recorded as a separate problem to solve rather than assumed to be visible.