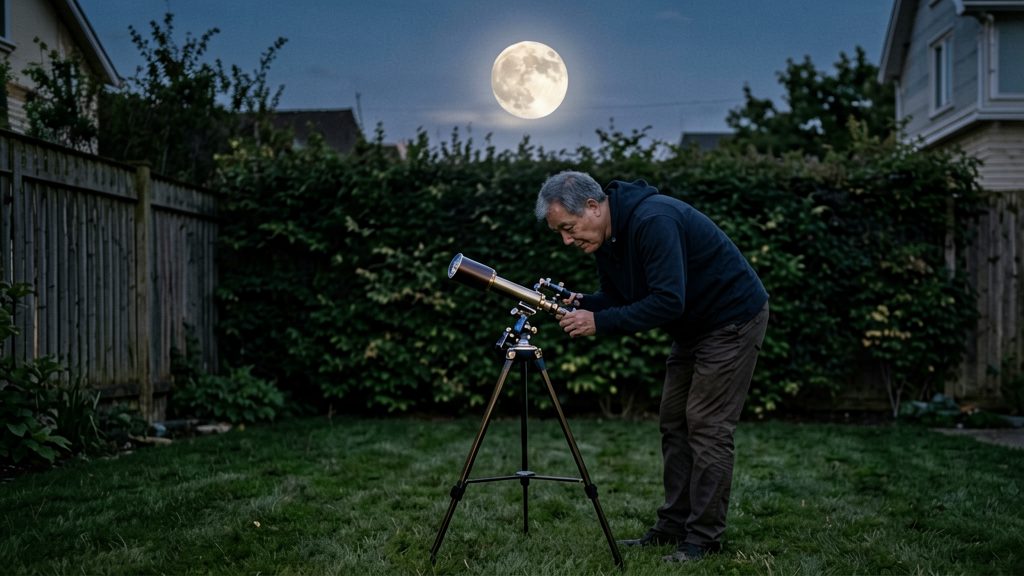
A 50- or 60-mm refractor or a 4- to 6-inch reflector is enough to show the walls and interiors of lunar craters, details that binoculars only hint at. Craters over 90 km across, such as Copernicus, Plato and Gassendi, are the natural first targets for a small telescope.
Why a small telescope is enough for lunar craters
The difference lies in resolution: binoculars give a rough outline of a crater, while a telescope of modest aperture separates the structure inside it.
Instruments that reveal crater structure
| Instrument | What it shows of a crater |
|---|---|
| 7x50 binoculars | Features down to about 50 km across, roughly |
| 50- or 60-mm refractor | Sharper details, with walls and interiors revealed |
| 4- to 6-inch reflector | Sharper details, with walls and interiors revealed |
Walls and floors compared with binocular views
Larger craters repay a telescope with visible internal detail. Sky at Night Magazine names three small-telescope targets:
| Crater | Diameter | Visible feature |
|---|---|---|
| Copernicus | 93 km | Terraced rim and bright rays |
| Plato | 109 km | Smooth, dark floor |
| Gassendi | 110 km | Rilles on the floor under good lighting |
The binocular limit near 50 km
Copernicus at 93 km sits well above what binoculars resolve, so a small telescope can show its rim structure.
When to look: the terminator and Moon phases
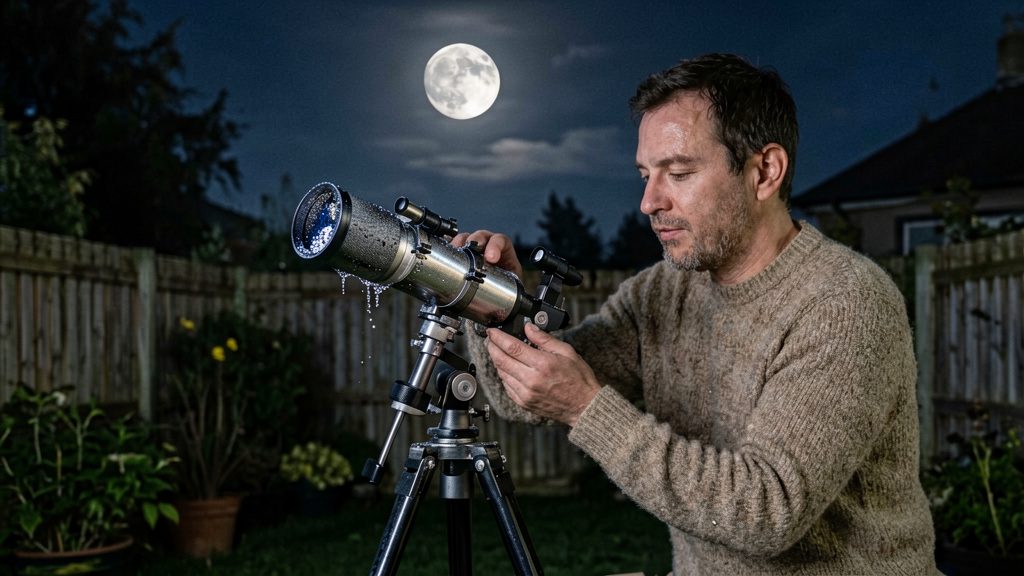
The terminator is the line that separates the sunlit part of the Moon from its dark side, and it is the best place to look for craters. Near this line, sunlight arrives at a low angle, so every crater rim, wall and peak throws a shadow that makes relief visible. At full Moon the Sun lights the surface almost head-on, no shadows are cast, and the surface looks flat and washed out.
Why the terminator reveals relief
- Low-angle light casts long shadows inside and beside craters, which makes their walls and central peaks stand out.
- Shadows shorten as the terminator moves away from a feature, so each crater shows its best relief only for part of the lunar cycle.
- Sunrise terminator (waxing phases) and sunset terminator (waning phases) reveal the same craters with shadows falling in opposite directions. Compare both to judge relief.
Full Moon: where bright rays still show
Full Moon hides relief, but bright ray systems remain visible because they are albedo markings, not shadows. Tycho’s ray system spreads across much of the lunar face near full Moon, according to NASA (2017). Use full Moon to study ray patterns and the contrast of light and dark terrain, then return to the terminator for the crater walls themselves.
Matching the phase to your target
| Lunar phase | Best use | Example target from the sources |
|---|---|---|
| First quarter | Sunrise terminator, strong relief | Plato, per NASA (2017) |
| Near full Moon | Bright ray systems | Tycho, per NASA (2017) |
| Waning phases | Sunset terminator, shadows fall the opposite way | Compare with waxing views of the same crater |
Check the phase before you set up, then select the feature whose lighting matches it. A feature that looks flat under full Moon shows more relief as the terminator approaches it, so check the phase and pick a target near the terminator.
What magnification works best?
For lunar craters, the best magnification is usually the lowest one that still shows the feature you want. Low power gives a wide field that shows the whole crater field and its shadows, while higher power separates individual walls and floors. With a small telescope, most of the useful range sits in the lower and middle part of the eyepiece set.
Low power for overviews
Start with a low-power eyepiece, which means a longer focal length. A wide view lets you see how features sit relative to each other. At low power the whole crater and its surroundings fit in the field, and a lot of detail is already visible near the terminator.
Short focal-length eyepieces for roaming
Once you have located a feature, switch to a short focal-length eyepiece to move in closer. Magnification is the telescope’s focal length divided by the eyepiece’s focal length, so a shorter eyepiece gives a higher figure. Use it to inspect crater walls, central peaks and floor detail, then return to the longer eyepiece to re-orient yourself. Changing eyepieces slowly and keeping the Moon centred in the field makes this easier.
Seeing as the practical upper limit
Seeing is the steadiness of the atmosphere. When stars twinkle strongly or the lunar image shimmers, extra magnification adds blur, not detail. On many nights the practical limit is set by the air rather than the optics, so the same telescope may support high power on one night and only moderate power on another.
Easy craters to find first
Three craters suit a small telescope well: Plato, Copernicus and Gassendi. The Straight Wall (Rupes Recta), a fault and not a crater, is a useful extra target. Each is large enough to show clearly, and each has one distinctive feature to confirm you are looking at the right place.
| Target | Size | What to look for |
|---|---|---|
| Plato | 109 km | Dark, smooth floor |
| Copernicus | 93 km | Terraced rim and bright rays |
| The Straight Wall (Rupes Recta) | About 110 km long | Dark shadow at sunrise; bright line when sunlight hits its sloped face |
- Plato is the simplest interior study. Its dark, smooth floor stands out (according to BBC Sky at Night Magazine).
- Copernicus is a bright beginner crater with a terraced rim, and its rays make it easy to find (according to BBC Sky at Night Magazine).
- The Straight Wall is about 110 km long. At sunrise it casts a dark shadow, and once sunlight reaches its sloped face it appears as a bright line (according to NASA (archived Eclipse 2017 site), 2017).
How do you tell young craters from old ones?
Two near-centre craters, Ptolemaeus and Arzachel, make a good first comparison. Ptolemaeus is the older of the pair, formed almost four billion years ago and smoothed by later debris. Arzachel formed a couple of hundred million years later and looks fresher. Judging their rims, floors and surrounding material shows you the difference in your own eyepiece.
| Feature | Ptolemaeus (older) | Arzachel (younger) |
|---|---|---|
| Approximate formation | Almost four billion years ago | A couple of hundred million years after Ptolemaeus |
| Floor | Smoothed by later debris | Looks fresher |
Read the rim
Study the crater wall where it meets the surrounding plain:
- Sharp rim: a crisp, well-defined edge with a clear boundary between wall and plain suggests a younger crater.
- Worn rim: a rounded, softened or partly buried edge suggests a crater that has been battered by later impacts.
Compare the two craters side by side. The older one usually shows the more subdued outline.
Check the ejecta
Ejecta is the material thrown out by an impact. Fresh ejecta often appears as a bright halo or as rays extending across the surrounding terrain. On older craters, the ejecta is faded or overprinted by later impacts, so it is hard to trace.
Look for overlaps
Where two craters meet, the one that cuts into the other’s rim or floor is generally the younger. Trace the edges with the eyepiece and note which wall is continuous and which is broken.
Reducing glare and keeping an observing log
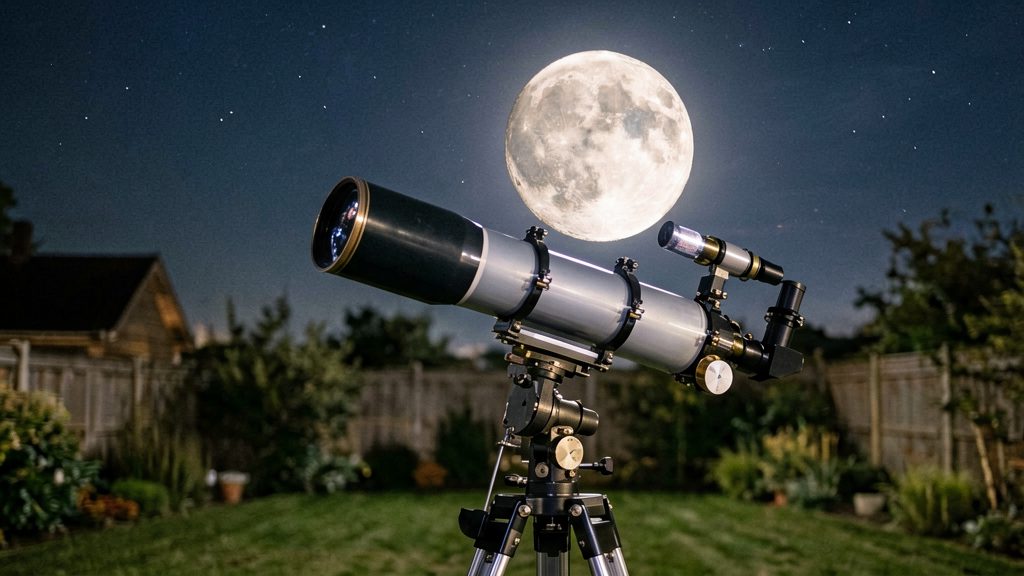
Glare is the main comfort problem when observing the Moon with a small telescope. The bright limb near full Moon washes out contrast. Glare control is a secondary tool for the bright part of the disc, and a written log turns scattered sessions into a record you can repeat.
Filters for the bright limb
Some observers use a neutral-density or Moon filter to reduce glare near full Moon. This is optional, and the benefit is not confirmed by the sources used here, so check the manufacturer’s stated transmission before buying.
Dew and thermal settling
Dew can form on the front lens or corrector plate of a small telescope on a clear, humid night. Keep the optics at outdoor temperature before the session, and use a dew shield or dew heater if your scope has one. Let the tube cool for at least 30 minutes before critical viewing, because a warm tube produces air currents that soften fine crater detail.
Observing log fields
A consistent log lets you compare features across sessions. Record these fields for every session:
| Field | What to write |
|---|---|
| Date | Calendar date of the session |
| Time | Start and end times |
| Seeing | Steadiness of the image, judged on your own scale |
| Eyepiece | Focal length and type used |
| Target | Crater or feature observed |
The Royal Astronomical Society of Canada’s Explore the Moon program asks observers to record date and time, sky conditions, instrument, magnification and notes. Drawings or photos are encouraged but optional, so a short written note is enough to start.
Canadian resources: the RASC Explore the Moon program
The Royal Astronomical Society of Canada (RASC) runs Explore the Moon, a structured lunar observing award that has been available since 2016. It is aimed at beginners using either a telescope or binoculars and sits between the society’s Explore the Universe and Isabel Williamson Lunar Observing Program. Working through it gives you a checklist that complements the crater targets in this guide.
Program overview
The award has two versions, which differ in their target lists:
| Version | Number of lunar features | Source list |
|---|---|---|
| Telescope | 100 | RASC Observer’s Handbook |
| Binoculars | 40 | RASC Observer’s Handbook |
Because the telescope list is larger, a small refractor or reflector user can work through more craters, rilles and mountain ranges than a binocular observer. Both versions draw their targets from the RASC Observer’s Handbook.
Using the program’s targets with this guide
The program’s features are ordered by the RASC’s Q-Day method, which counts the days before or after the first or last quarter Moon. Features are arranged so you see them night by night as they appear during the waxing phases and disappear during the waning phases. To combine the two resources:
- Find the current Q-Day count for the first or last quarter Moon in the RASC material.
- Pick the features scheduled for that night from the program list.
- Use the craters in this guide as your comparison points when a program target sits near a familiar crater.
The program page does not give specific observing nights, so confirm the exact schedule in the current RASC Observer’s Handbook or on the society’s website rather than relying on older copies.
Joining a local RASC centre for group observing
RASC has local centres across Canada. Joining one gives you access to group observing sessions, where experienced members can point out features and help you set up your telescope or binoculars. Contact your nearest centre through the society’s website to ask about membership and upcoming public or member nights.